Ensuring you get that first coat of plaster right can make a massive difference when it comes to preparing surfaces for painting. It will also help keep your walls in good condition and can help with sound-proofing.
If you have little experience in applying plaster, we recommend using an 11-inch trowel—which is the standard measurement. It’s also crucial to make sure that all your tools are clean before you get started.
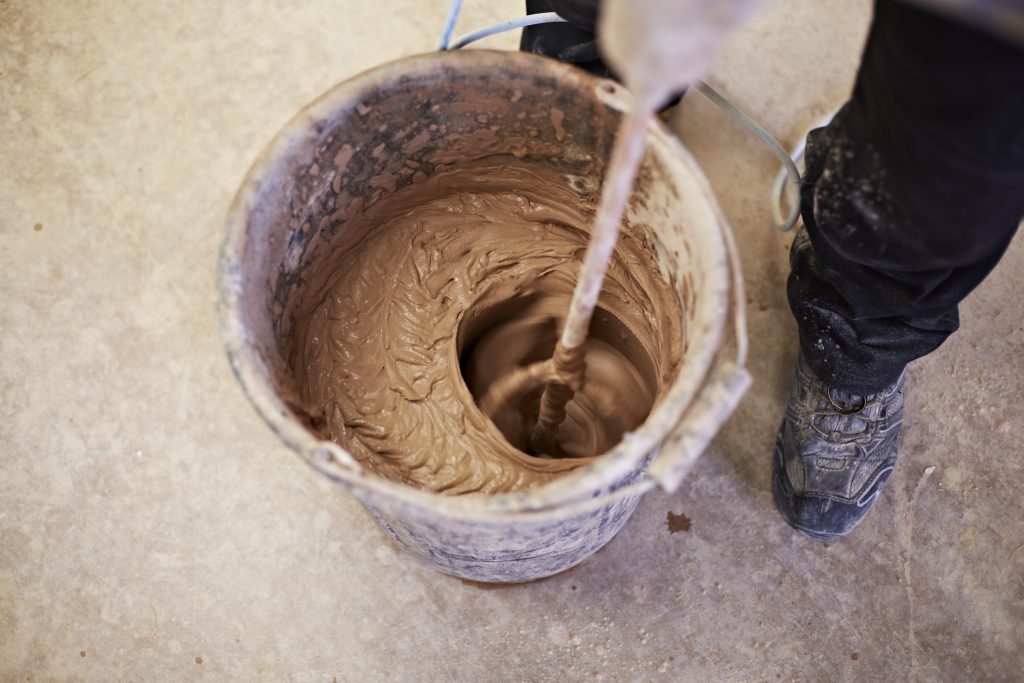
Once your mix is ready
Once you have your work area prepared, you can cut a piece of plaster from the mix and onto your hawk. Move the mix back and forth between your trowel and hawk a few times—this will allow air to escape from the mix, which will make it much easier when it comes to applying to your surface.
Applying plaster to ceilings
If you’re planning on plastering both ceilings and walls, it’s best to begin with the former—working from the left corner of the room and running your trowel forwards and backwards in a straight line.
Starting from the ceiling before the walls means you avoid dropping wet plaster onto an already-finished surface.
You’ll want this base coat to be roughly 3mm-4mm thick. As you move along, work the trowel out from internal angles (where the walls meet the ceiling), before returning to the corner and smoothing over the section you’ve just applied.
As you move along with your trowel, you might notice excess lines of plaster forming. Do not worry about this for now, as it can be fixed once you’ve finished applying the initial coat. Continue moving across the ceiling, running your trowel forwards and back over each section as you go, maintaining an even thickness.
Continue this until the whole area is covered.
Removing excess plaster
Once you’ve finished your first coat, you can begin to remove those excess plaster lines, as well as any lumps or holes.
To close the plaster in, start with your trowel face in an open position, then as you bring it towards you, slowly close it off and remove it from the surface. Repeat this process across the whole ceiling until you’ve removed the ridges.
Applying plaster to walls
When plastering walls, you should start from the surface’s middle point and work upwards from left to right. As you reach corners and edges, make sure you’re moving the trowel away from them.
Be sure to check your plaster for sediments, removing them as you go.
Once the top half of the wall is completed, move on to the bottom half, following the same pattern of moving left to right. By following the same pattern throughout the application process, you can make sure the drying time is uniform for each section.
Don’t worry about going right to the bottom of the wall, as this may later be covered by a skirting board.
Completing the first coat
The key thing to achieve with your initial layer of plaster is full coverage of all the surfaces. Once you have done this, wait around 25 minutes for the plaster to settle before moving on to the next stage.
At Able Skills we offer a variety of plastering courses that range from introductory level to NVQ qualification assessments. If you need any advice on finding the programme that’s right for you, our team would be happy to help. Give us a call on 01322 280 202 or pop into our training centre for a chat.
Editor's note: This article was originally published 28 November 2021. Updated 05 September 2025.
 Plastering