A tiled splashback is a great addition to any kitchen, providing walls with handy protection from inevitable splashes and stains from a sink or cooker, while also offering a quick, simple way of adding a splash of colour to the room.
If you’re thinking about installing a kitchen splashback, below are a few of the key things to keep in mind.
What kind of tiles should I use?
The most commonly used tiles for kitchen splashbacks are ceramic or porcelain, due to their cost, durability and how easy they are to clean.
Mosaic tiles are also fairly common thanks to their appealing aesthetics, however, the larger price tag can be a little off-putting for those working on a strict budget.
There are no set rules on what tiles can be used for a kitchen splashback, only that the material is hardwearing and can be easily wiped clean — aside from that, the decision comes down to personal preference and how much you’re willing to spend.
What other materials do I need?
Firstly, you’ll need adhesive to fix your tiles to the wall. There are two kinds of adhesive to choose from — a ready-mixed paste, or powdered adhesives that you mix with water yourself.
Ready-mixed pastes are fine for smaller, lightweight tiles, however, powdered adhesives tend to offer a stronger bond.
Along with that, you’ll need grout — this is used to bond and seal the joints between tiles. You’ll want to use anti-mould grout for a kitchen splashback, given that it’ll get wet regularly.
How do I work out how many tiles I need?
To calculate how many tiles you’ll need to complete your backsplash, measure the width and height of the area and convert them to metres, multiply these to find the number of square metres of tiles required.
Keep in mind that it’s always worth adding a bit extra to account for wastage from cut or broken tiles. Most DIY stores also offer their own tiling calculators these days, which can be extremely helpful.
What tools do I need?
Below is a list of tools commonly required when installing a kitchen splashback:
- Screwdriver
- Bucket
- Drill
- Grout float
- Spirit level
- Notched trowel
- Rubber mallet
- Tape measure
- Utility knife
- Non-contact voltage tester
- Caulk gun
- Tile-cutter
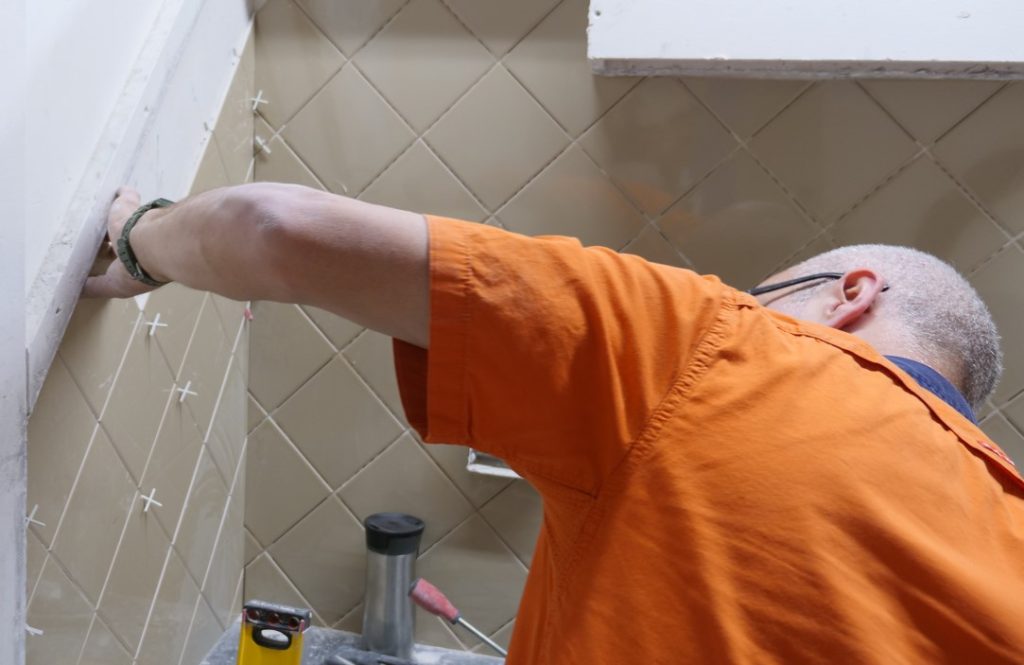
How to prepare, tile and finish the area
- Prep the wall: After covering the surrounding areas with dust sheets, you’ll want to remove any dirt with a damp cloth and fill any holes to ensure a smooth surface. If any areas are rough or uneven, give them a light sanding before wiping with a cloth and leaving to dry.
- Apply adhesive: Using a notch trowel, start at the base of the wall and create horizontal, level lines of adhesive across the area to be tiled.
- Begin tiling: One by one apply firm pressure to each tile, sticking them to the adhesive and using tile spacers between each to ensure the gaps are level.
- Cut tiles to size: Once you reach the end of a row, you may need to cut a tile to fit the remaining space. Use a tape measure and mark the tile with a pencil where it needs cutting. Use a tile cutter to score a line along the mark and apply light pressure to break the tile along the score.
- Grout tiles to finish: Once your tiles have been laid, remove all the spacers and wipe away any excess adhesive, then wait at least 24 hours to allow the adhesive to set. Then, mix your grout before spreading across the gaps, ensuring you work the grout into the spaces. Wipe any excess grout away with a damp cloth before it hardens.
Learn the basics of tiling
Want to learn some basic tiling skills from an experienced professional? Our Introduction to Tiling course is perfect for anyone wanting to learn a variety of practical skills that will allow you to carry out DIY tiling tasks at home.