Here’s our guide on how to make, solder and secure capillary joins for copper pipes. This will help you take on small plumbing jobs in the kitchen and bathroom, achieving perfect results every time.
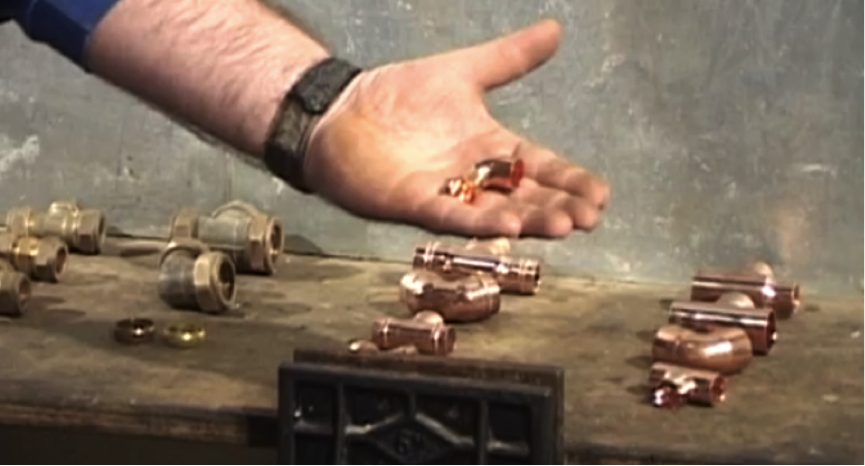
Step 1. End feed capillary demonstration
We’ll be demonstrating an end feed capillary join, as you can see in the picture. This is the most common type of fitting as it is cheaper and gives a strong join. Different types of join are available, as you can see.
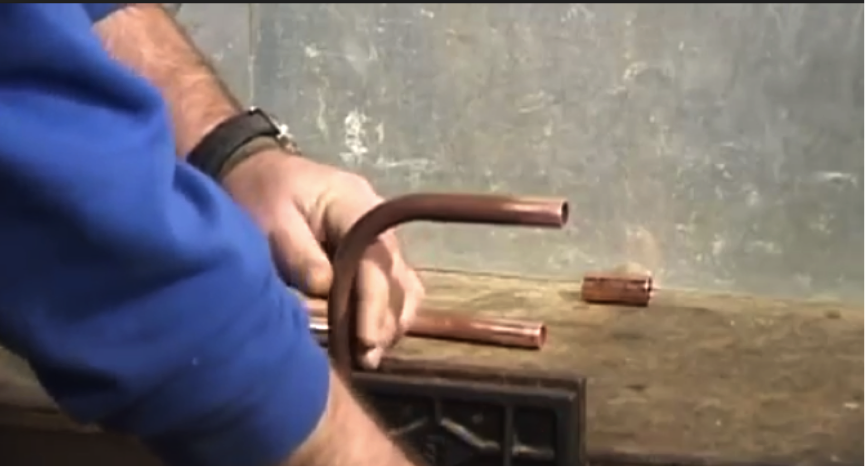
Step 2. Secure the pipe
To begin, secure the pipe to be joined in a vice. If you don’t have a vice, then use a heatproof surface. Never solder without the proper protection.
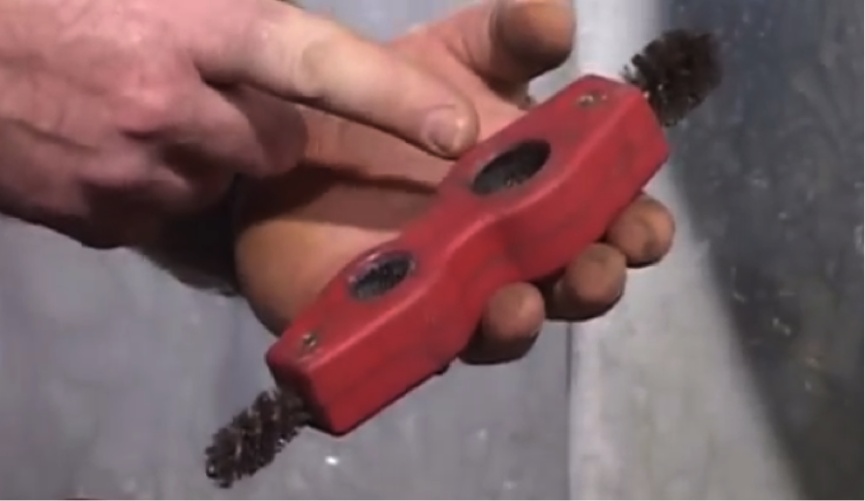
Step 3. Clean the pipe
Use a pipe cleaning tool, as pictured, to make sure the all the pipe surfaces are clean and free from debris. This will give you a better seal. You can also use wire wool to achieve this.
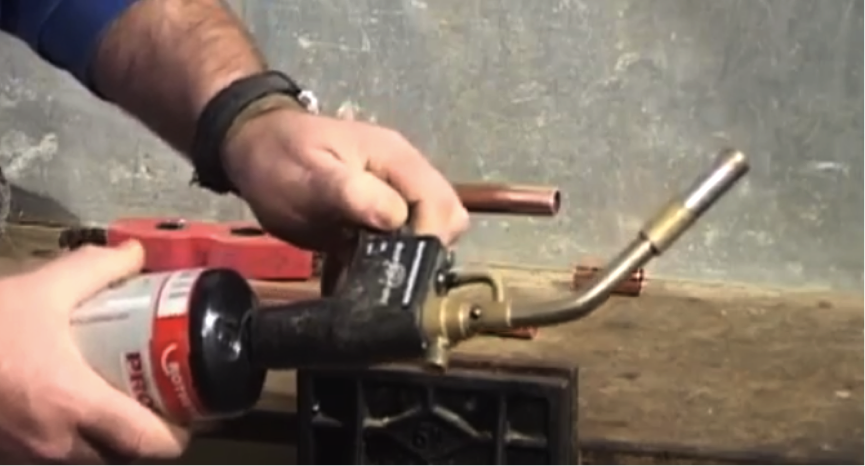
Step 4. Assemble your torch
In the demonstration we are using a trigger-operated gas torch, but there are other torches on the market. You must use propane gas for soldering. Always check the safety and assembly instructions for the torch you are using but a good guide is to:
- Make sure the power and gas buttons are switched off to start
- Check the threads on the nozzle and bottle for damage before gently screwing together and hand tightening only
- Sniff the join for a smell of gas – a good seal will not smell
- Once confident of a good seal, switch on torch and gas, and operate with trigger
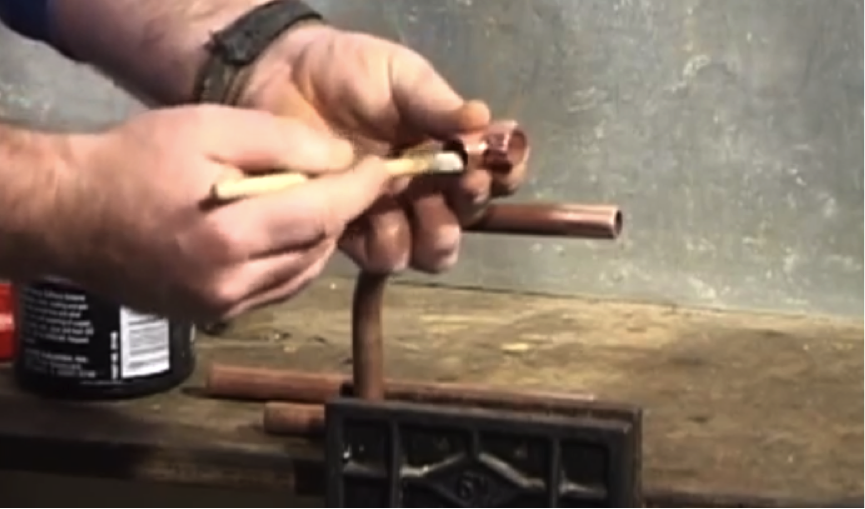
Step 5. Prep the pipes
Use active flux on all surfaces to prevent further oxidisation and to act as a lubricant for the solder. Brush on evenly and make sure you cover both inside and outside of pipes to be joined. Remember to use lead free solder because it’s a water pipe and has to be free from any contaminants.
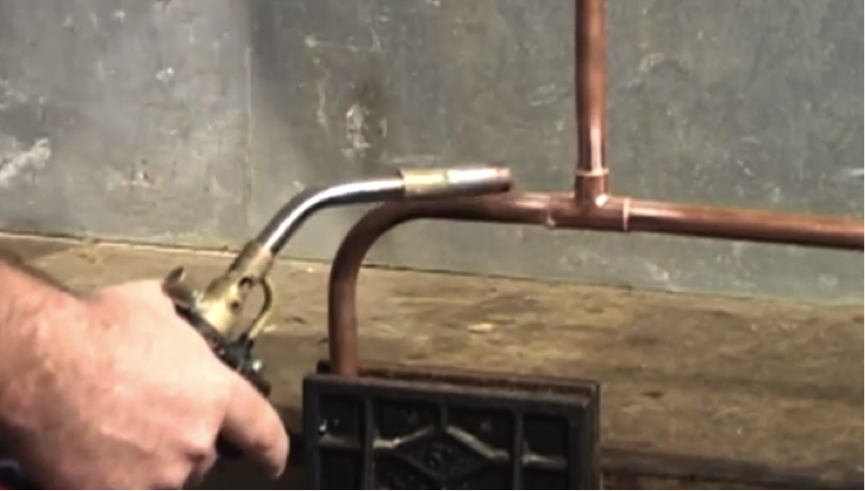
Step 6. Prepping for solder
Once the pipes are assembled as required, use the blowtorch to bring the copper up to temperature.
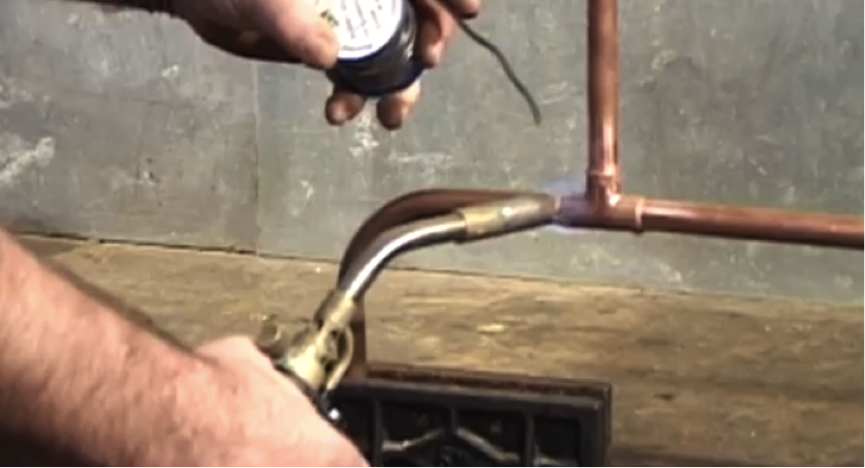
Step 7. Soldering
Do not melt the solder with the flame. Switch the flame off before you solder or you can melt it before it is in the joint. The heat of the copper should be enough to melt and seal. Heat the pipes with the torch, add solder, and repeat along the areas to be joined. If the solder does not melt on contact with the join, continue to apply the flame.
- You will need about 10mm of solder for each 15mm join
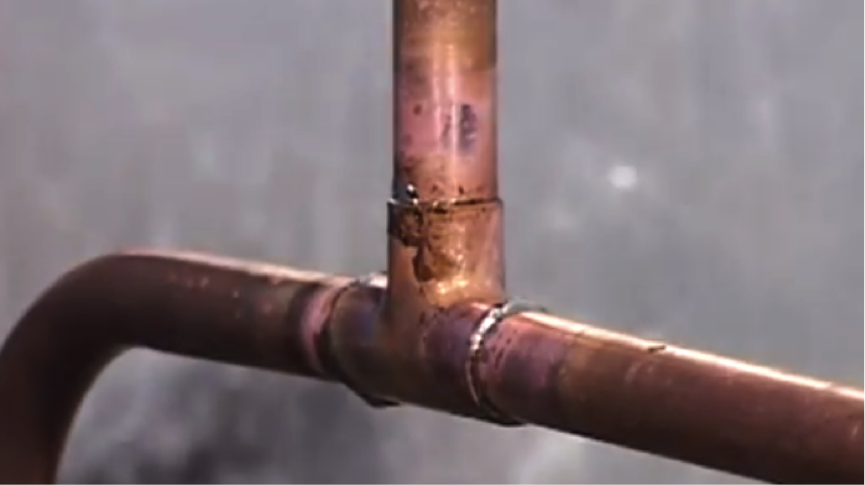
Step 8. Check your work
You need to look for a silver ring of solder all around each join. This silver ring will indicate that you have made a good, clean connection. Always make sure you have turned the gas torch off and leave to cool for a few minutes.
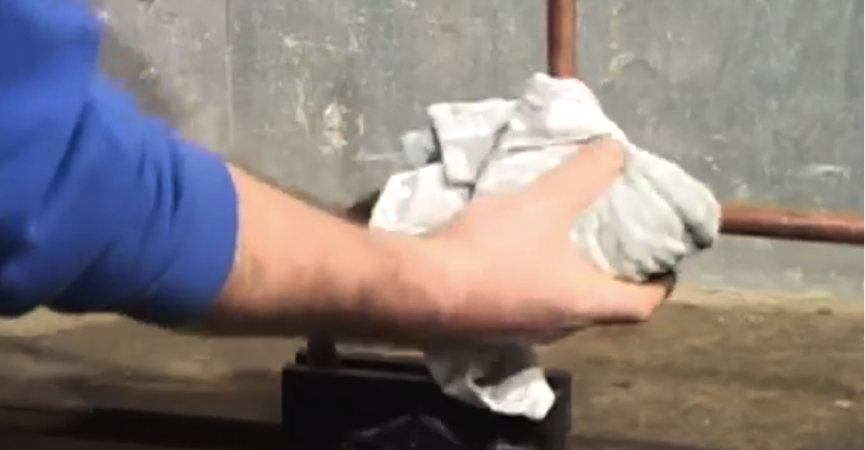
Step 9. Clean up
Wipe off excess flux from around the joints with a damp cloth. This will prevent brown spotting from appearing on your work.