When you buy new radiators, they need to be fitted to the wall and hung on brackets. Here’s our easy guide on how to fit your brackets straight and even, so that your radiator hangs in the correct position.
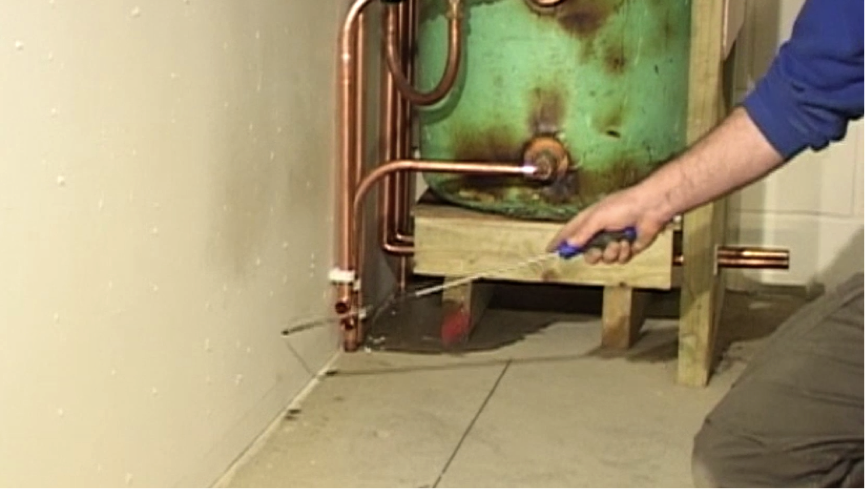
Step 1. Remember the pipes
More often then not, the pipes for the radiator will be under the floor, with only two tail pipes protruding to feed and drain the radiator. However, for this demonstration, the pipework will remain above the floor so it is easier to see.
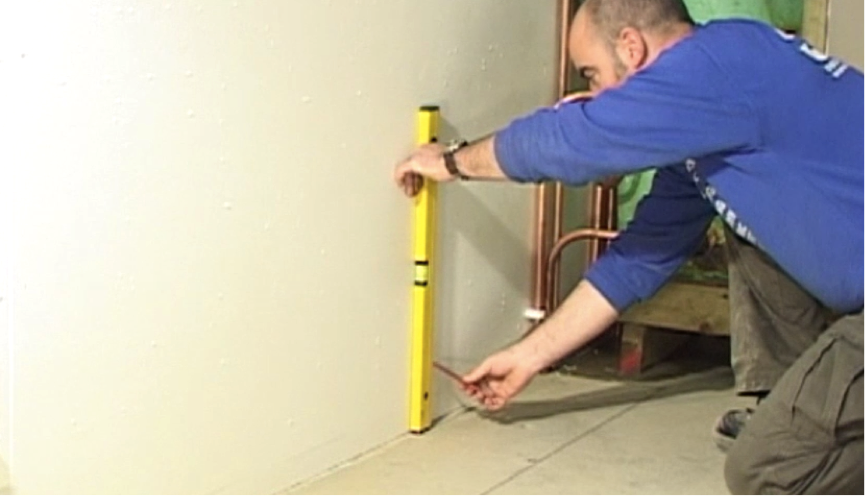
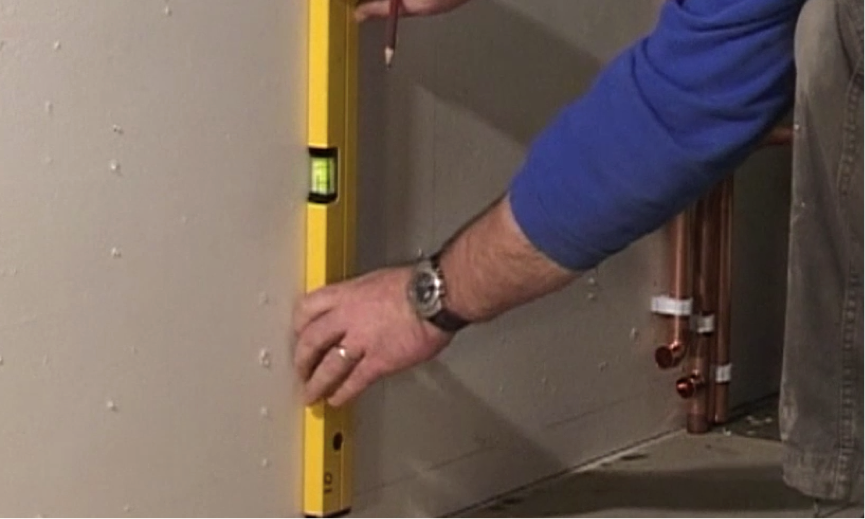
Step 2. Make the centre point
To determine the centre line where the radiator will go, use a spirit level to make a straight mark on the wall in pencil. Keep the mark small, as when mounted you don’t want to be able to see it.
Step 3. Measure the height
Now you need to measure how high the radiator will be mounted, known as the set height. Remember to include the distance from the bottom of the radiator to the bottom of the bracket. In our demonstration, we will measure 245 mm from the floor and make a small mark. (NB this distance may be different for you depending on how high you mount it, but it must be at least 100mm from the ground).

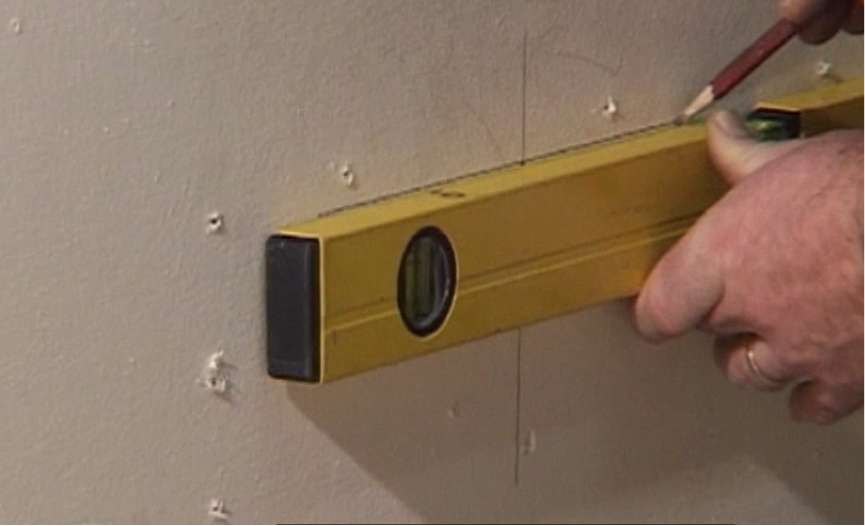
Step 4. Make your base line
Using your spirit level again, make a small horizontal line across your height mark, to be used as your baseline.
Step 5. Measure your radiator
Now, find the centre of your radiator and measure to the centre of the support bracket on one side. Now mark the wall corresponding with these measurements along your baseline.
Step 6. Make your bracket lines
Using your level, draw two straight lines up from the marks. Again, not too big, as you need to keep them hidden.
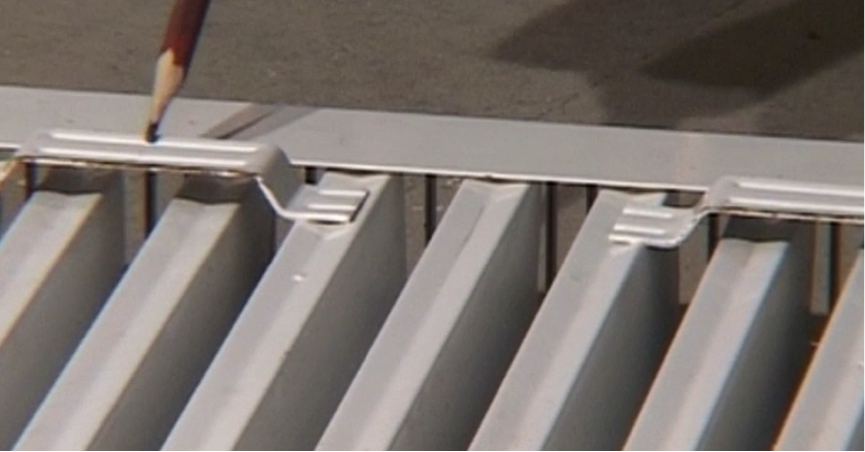
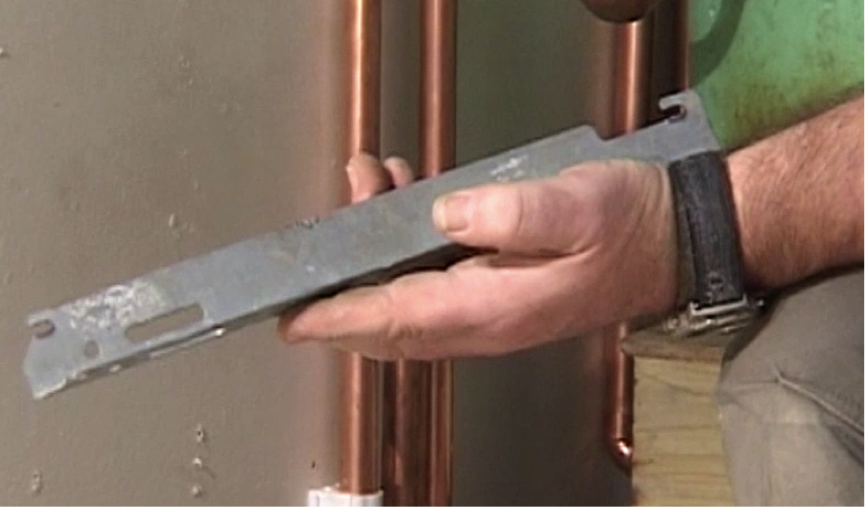
Step 7. Examine your brackets
The two brackets are the same, there is not a left and right. However, each has a large side and a small side. You should hang the radiator from the large side as this holds the radiator further out from the wall giving you better air current and heat flow.
- You can use the small side if hanging behind a door or limited for space
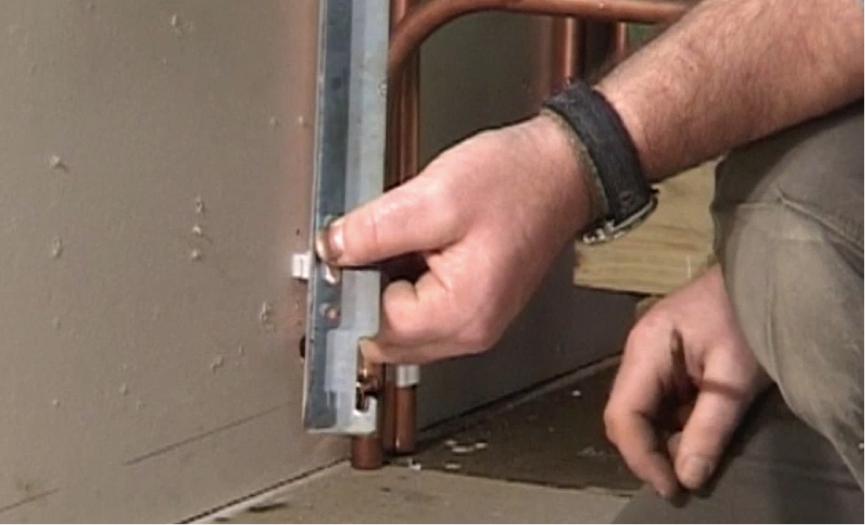
Step 8. Fix with flexibility
When fixing to the wall, use the large oval hole at the bottom first. This will allow you to move the bracket up and down, left and right, to get the final position. Only once you have the final position should you put the second screw in through the hole in the top. This will lock the bracket in place.
- Do not put screws in both the oval holes on each bracket
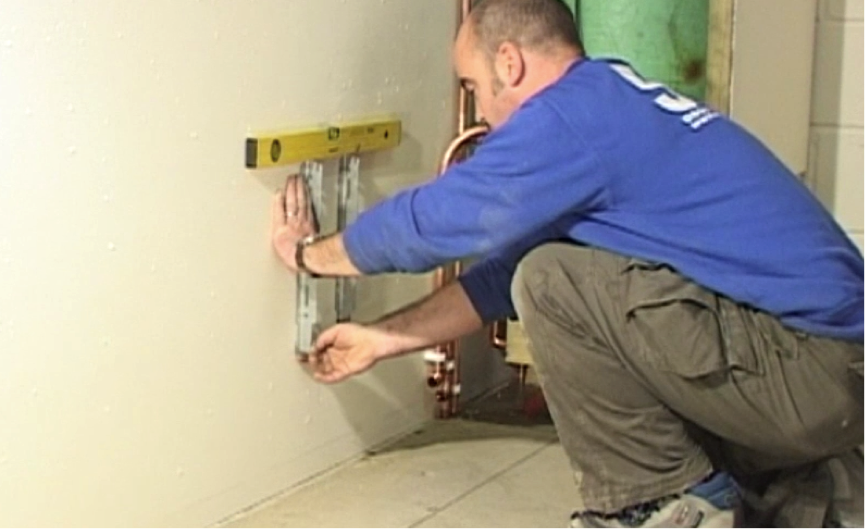
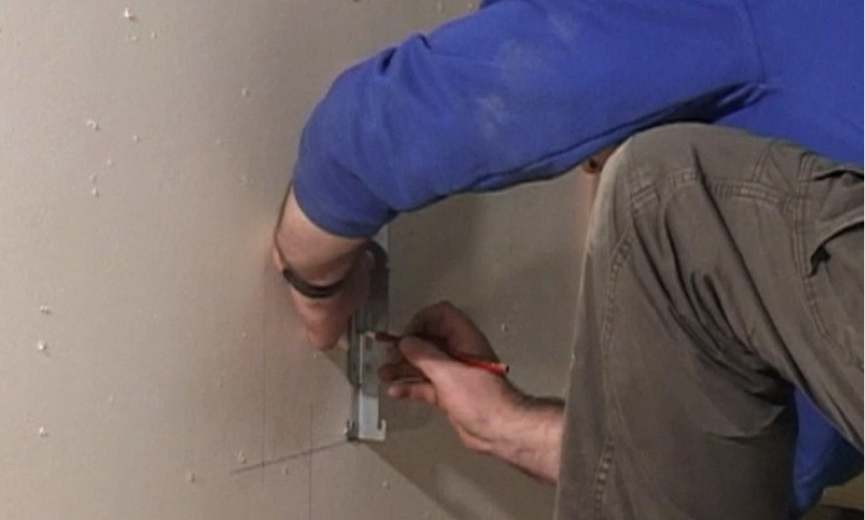
Step 9. Line up bracket
Sit the bracket on the base line and line up the outer edge with your vertical line. Now mark through the oval hole with pencil as a guideline where to screw.
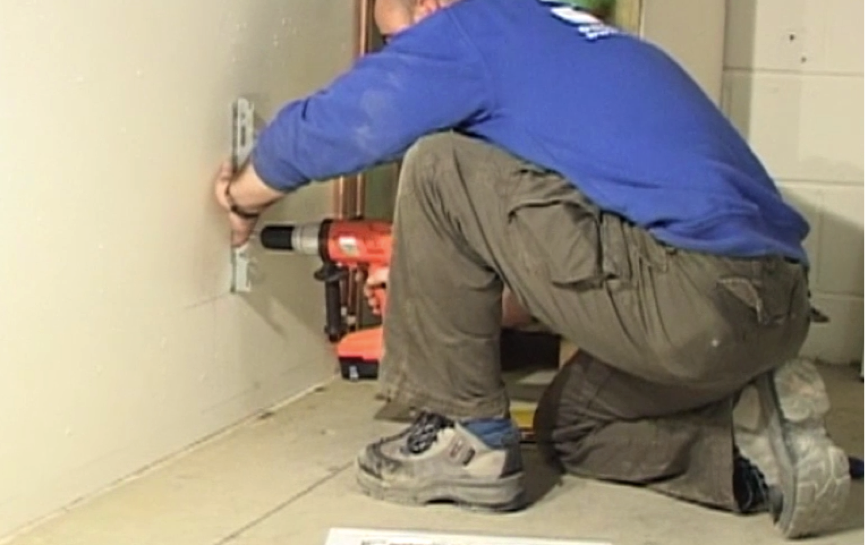
Step 10. Screw in
Screw in the bracket firmly but not too tight. Then use a level to make sure it is straight. After this, screw in the top, using the circular top hole.
Step 11. Fit second bracket
Bring up the second bracket and use a level across the top to ensure it’s all straight. Mark your oval and circular holes with pencil and fix to the wall in the same way.