Here’s our straightforward guide to plastic compression fitting, including what’s available, how to use them and why they’re a great choice for kitchen and bathroom plumbing jobs.
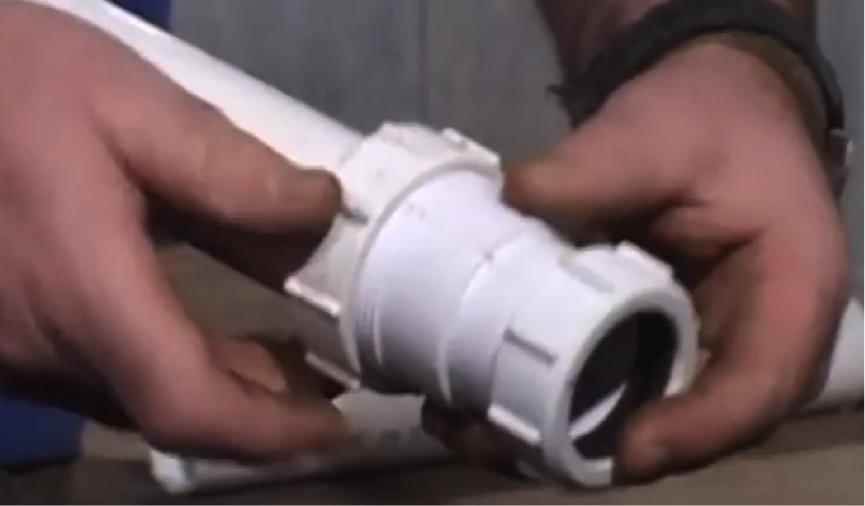
Step 1. Styles of compression fitting
Compression fittings come in various shapes and sizes. The one pictured is a standard straight 1 ½ to 1 ¼ inch reducer compression fitting but you can also get elbows and T connections.
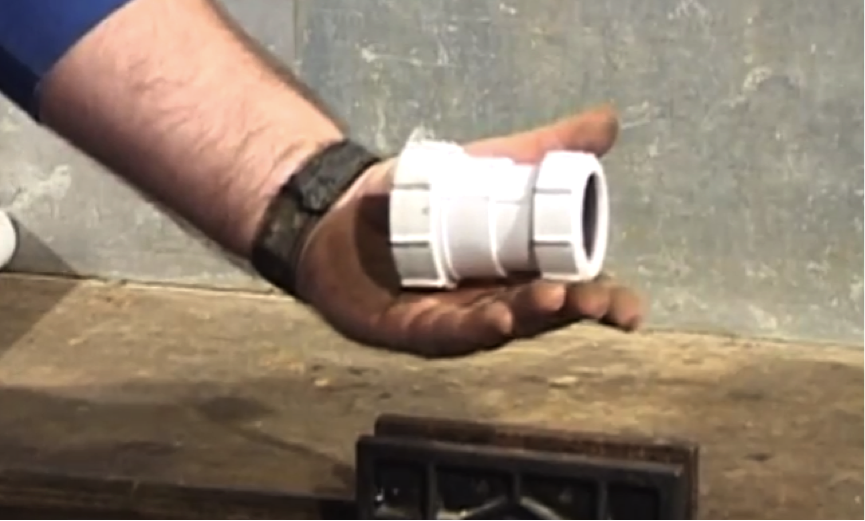
Step 2. How they work
Unscrew all the various pieces of the compression fitting and you should see how they work. Pictured is the red plastic compression ring that sits inside the nut.
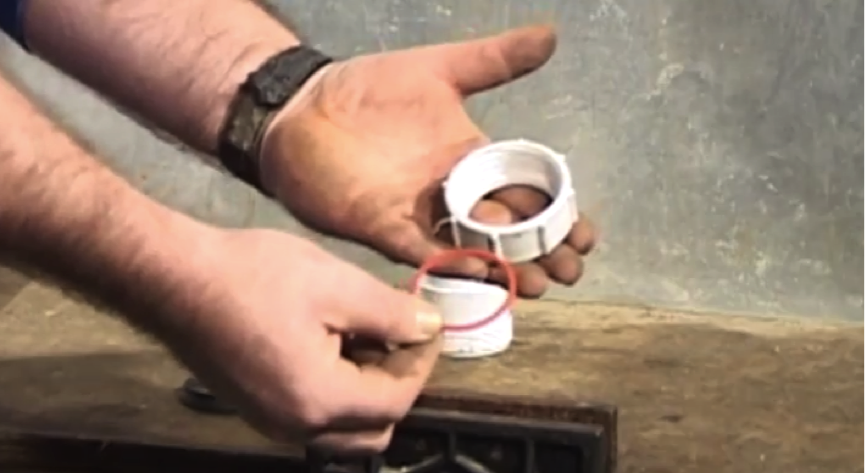
Step 3. The sealing ring
There is also a rubber sealing ring that sits inside the nut to make it watertight.

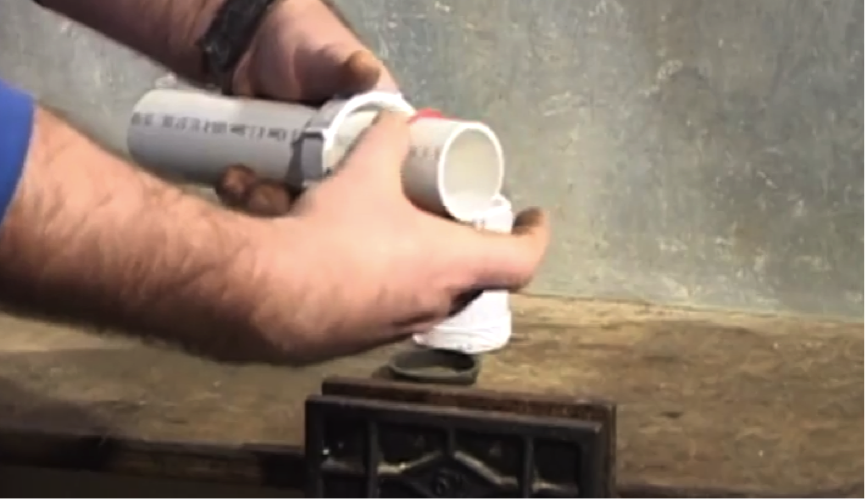
Step 4. Fitting to a pipe
When fitting to a pipe you must put the nut on first, then the compression ring and finally the rubber sealing ring.
Step 5. Putting the sealing ring on in the correct way
The rubber sealing ring has a tapered edge. This must be fitted with the narrow end facing toward the join, as pictured.
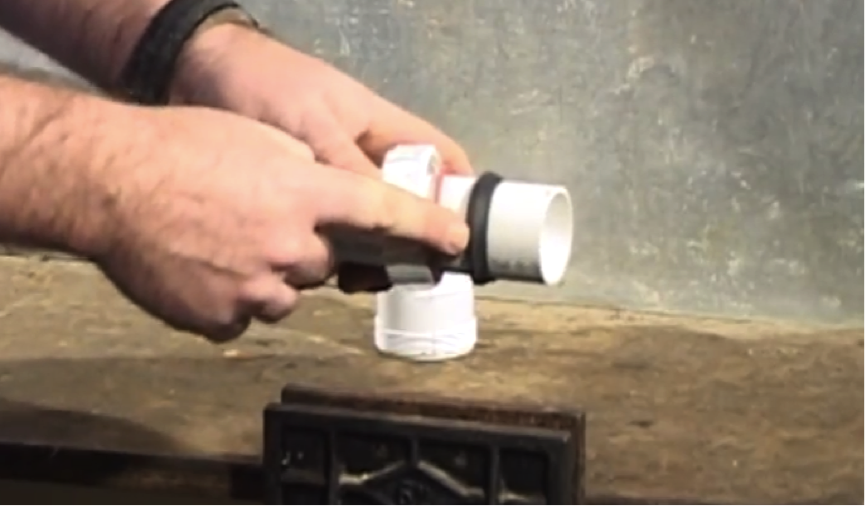
Step 6. Making the join
Bring the fitting in and push up so that the tapered edge is squeezing onto the fitting.
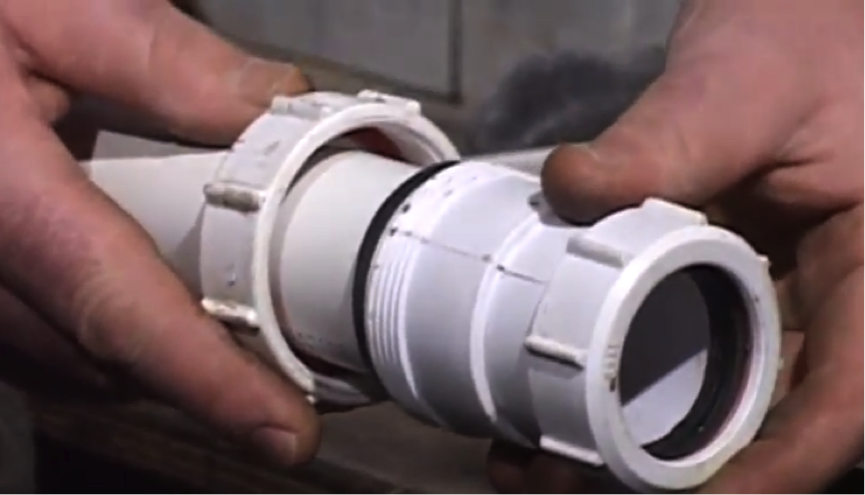
Step 7. Hand tighten
Bring up the compression nut and hand tighten only. This is because the join will never be under pressure. For a straight join of pipes you must repeat the process on the other side of the connector in the same order: nut, compressor, sealing ring.