Here’s our straightforward guide to what you need to know about the different types of tap fittings you might encounter in the bathroom. We’ll show you what you need to know to fit each one correctly and successfully.
Step 1. Basin taps
Pictured is a basin tap, with a 15mm thread. Bath taps look very similar, except they have a 22mm thread and may be joined together as a mixer.

Step 2. How to fasten
Position the tap in place and fit a washer on the underside. Then add the back nut and tighten by hand before finishing the job with an adjustable spanner. This will hold the tap firmly in position.
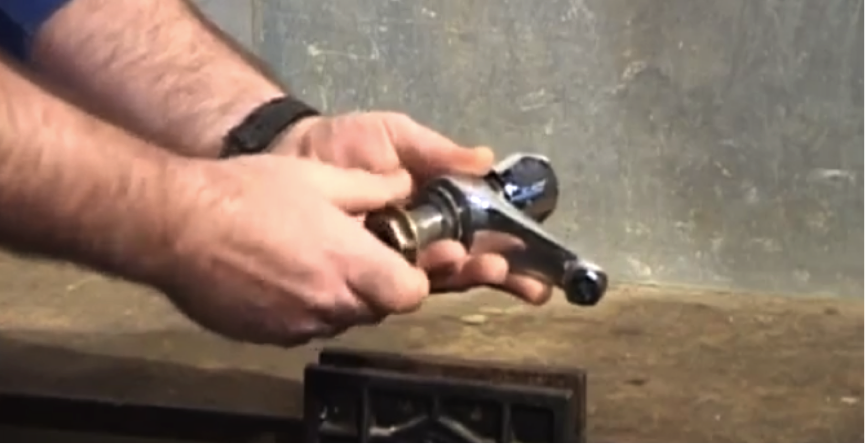
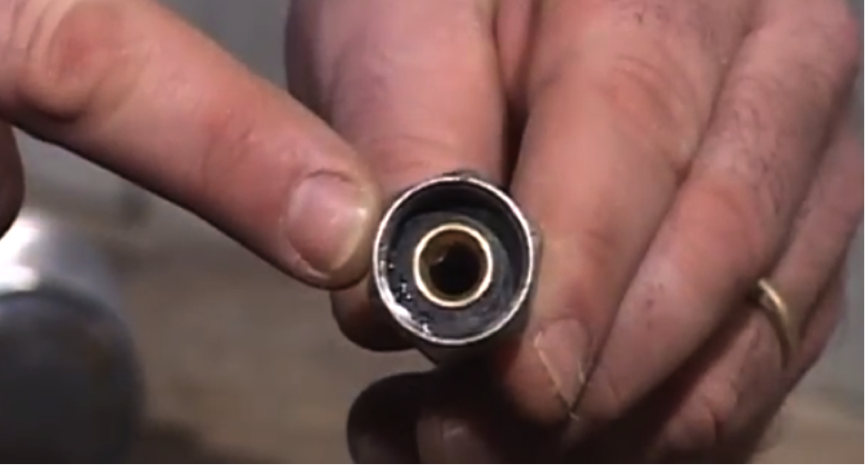
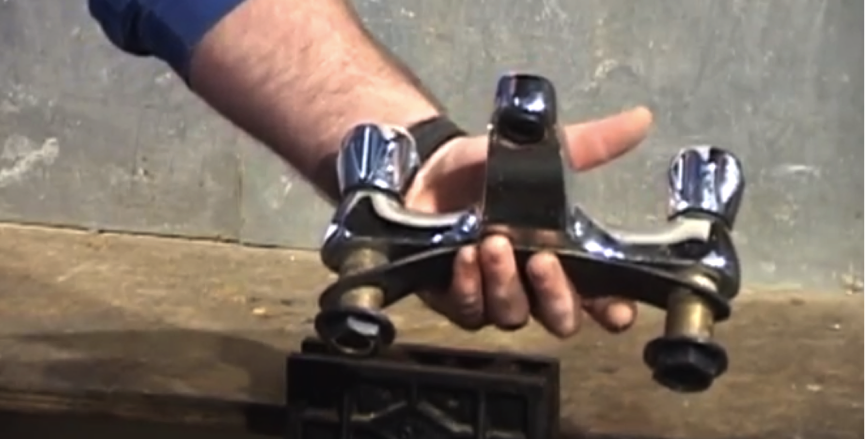
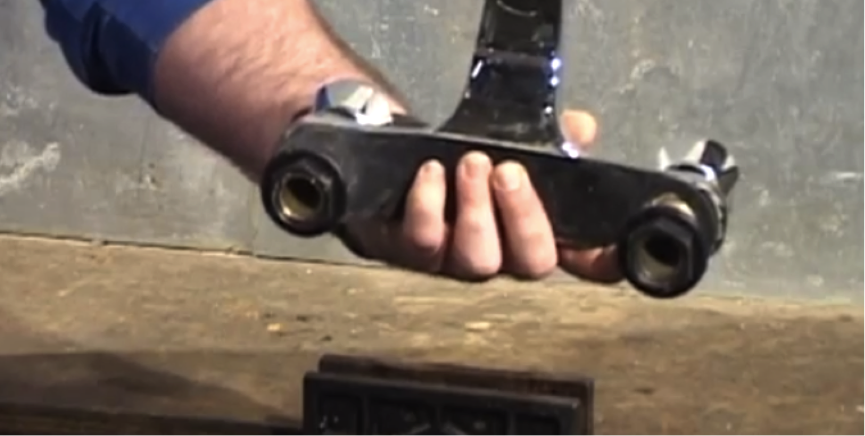
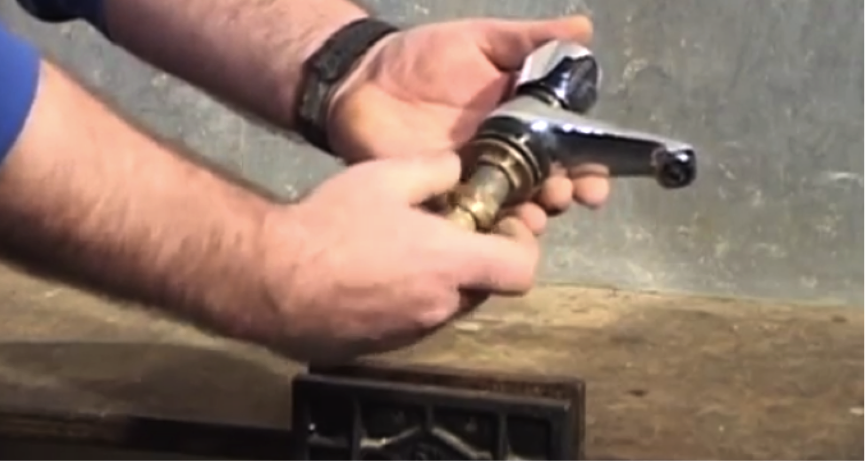
Step 3. Bath taps
Pictured is a 22mm bath tap. The taps themselves come in various shapes and sizes but this is a fairly standard mixer design, with cold on the right and hot on the left. The water is actually mixed in the spout and not in the body.
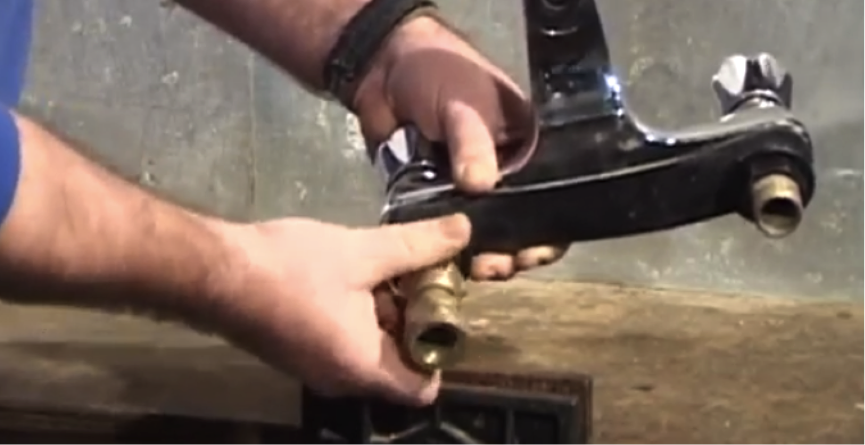
Step 4. How to fasten
Fix to the bath in the same way as the basin taps. Our demo model has a rubber washer which goes on top of the appliance to form a seal. The two back nuts are fastened on the underside, first by hand and then with an adjustable spanner.
Step 5. Take out the diffuser
Most taps will have some kind of diffuser fitted on the end of the tap to act as a filter. When fitting pipes for the first time, take these out as they can collect all the dirt and debris in the system when flushing it out. This will affect the performance of the tap flow. Pop out or unscrew with a screwdriver. The same applies for bath taps too.

Step 6. Fit the isolation valve
This needs to be fitted under the basin between the hot and cold water pipes and the taps. On the centre of the isolator is a screw and inside a ball valve which can be closed to isolate the taps. They don’t need to be fitted to the bath taps as they should either already be attached or it may be a gravity fed system.
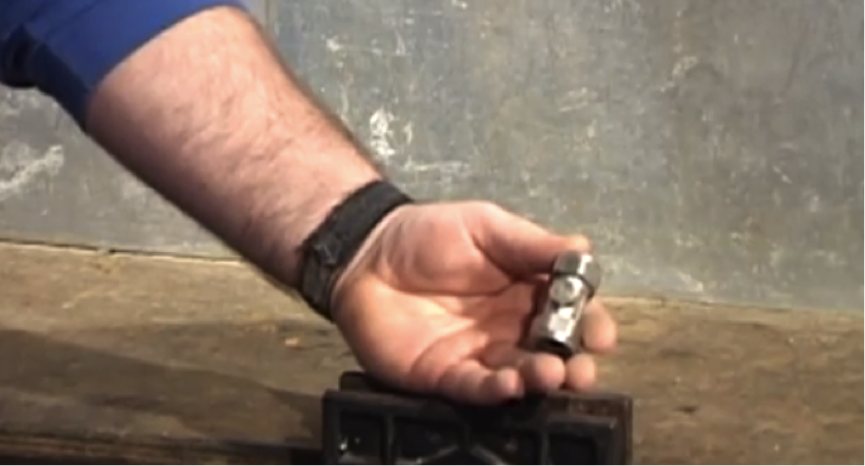
Step 7. Fit the tap connector
Underneath the unit, attach the tap connectors to the taps. The fibre washer will fit tightly over the tap thread. Make sure the fibre washer makes a seal by tightening with a spanner.
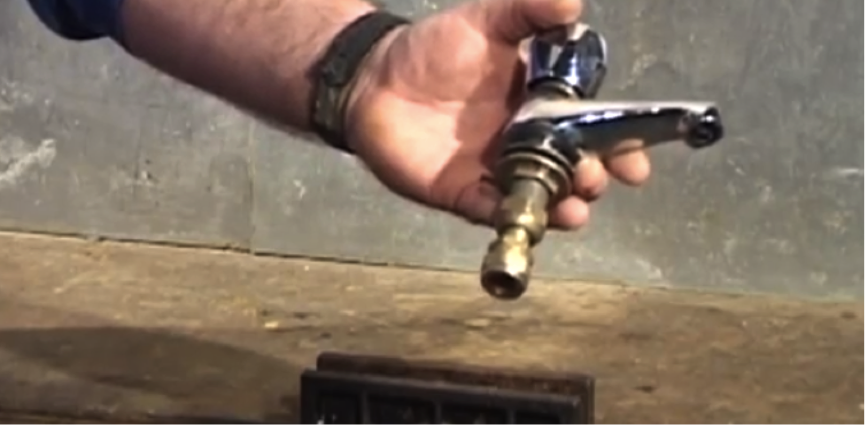
Step 8. Choosing your connector
Pictured is a standard 15mm straight compressor connector. You don’t always need to use a straight connector – others are available if you are short of space, including 90˚ angle connector with a built in service valve. The fibre washer seal works in the same way. The most important thing is that you can gain access to the isolator under the basin.
Step 9. Scale up
All the fittings we have mentioned in steps 7 and 8 are also available in 22mm sizes for bath taps.
Step 10. Using a flexipipe
If it is not possible to connect the pipe directly to the tap, you can use a flexipipe with a built in service valve on the end, as pictured. The top end attaches to the tap and the bottom end is a standard 15mm compression valve to attach to the pipe work.
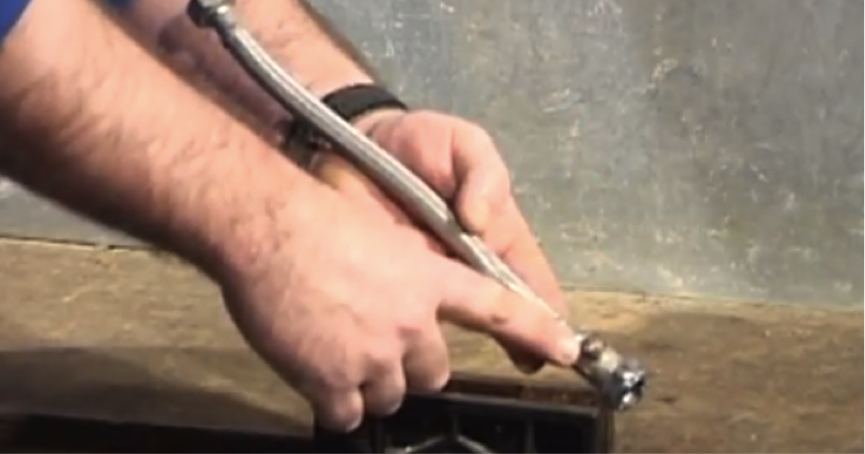
Step 11. Attaching the flexipipe
At the tap end, there is a rubber sealant washer, which you should tighten up with a spanner to make it watertight. The flexibility gives you room to move about freely, meaning you don’t have to be as precise with your pipework. They are ideal for use behind a pedestal basin or vanity unit. Different lengths are available up to 1.2 metres. They also come in 22m for bath taps.