If you notice that your taps are leaking there are a number of problems that may have occurred. Luckily, it’s usually relatively straightforward to fix most of them. Here’s how to do it.
Step 1. Assessing the problem
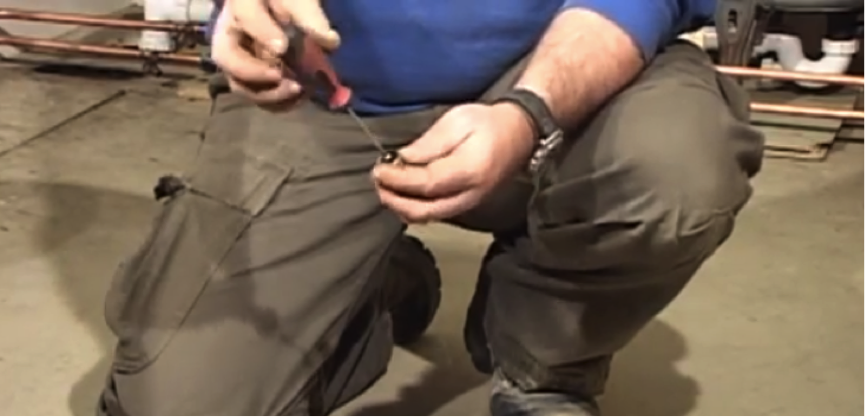
If the tap is leaking from its end, as shown in the image, this might suggest that the washer has worn out. If it is leaking from its handle, the rubber seal or o-ring may need replacing.
Step 2. Isolate the tap
Underneath the tap will be some form of isolation. You need to locate this and turn off the water supply to the tap before you do anything. It’s also a good idea to put the plug in the sink to stop any parts falling down the drain.
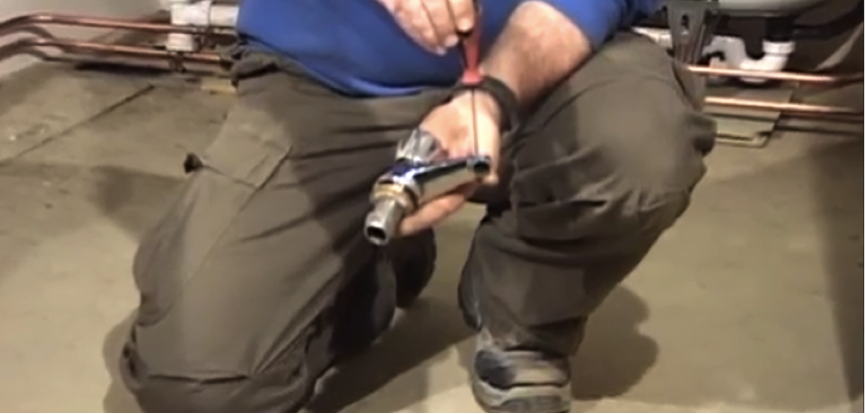
Step 3. Prise the top off the tap
Gently prise the top cap section of the tap off using a screwdriver (or it may require unscrewing with your fingers). Be careful not to cause any external damage that may spoil the appearance.
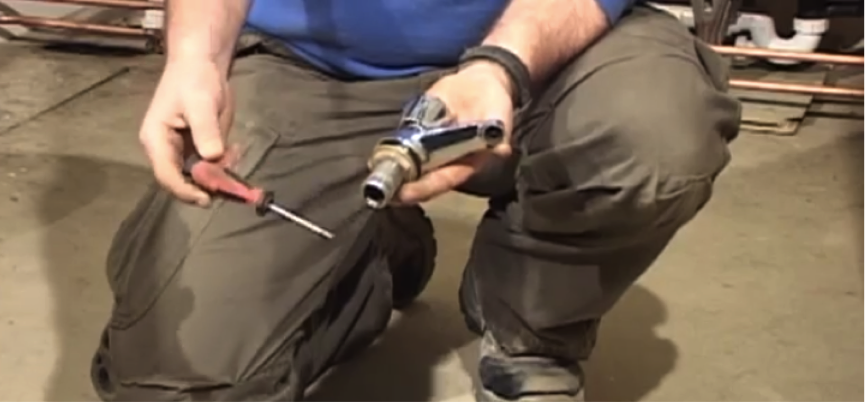
Step 4. Screw off the head
Inside you’ll see a screw, remove this gently and lift the head of the tap off.

Step 5. Take off the head gear
Using an adjustable spanner, carefully remove the head gear of the tap by unscrewing. Some of the washers may also have screws on the end but they will all come off easily.
Step 6. Replace the washer
Prise the washer out and replace it with a new one, making sure it is correctly inserted and screwed in if necessary.
Step 7. Replace the o-ring
At this point, it’s a good idea to replace the o-ring as well, as this may be where the drip is originating and could save you repeating the job.
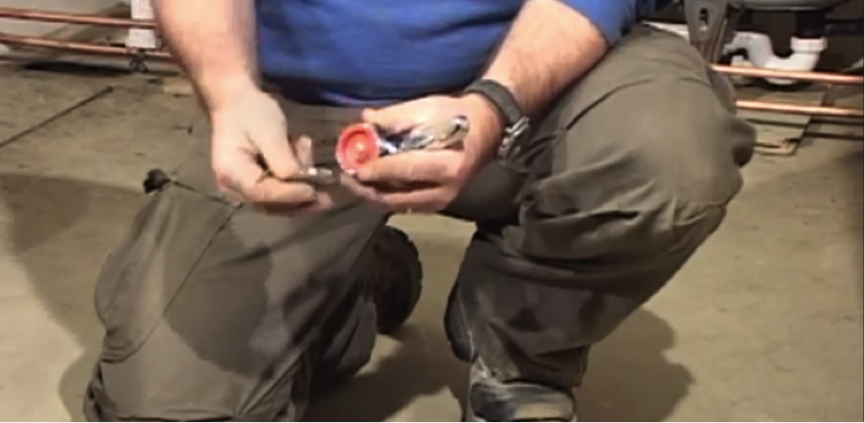
Step 8. Check the seating
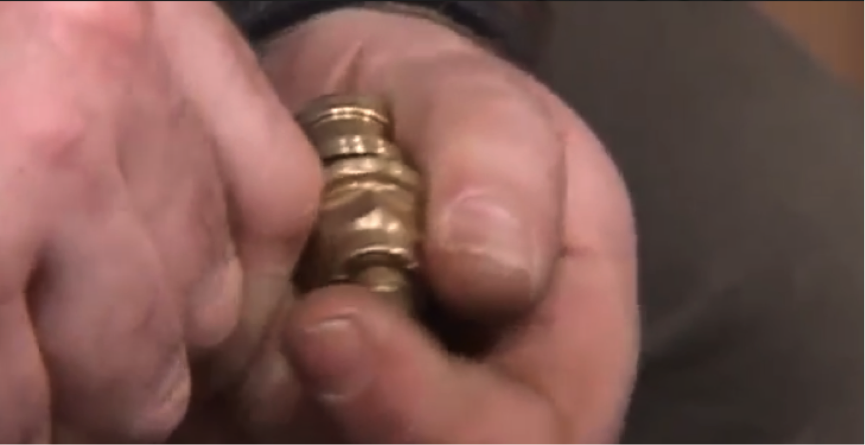
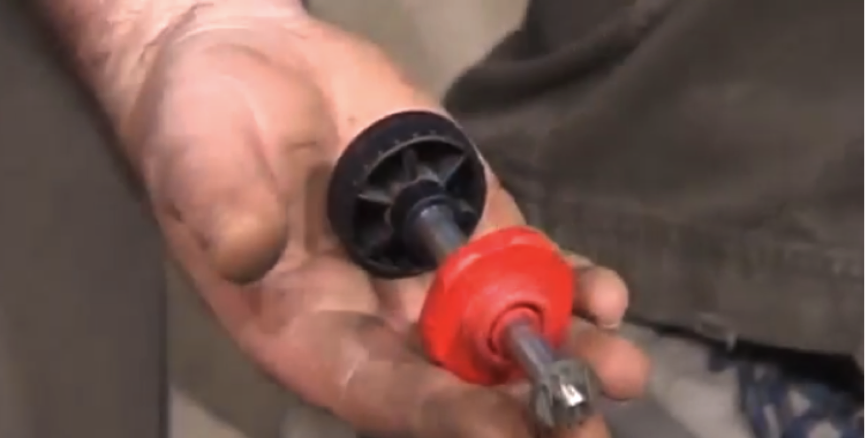
There should be a brass ring which acts as the seat of the tap, on the inside. Check that this is not worn or pitted as this may prevent the tap sitting properly. To re-seat you will need a reseating tool, as shown in the picture.
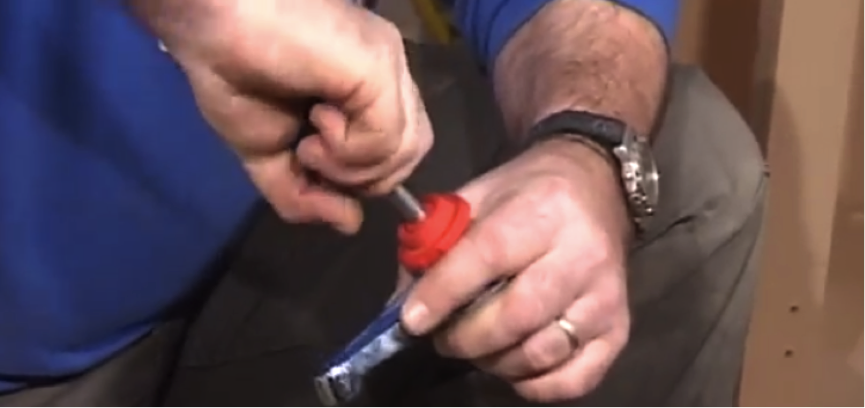
Step 9. Reseating the tap
The red part of the tool has different threads which will centralise the spindle. Line it up and secure with your fingers, then turn the black end of the re-seater six times, and undo. Check the seat is nice and shiny and flat.
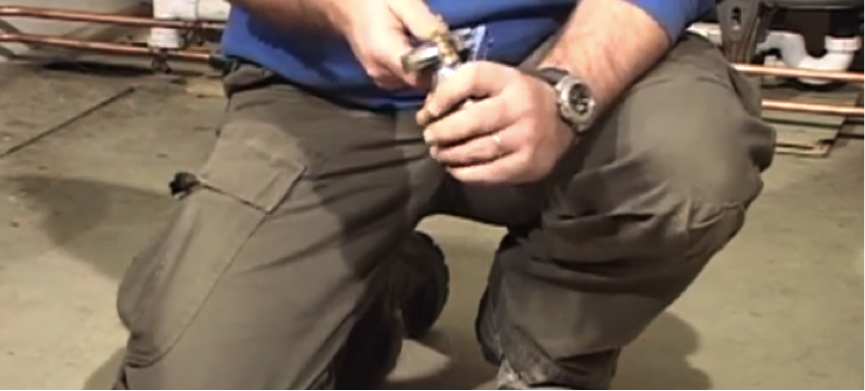
Step 10. Rebuild the tap
Reinsert the head gear and tighten with your fingers. Nip it tight with your adjustable spanner. Reattach the head and secure with the screw, replacing the cap carefully afterwards – it should clip into place. Re-enable the water supply at the isolator and test the tap to see if it works properly.
