Once you have your beading set in place and level, it’s time to apply your first coat of bonding plaster. This plaster goes on thick and is smoothed to leave a good surface for the top coat to adhere to. Use your feather edge to get the right finish. Here’s how to do it properly.
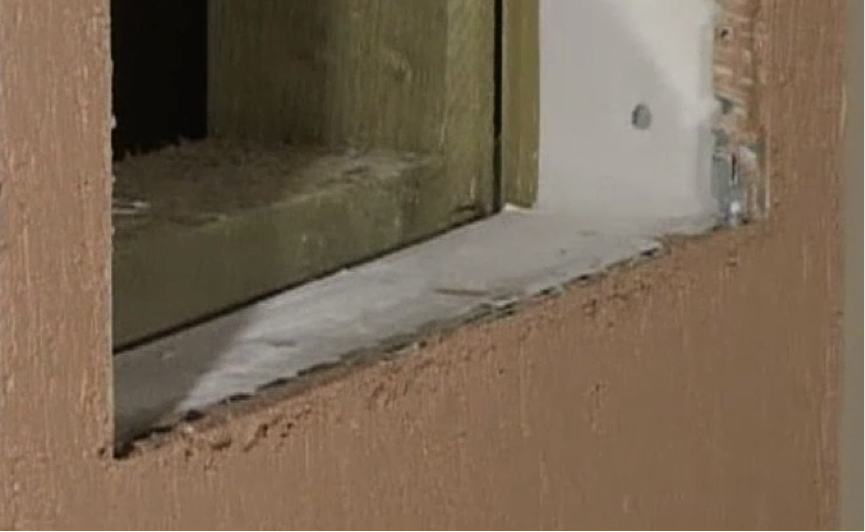
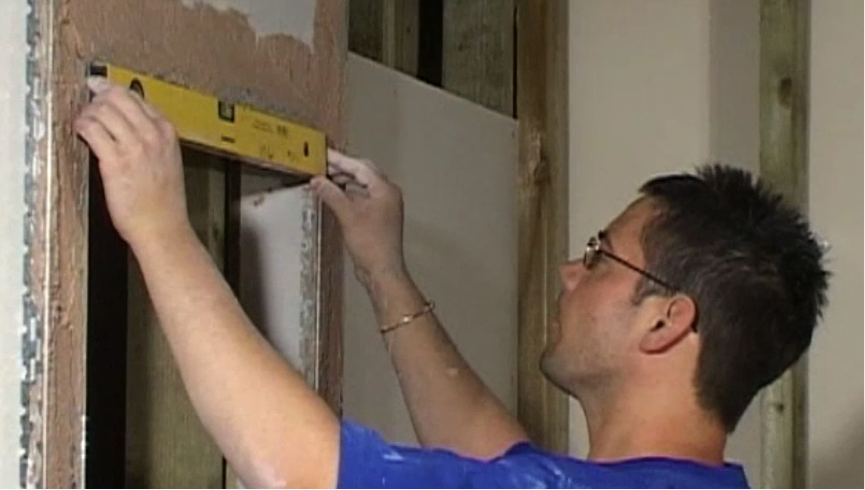
Step 1. Check bead levels
Once all the beads are set, check all the levels using your long or short spirit levels. If they are all set in place and level, then you can start to apply the bonding plaster.
Step 2. Mixing the plaster
Mix up a load of bonding plaster using half a bucket of water and prepare a load of plaster on your hawk. This is bonding plaster and acts as a first coat so it doesn’t have to be 100% perfect. Any imperfections can be smoothed out with the top coat.
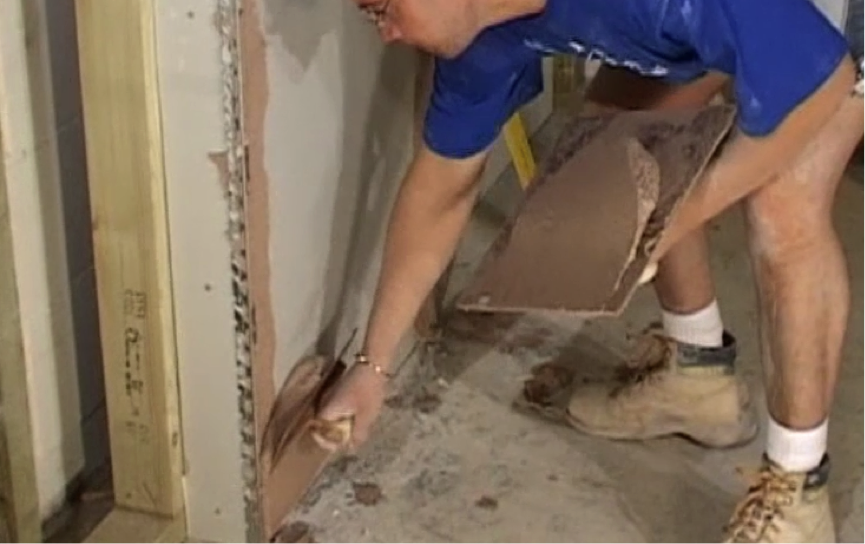
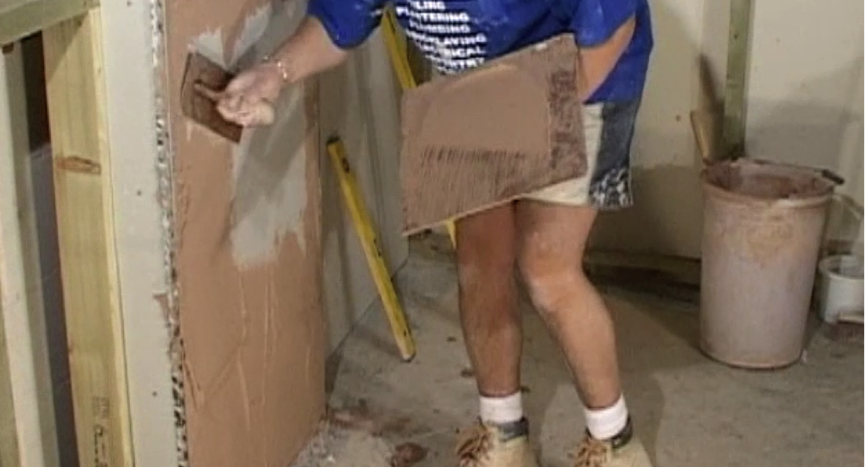
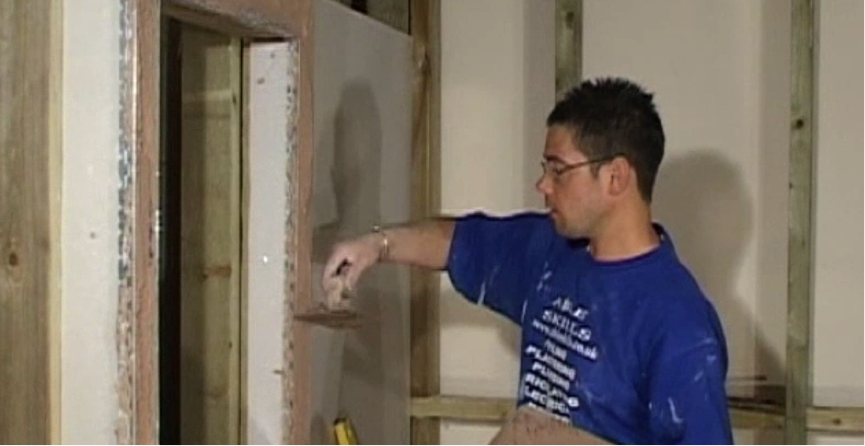
Step 3. Applying the plaster
Using your hawk and trowel, liberally apply the bonding plaster between the beaded areas. This can be up to one inch thick to ensure a good clean underlay, ready for the finishing plaster. Again, don’t worry too much about the quality of the finish now, as this is where the feather edge comes in.
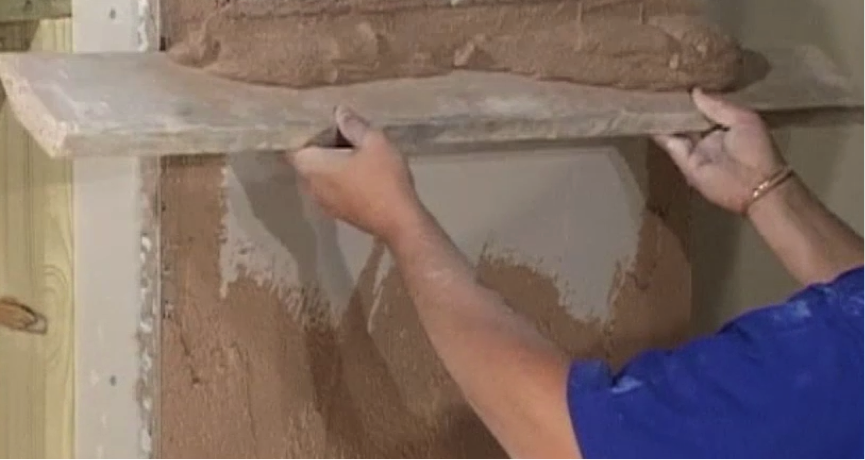
Step 4. Using the feather edge
The feather edge is used to rule off the undercoat, making it level with the beading you have set. The feather edge has two distinct sides, one flat and other tapered to an edge. With the thin edge to the wall, rest it on your beads and with your hands underneath the feather edge, run it up the wall in a straight line. Make sure the feather edge stays on the beads to rule it off square.
Step 5. Filling holes
If you find any holes or indentations, simply fill these back in and continue to spread the bonding plaster over the surface in the same way as before. Once again, don’t worry about the finish as the feather edge will take care of it.
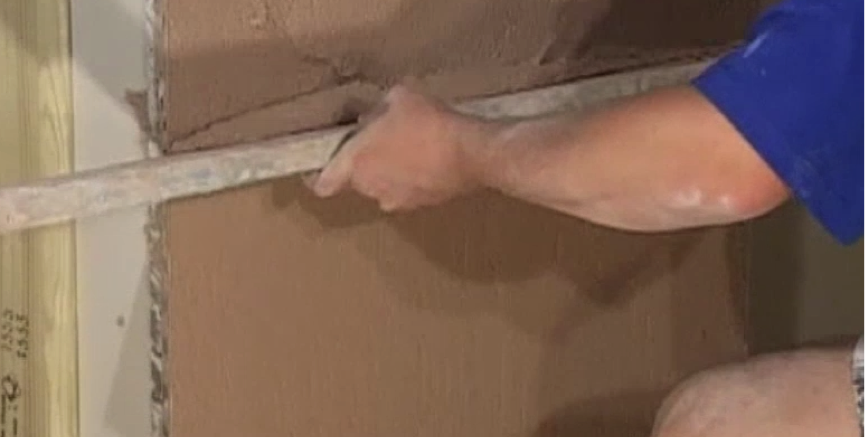
Step 6. Feather edge again
Take you feather edge again and repeat the process from step 4. Repeat the process of steps 4 and 5 until you are happy with the smooth finish.
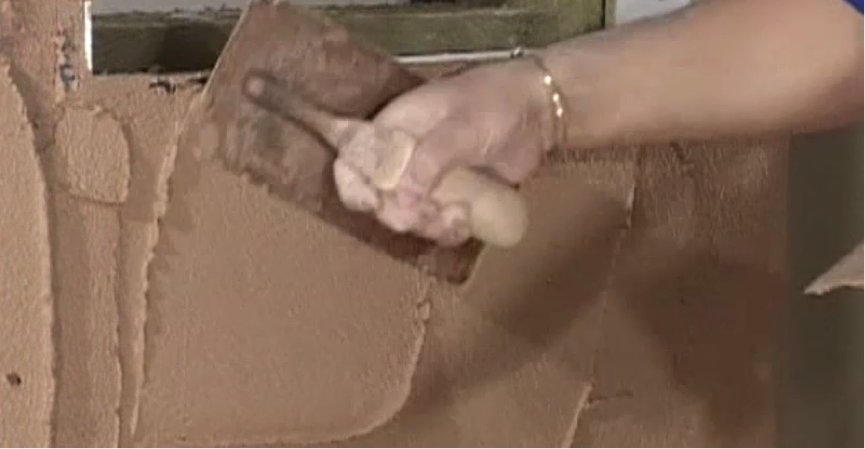
Step 7. Smooth smaller areas with your trowel
For smaller areas, use your trowel to apply plaster, then use the edge of the trowel in the same way as a feather edge, up against the set beads. Or you can continue to use your feather edge on all areas until you end up with a nice clean surface.
Step 8. Leave to dry
After 24 hours, your bonding plaster will be dry and ready to plaster onto with a finishing coat. This kind of beading and plastering should be used for all awkward areas, including boxed in pipes, windows and external edges.