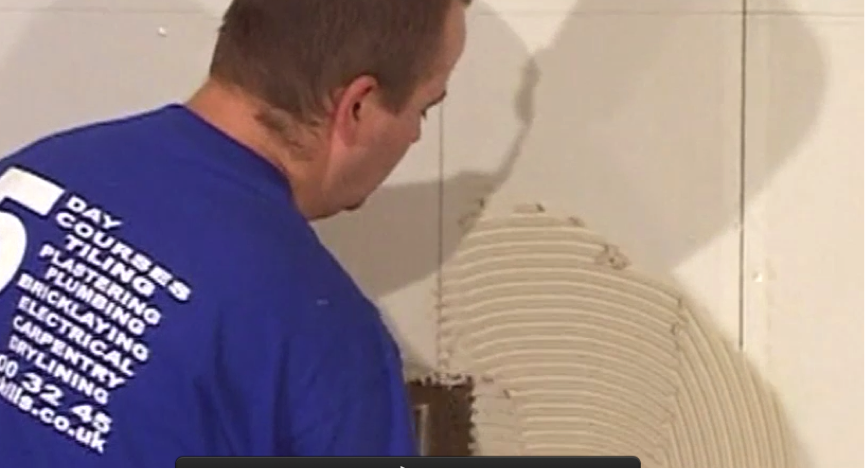
Before you place the tiles on the wall, you need to evenly and correctly apply the tile adhesive. It needs to be put on the walls with a trowel at the correct angle and applying the right pressure. Here’s our guide how to do it correctly for a firm finish.
Step 1. Consistency is key
It is very important to get the right consistency when you spread your adhesive. This is all about how you angle your trowel and the pressure you apply.
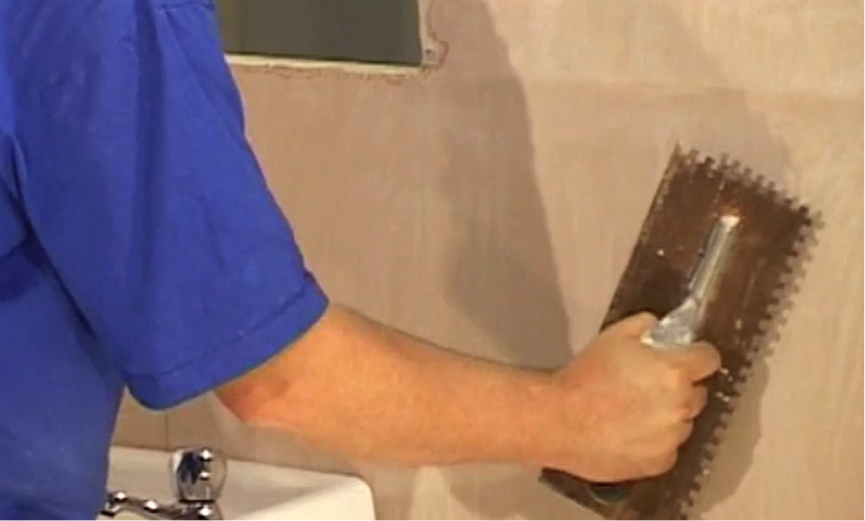
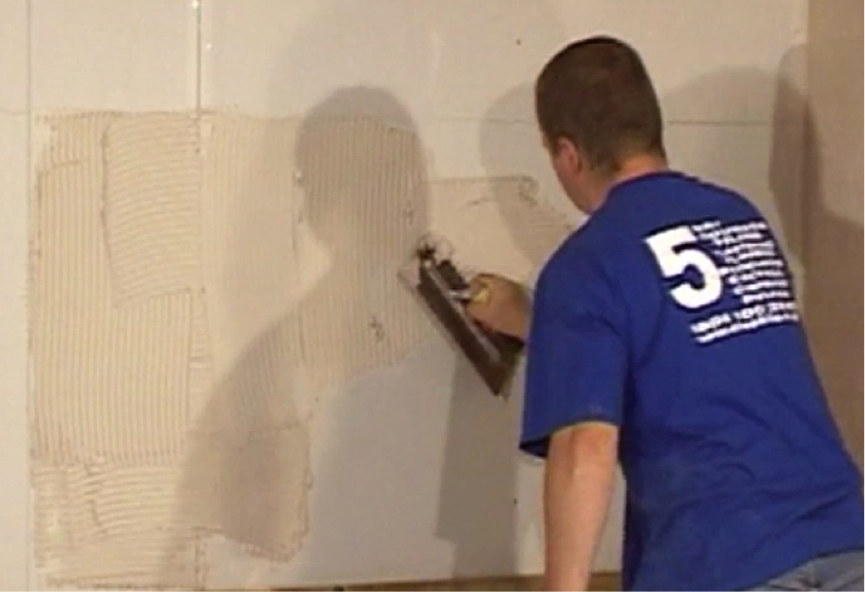
Step 2. Angle the trowel
Apply some adhesive to the wall and then spread using the trowel. This should be angled between 35 and 45 degrees, using two hands to apply the right amount of pressure. Any wider and you will remove too much adhesive. Too shallow and you will leave too much on the wall.
- Try to keep the amount of adhesive even and level across the wall for a flat finish
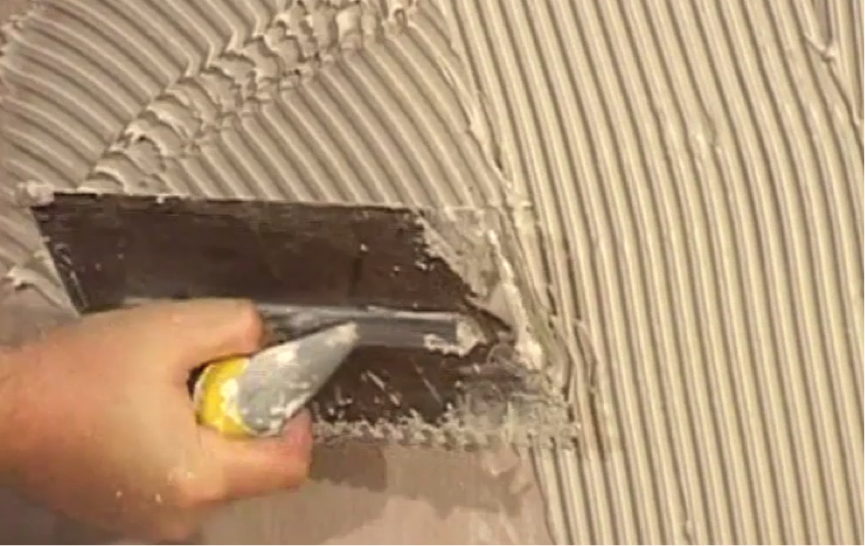
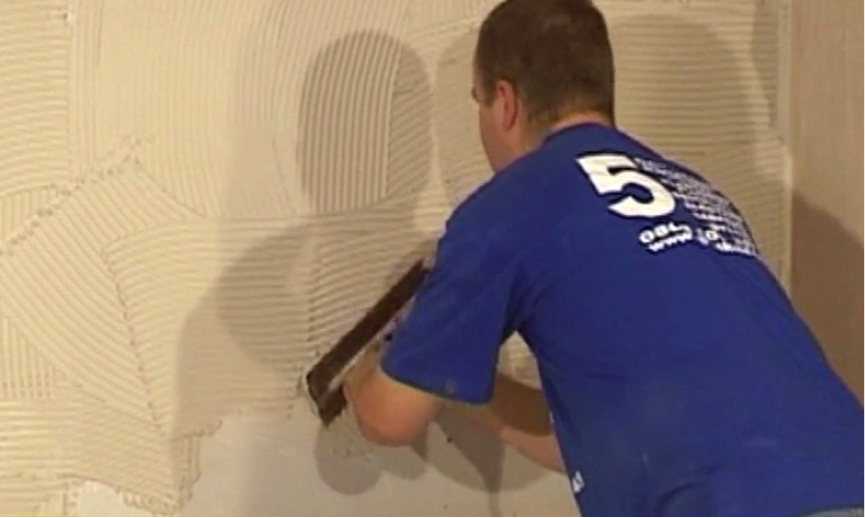
Step 3. Check for a grill
Ideally you are looking for a smooth grill of adhesive. This will allow air to flow in the channels of the adhesive, creating suction, which will keep the tiles firmly on the wall when drying.
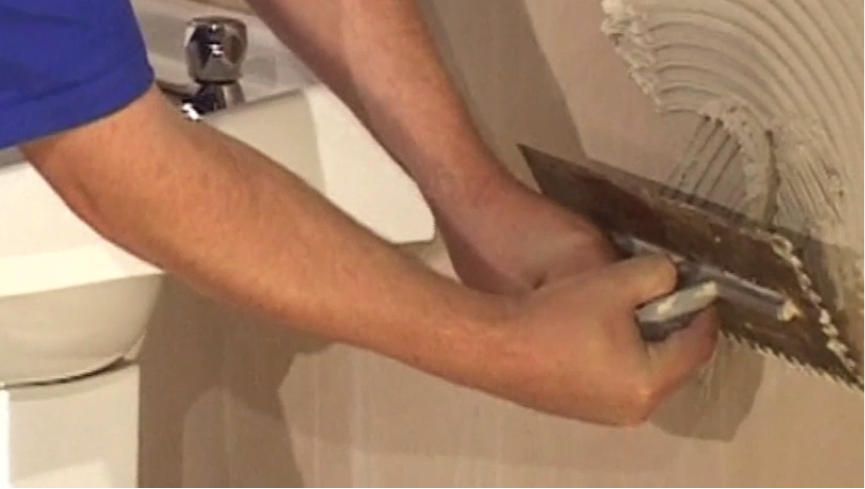
Step 4. Know where to start
When you start to apply the adhesive, follow the above recommendations and start by keeping to one side of your vertical guideline (which should already be drawn on the wall in pencil). The guideline needs to be visible to allow you to tile in a straight line.
Step 5. Start small
It’s always best to work in a relatively small area to start with. Beginners should stick to an area no bigger than a metre squared. Spread the adhesive evenly and then apply some tiles, working your way around the room in similar sized chunks.
Step 6. Check for holes or gaps
Check for holes and gaps in the adhesive spread. If there are gaps, this can cause problems if you later try to drill through the tiles, as they may crack or shatter.
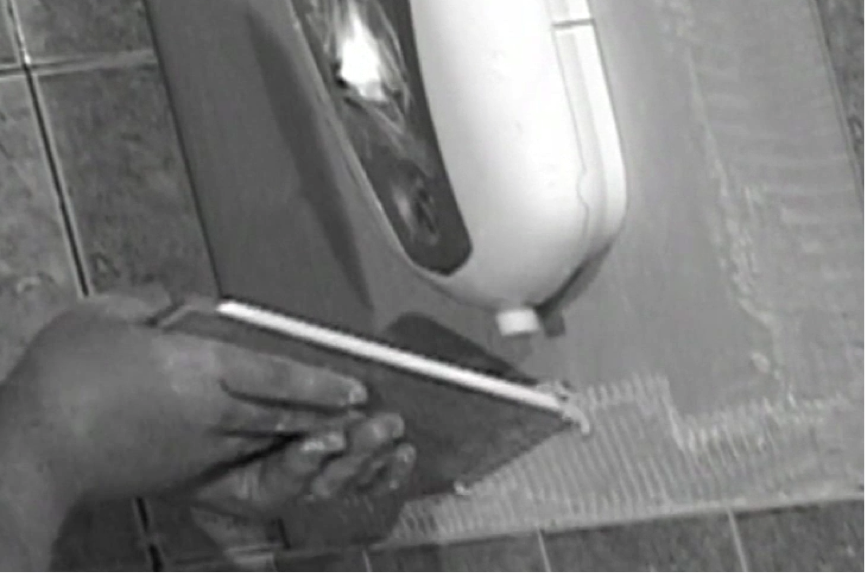
Step 7. Remove gone off adhesive
If your adhesive has gone off and is no longer sticking, you will need to remove it before repeating the above process. You can do this using a tile or bucket trowel to scrape away the adhesive.