When applying tiles, you need to know where to start according to your pencil guide. You also need to know how to correctly apply spacers so they don’t spoil your finish, and in which order to lay tiles. Here’s our quick guide on how to do all of this for the perfect tiling job.
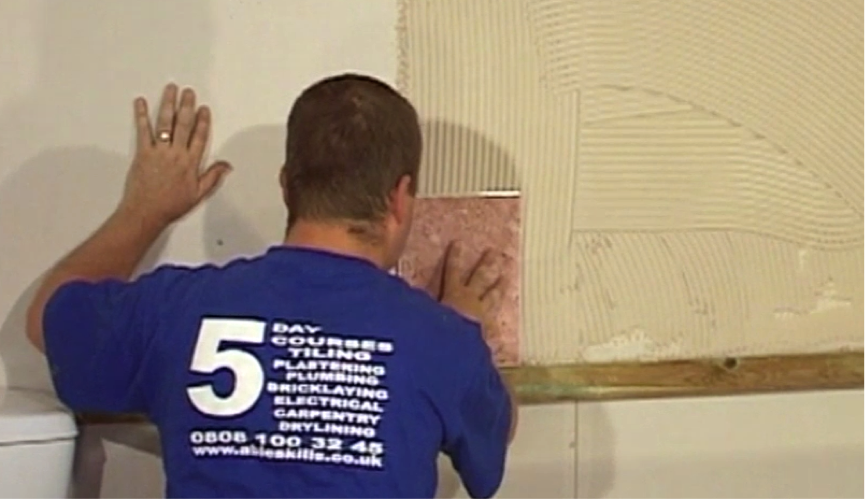
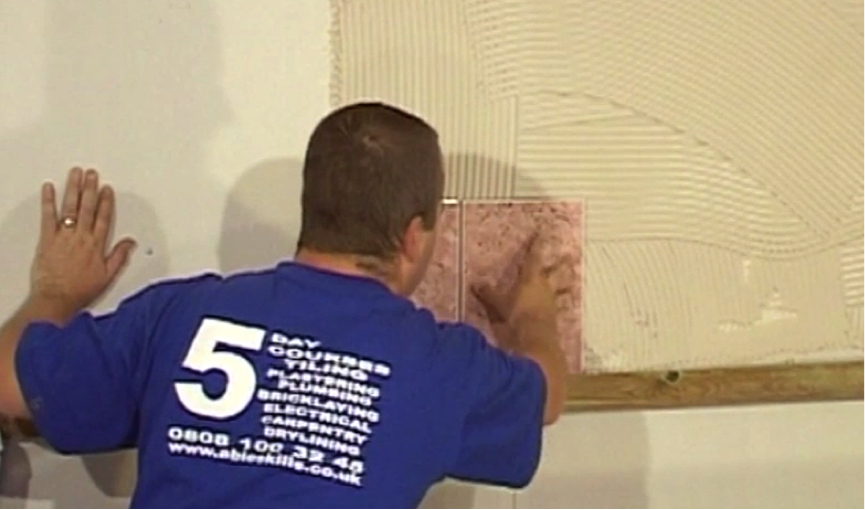
Step 1. Position your first tile
Resting your tile on the baton and in line with the vertical guide, position your first tile on the wall and apply firm pressure. Don’t just rest the tile on the adhesive, bed it in nice and deep.
Step 2. Work row by row
To start off with, work row by row, laying tiles horizontally away from your guideline. Leave a small gap in between for the spacers to go into.
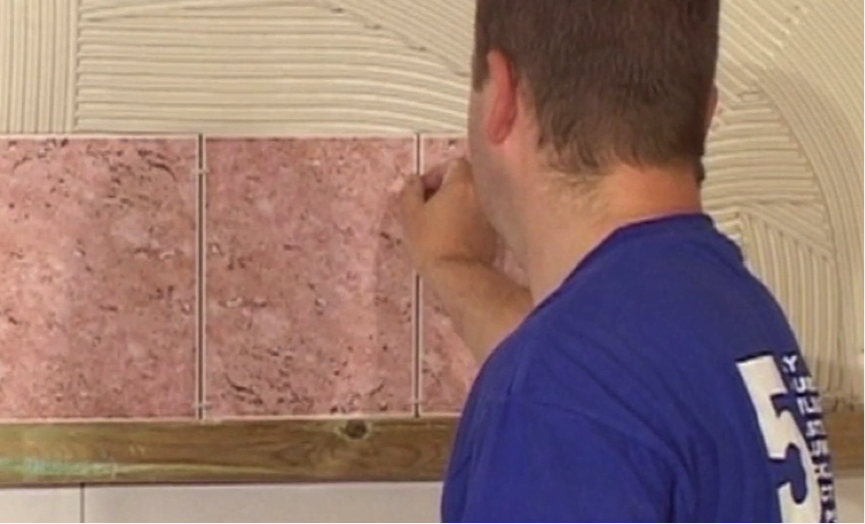
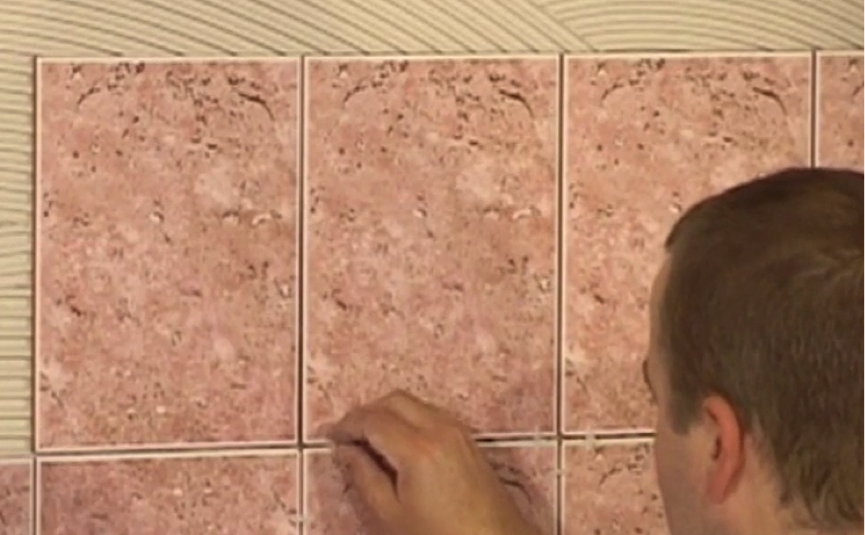
Step 3. Inserting the spacers
There are various different ways of inserting the spacers but we recommend taking one stem between your thumb and forefinger, inserting the opposite stem into the gap in the tiles so that it sticks out. Place one near the top and one near the bottom.
Step 4. Spacer variation
Some guides tell you to place spacers flat in the four corners of a tile. But if they are not pushed deep enough they can show through the grout, spoiling the finish, and you won’t be able to remove them. By using our technique, the spacers can be removed once the tiles have set and grouting is problem free.
Step 5. Work vertically
Start to apply the next row of tiles on top of your first, remembering to place spacers between the two rows in the same way as above.
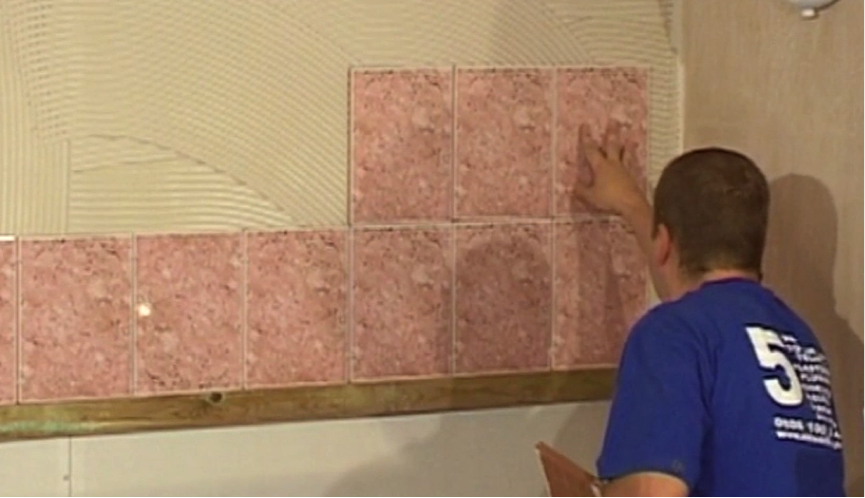
Step 6. The gap
Work along walls until you are left with a gap, usually smaller than one tile’s width, in the corner. Tiles will need to be cut to fit these holes correctly. See our next guide on cutting tiles to see how this is done correctly.