Fitting pipes around the bath brings the water to the taps from the water source. Connecting the pipes up correctly is an essential way of ensuring the water is delivered correctly and that the pipework looks neat and tidy.
Step 1. How to use pipe clips
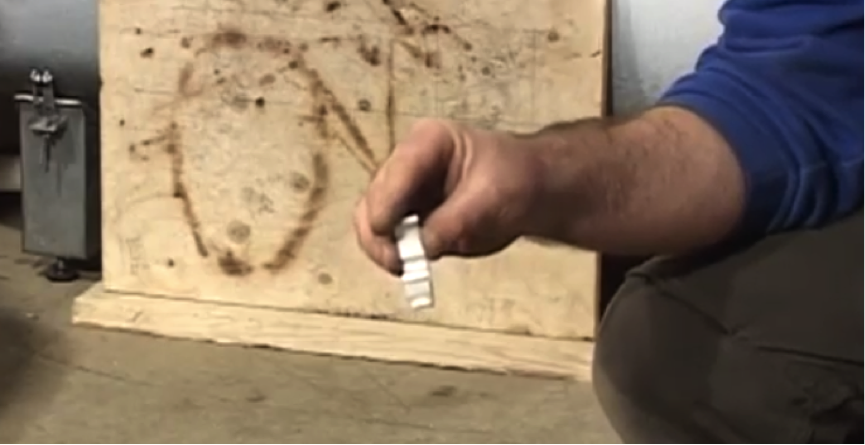
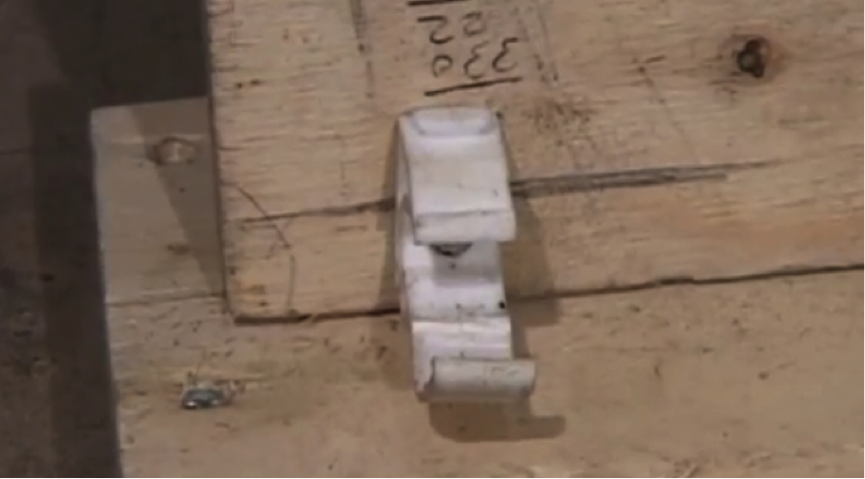
Pipe clips, as seen in the picture, are attached using a screw in the wall or flat surface. The centre line is exactly where the screw edge should be. Once you’ve finished the job, close the top of the clip over and it will hold the pipe firmly in place.
Step 2. When to fit clips
Remember to always put your clips in first, before you start to fix the pipes together.
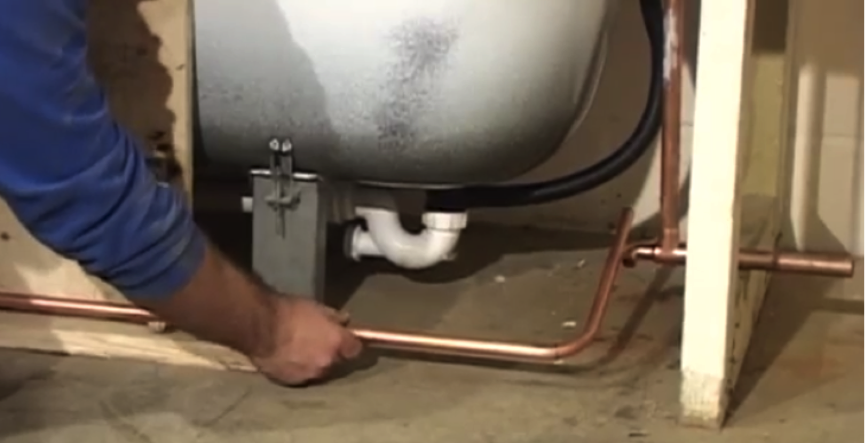
Step 3. Marking where to cut the pipes
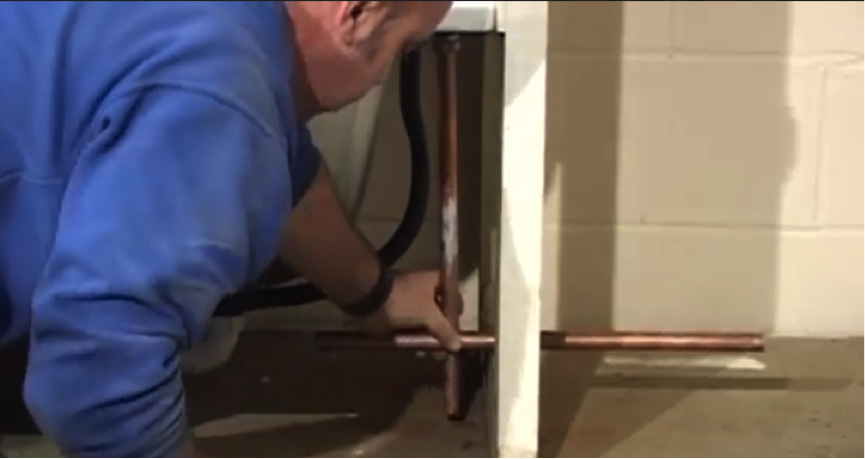
Holding the pipes level as shown in the image, mark directly above the pipe with your pencil.
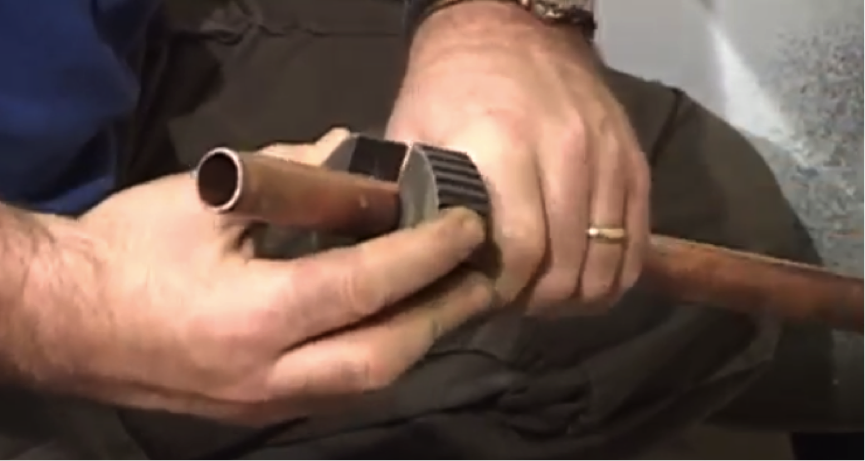
Step 4. Cutting the pipes
Using the mark as your guide, use your pipe cutter for a smooth and straight cut. With the model shown, push the pipe in and turn on the direction of the arrow marked on the cutter. Other models are available so read the instructions carefully.
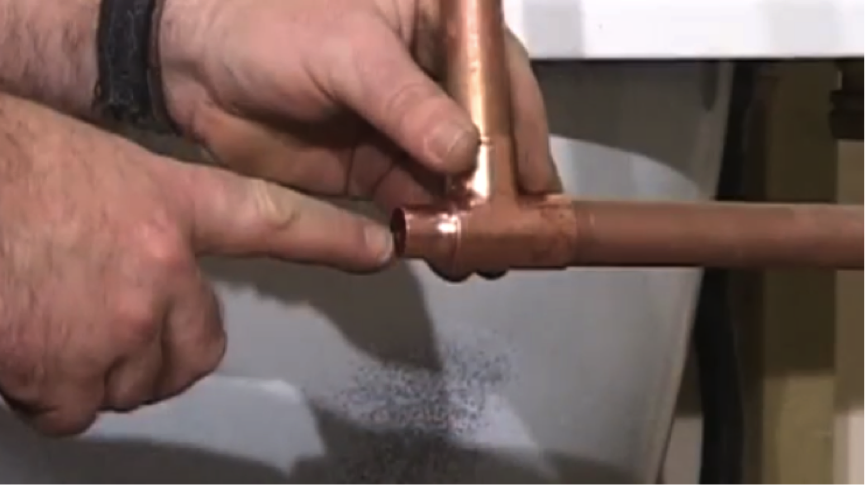
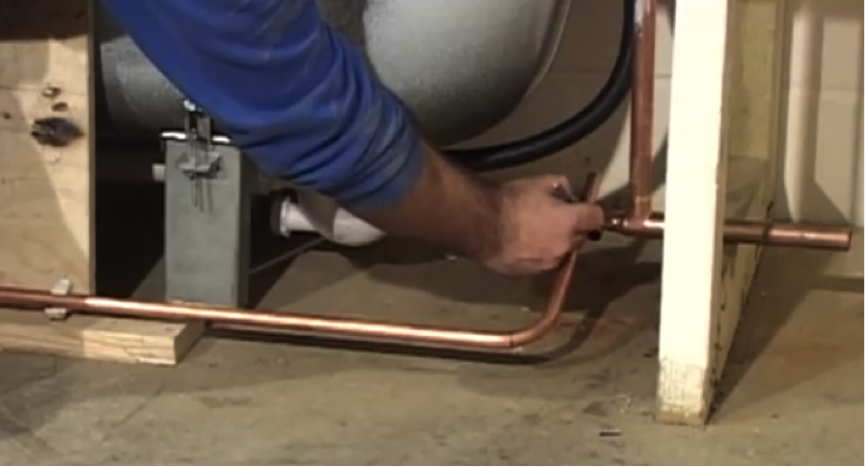
Step 5. Join the pipes
Using a pipe connector, join the two pipes together and fit so that they sit at the level shown. You may need to solder this depending on the pipes you are joining.
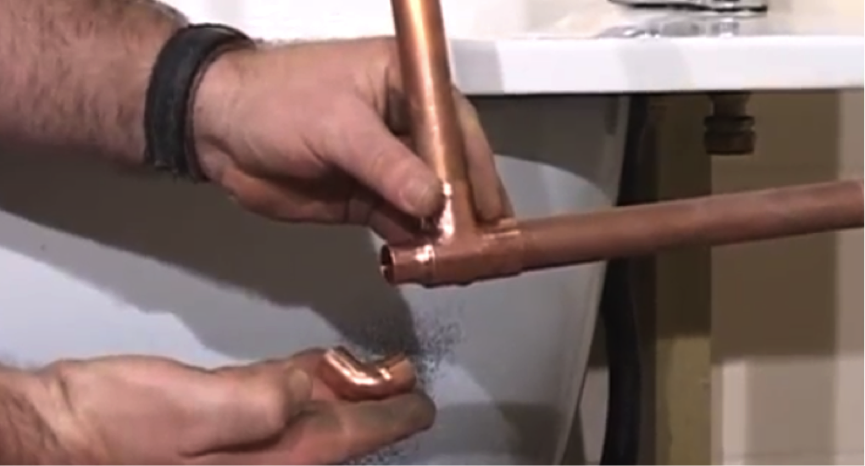
Step 6. Fit an elbow
At this point in our demonstration, we need to fit another pipe join. Similar to an elbow, it has a male and female end. Connect the correct end and you should be able to twist the connector to angle the pipe up or down.
Step 7. Connect to the tap
Connect the pipe to the tap connector, with the cold feed coming from the airing cupboard and into the tap.
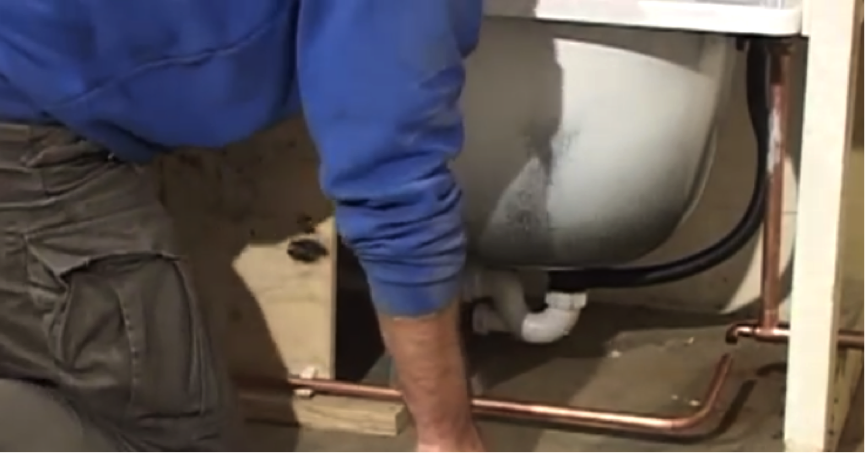
Step 8. Connect another section of pipe
Line up the other pipe in the clips and slide it up to the connector until it meets the joint.
Step 9. Mark where the join will be
Using a pencil, you now need to mark the pipe were the join will be located. Remove the pipe from the clips and cut it where you marked it using your cutter.
Step 10. Connect the ends
Clip the pipe back in, slide up to the joins and connect them together in the correct way (again using solder may be necessary).
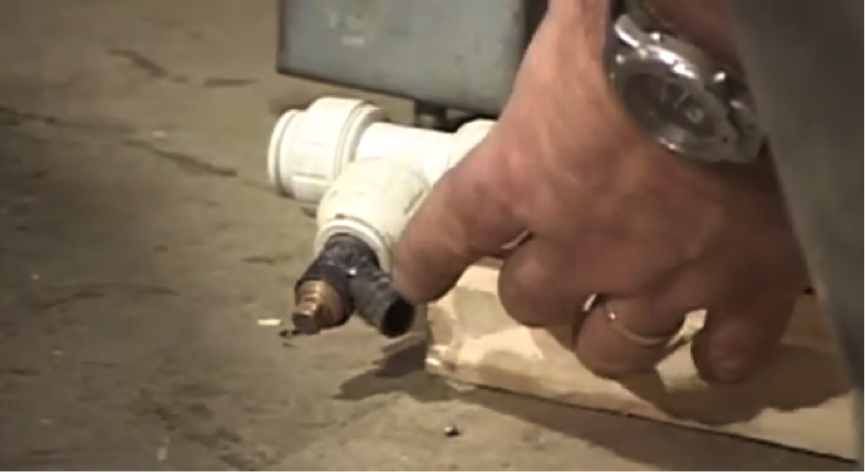
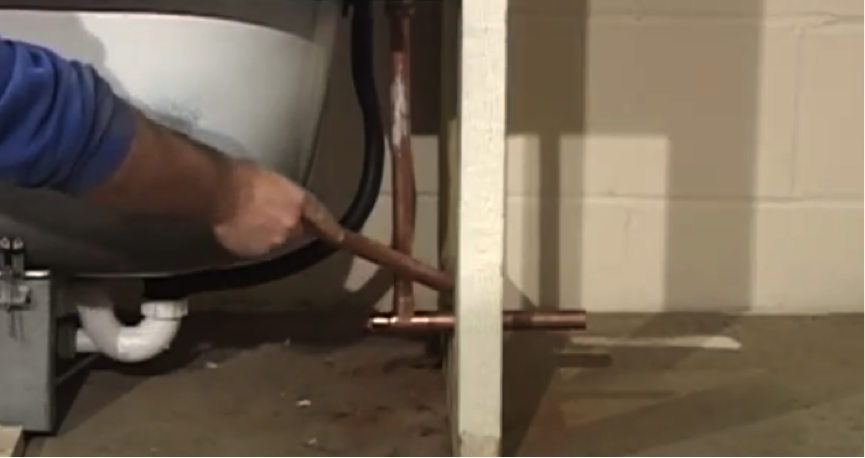
Step 11. Fit a drain off
If you need to drain off the pipe for any reason, fit a push fit T to the pipe and attach a hose to the correct point on the T, and turn the valve.