When you’re required to plaster around window edges, boxed-in pipes or other external edges, it is often difficult to get a good plaster finish. That’s why you need to measure, cut and fit beads. These will grip the wall and the plaster, giving smooth and neat corners every time. Here’s our guide on how to do it properly.
Tip 1.
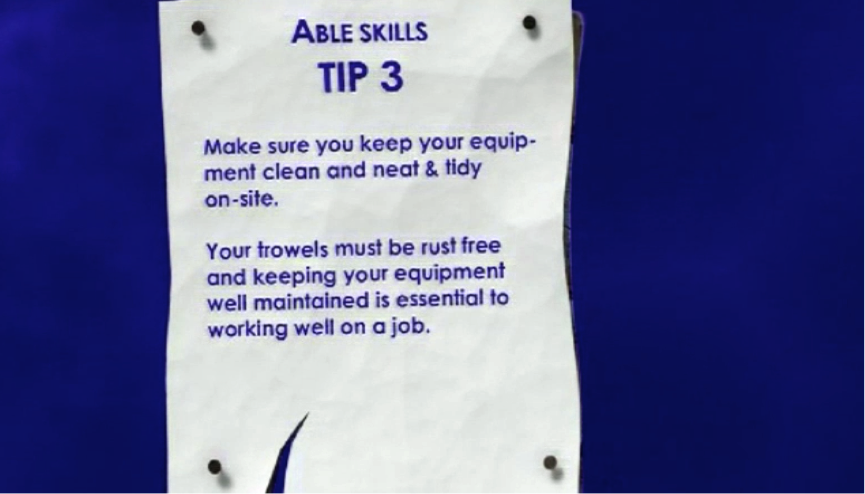
Keep all equipment clean and rust free. This is essential to working well on a job.
Step 1. When to use beading
Once you have plasterboarded out your walls and ceiling, you will usually find other obstacles such as boxed in pipes or windows. These require additional preparation before any plastering can take place, which is where beads come in.
Step 2. Preparing the area
Using beads and bonding plaster, you can make corner areas and edges easier to plaster.
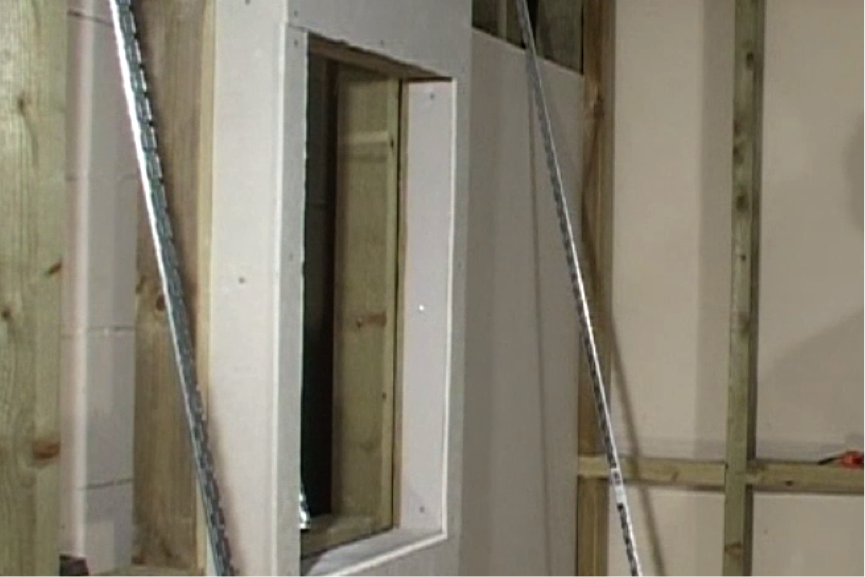
Step 3. Plasterboard beads for corners
Plasterboard beads are metal strips that are attached to external corners so that plaster can grip, providing a smooth edge and good finish.
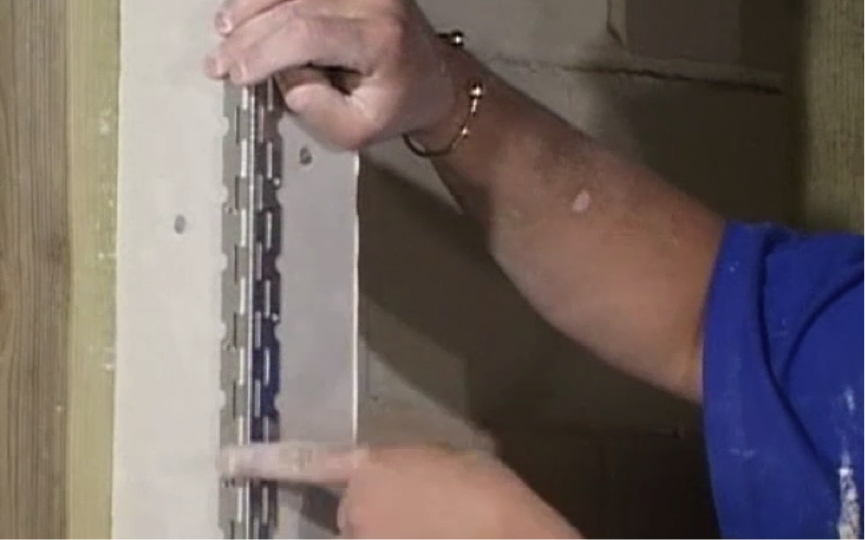
Step 4. Measure the bead
Starting at the window, measure the height of the inside length and then measure accordingly on the plaster bead.
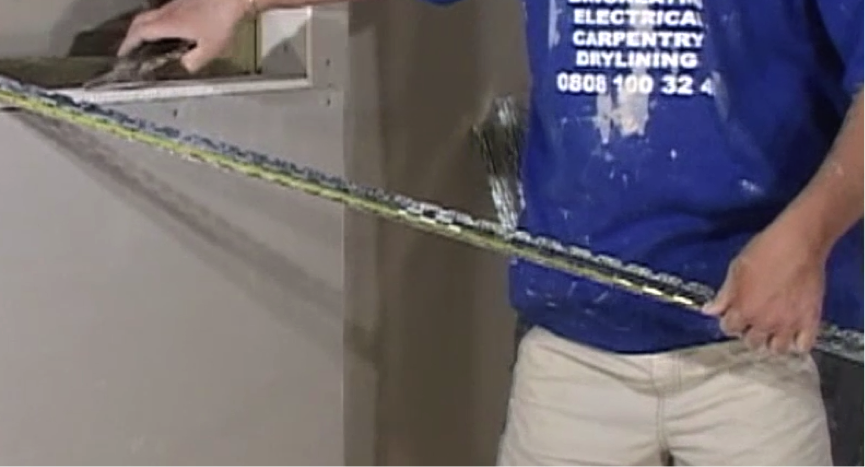
Step 5. Cutting the bead
Take your tin snips and cut in line with the measurement. Cut towards the internal angle of the bead from both sides, leaving the centre intact. Bend the bead until it breaks.

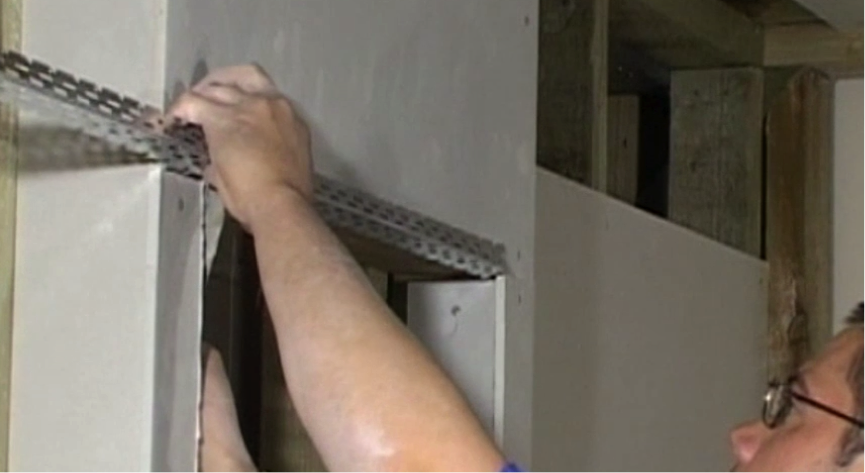
Step 6. Preparing further beads
Prepare all your angle beads in the same way as in step 5. Measure, cut and check each bead before you secure them to the wall. All vertical and horizontal beads should fit snugly into place.

Tip 2.
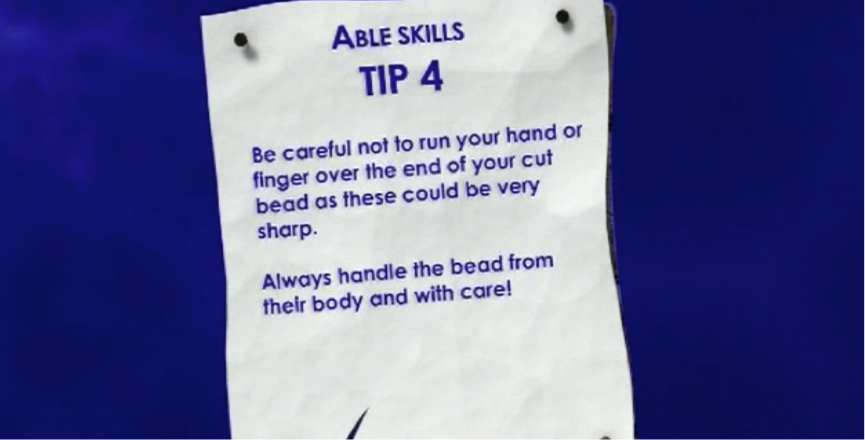
Be careful not to run your hand or finger over the end of the cut bead as these can be very sharp. Always handle with care.