Tiling the bathroom floor involves tiling around tricky obstacles such as bathtub legs, toilets and sink pedestals. Here’s our guide on how to make curved and straight cuts neatly, for a great finish. Once you master these techniques, you will be able to tile almost any bathroom floor.
Step 1. Cutting around a pedestal
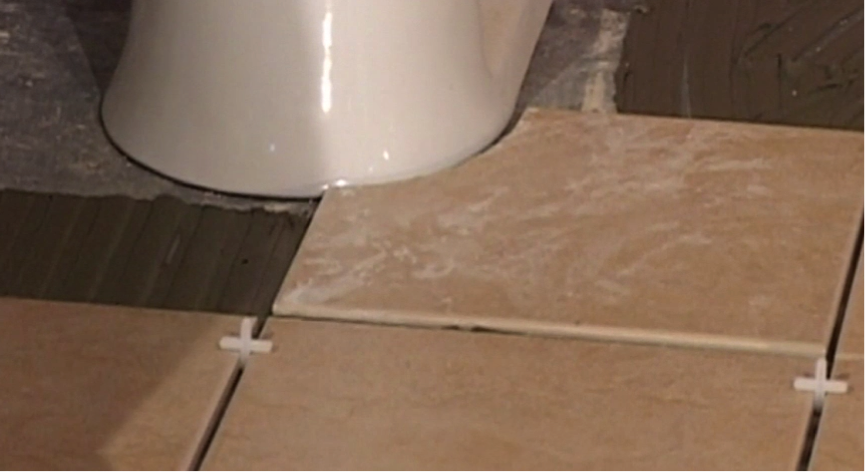
Cutting around a toilet pedestal involves making a round cut in the floor tile.
Step 2. Make your template
The best way to deal with a round cut is to use a cardboard template. Cut it to exactly the same size as the tile and then mark and remove the round cut from the template.
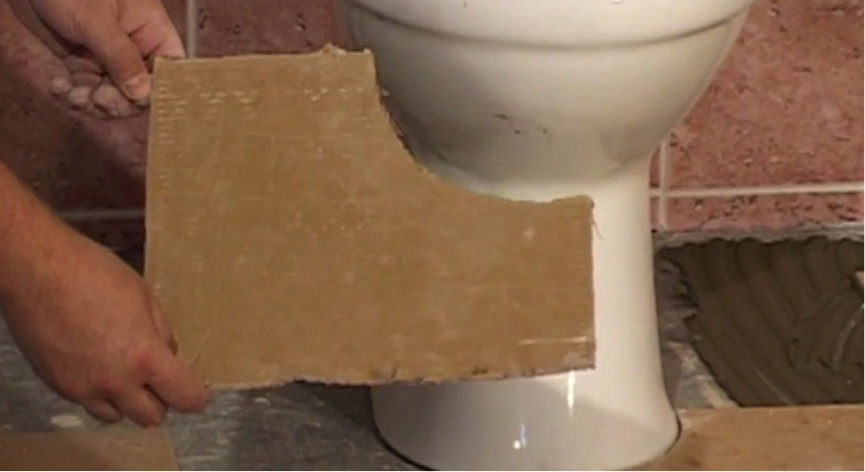
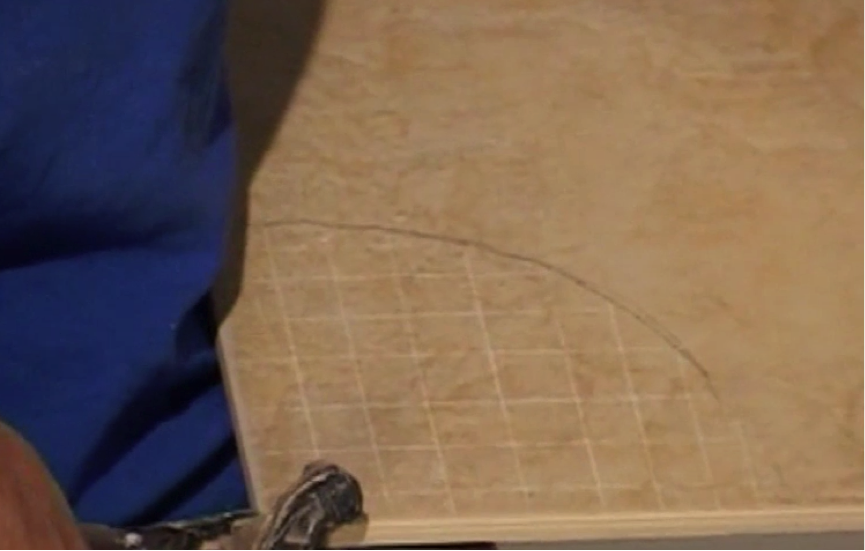
Step 3. Use template to mark tile
Line the template up with the tile and draw around it.
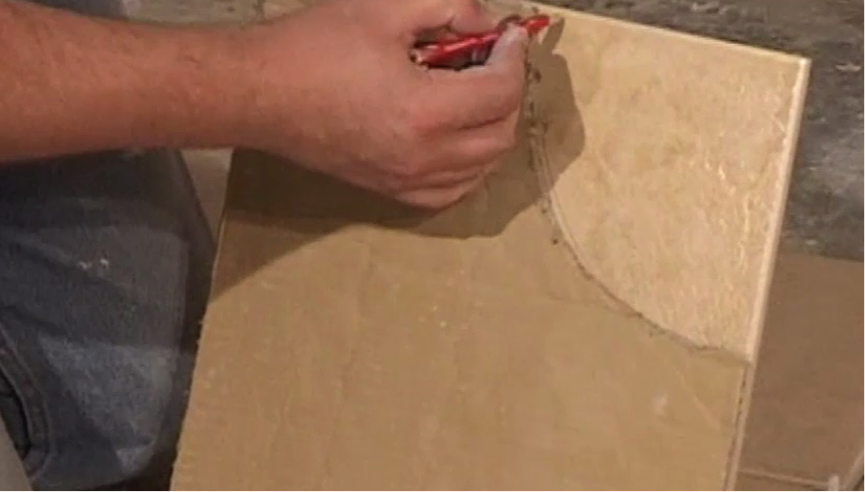
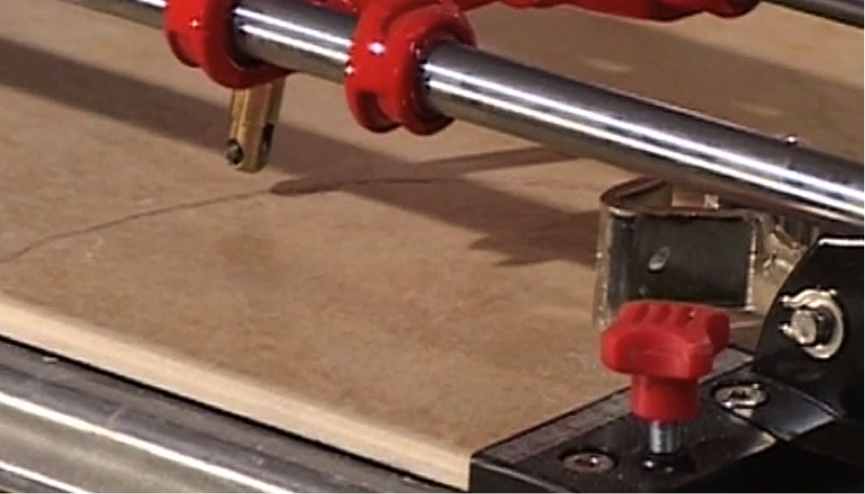
Step 4. Score the tile (part 1)
Take your marked tile to the cutter and score a series of lines from the cut mark to the edge of the tile.
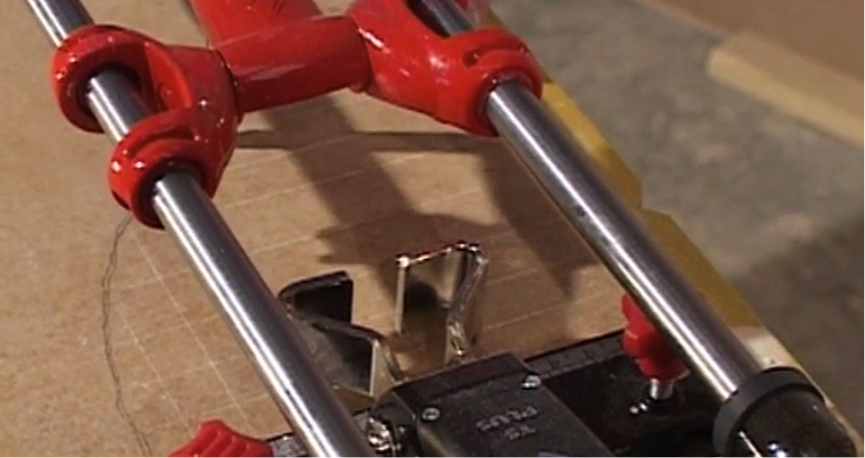
Step 5. Score the tile (part 2)
Turn the tile round and do the same on the reverse side, scoring from your mark to the edge of the tile in the other direction, to create a grid formation.
Step 6. Cut the tiles
Get your tile pincers and cut the excess tile away, one small chunk at a time. Let the teeth do the work, and don’t apply too much pressure as you may break the tile. Go as far as possible to the cut line with the pincers and then use your rubbing stone to finish the job and leave a smooth finish.
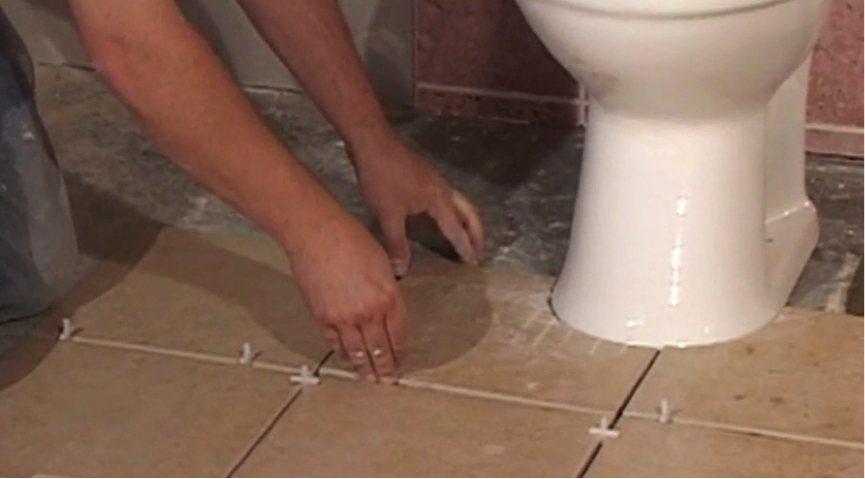
Step 7. Check it fits
Apply the tile to the floor to make sure that it fits smoothly. If it does, spread your adhesive correctly and lay your tile. You can use this curved cut method to tile around sink pedestals too.
Step 8. Continue to tile the floor
Carry on laying tiles on the floor, using your wooden strip to keep things straight. Spread the adhesive in the correct way and ensure all floor tiles are level using your spirit level.
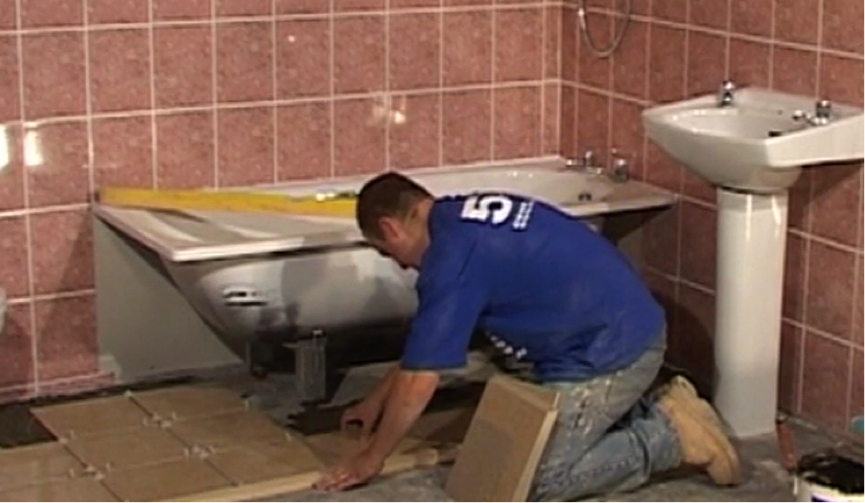
Step 9. Bathtub legs
When you get to the legs of the bathtub, you may find that you need to make a cut. To do this, you will need two tiles. Temporarily remove the spacers around the tiles next to the cut space. Place one spare tile directly on top of the adjacent tile, then another on top of this. Then slide the top tile over until it hits the bathtub legs. Then mark the line with a pencil.
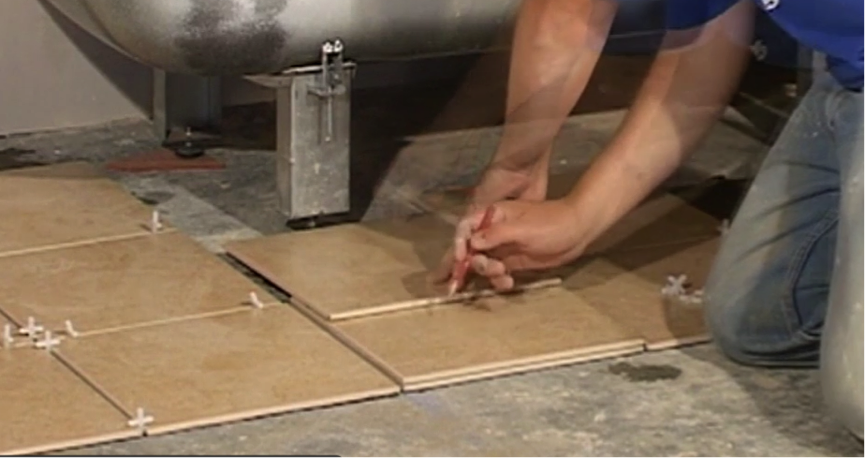
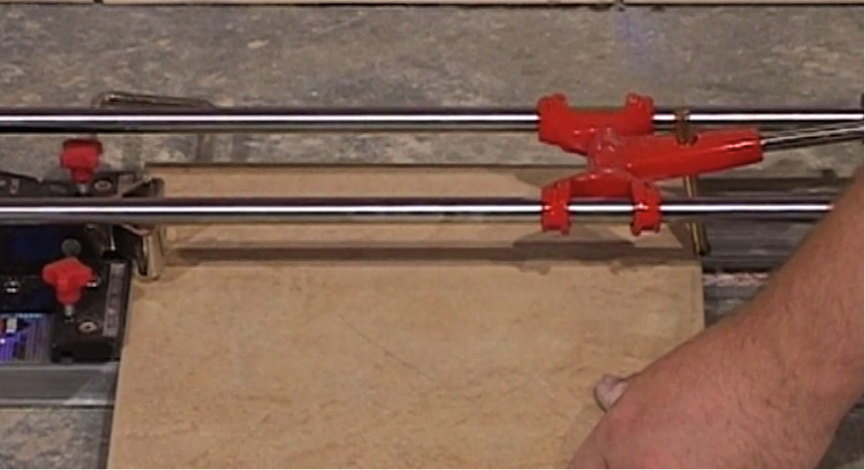
Step 10. Cut the tile
Using your tile cutter, cut the tile along the pencil mark you have made.
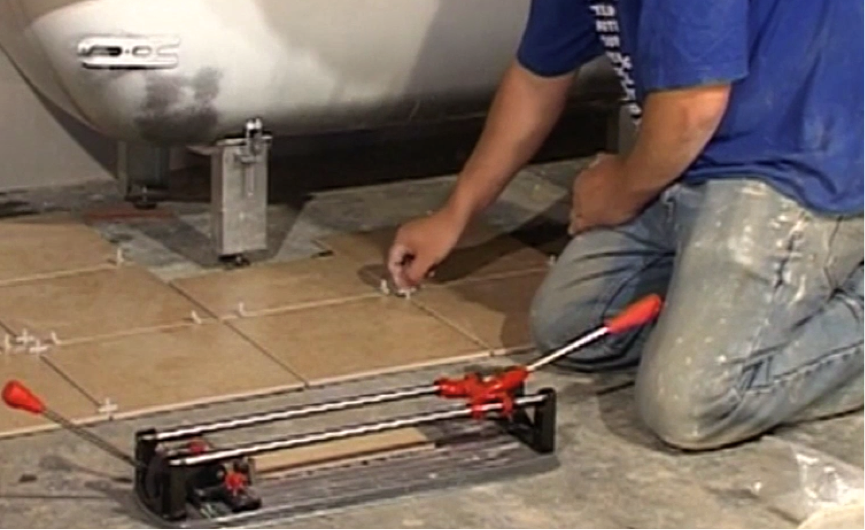
Step 11. Fit the tile
Fit the tile in the gap using adhesive, after checking that it fits. Then replace the spacers in the adjacent tiles. You can use this technique to make any straight cut that you come across. At this point, don’t worry about what the tiles look like under the bath as this will be covered with the side panel.
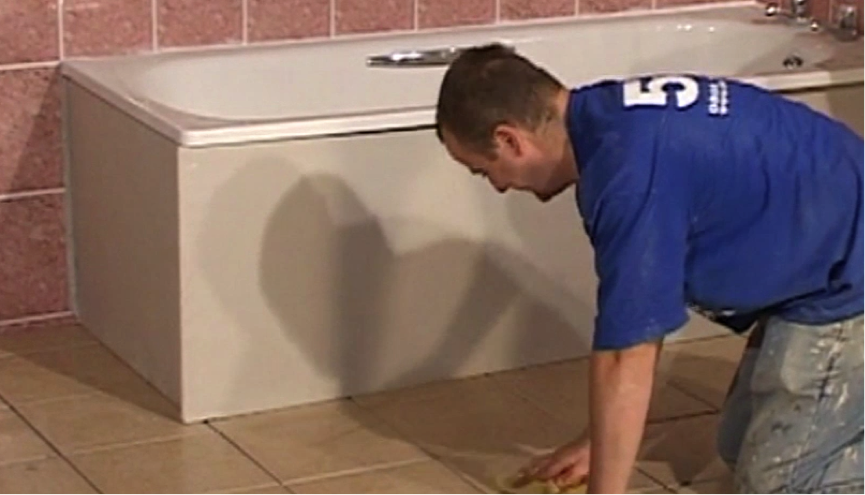
Step 12. Continue and clean
Continue to lay all the remaining tiles in the bathroom until the whole floor is covered. Once all the tiles are laid, clean them with a damp sponge to remove any adhesive that is showing.