Fitting a toilet flush, attaching the cistern and connecting to the waste pipe might seem like a big job but it’s actually relatively straightforward. Follow this guide and you’ll be able to successfully install a new toilet in no time.
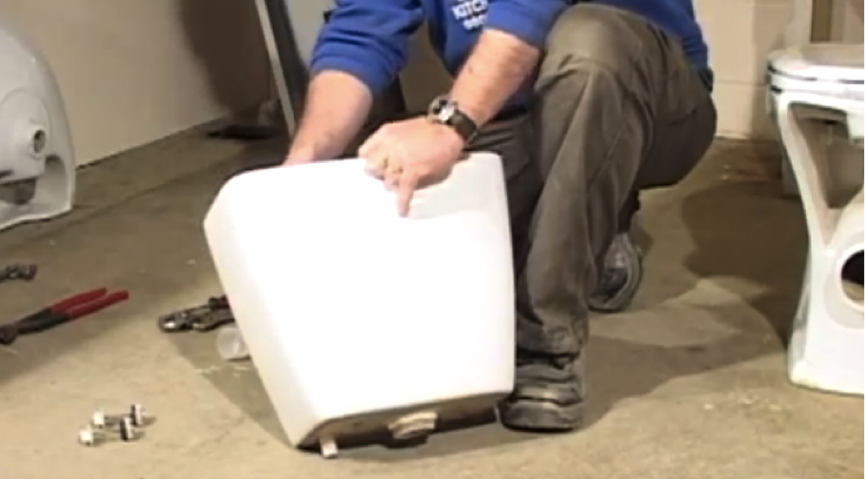
Step 1. Align flush with water feed
Before you fit the flush, identify where the water feed will enter. The flush needs to be aligned so that the overflow is facing the opposite side of the cistern. You also need to make sure the rubber washer is in place on the bottom of the flush, inside the cistern.
Step 2. Position and tighten the mechanism
Slot the flush into position and hand tighten the nut on the bottom to secure it. Once it is in position, tighten with a large adjustable spanner, making sure the rubber seal is nice and tight.
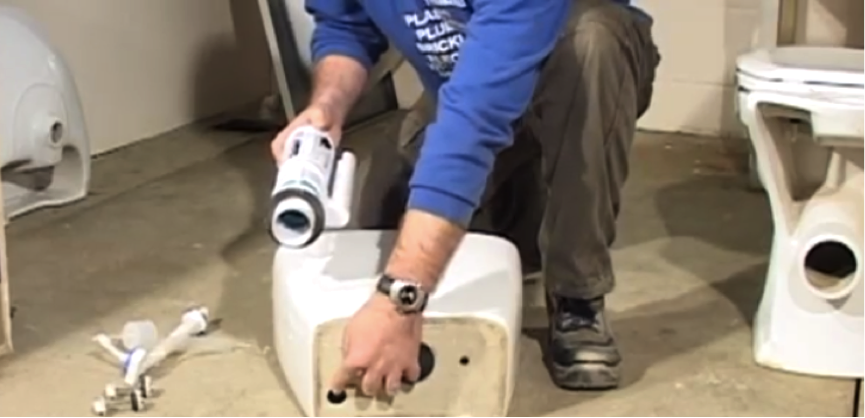
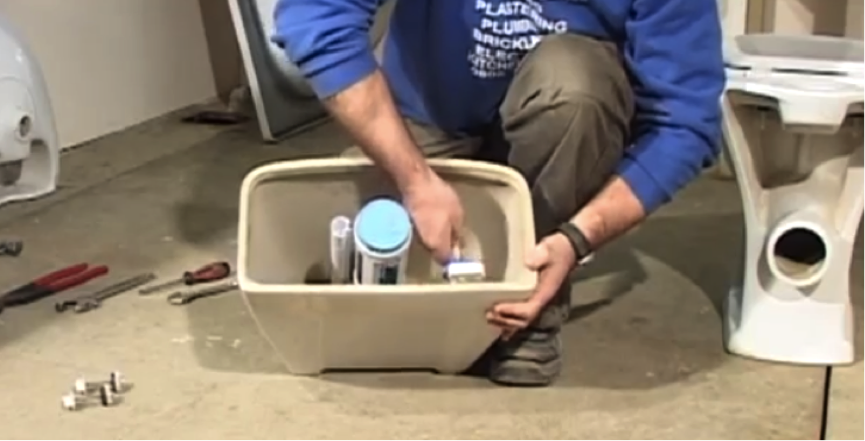
Step 3. Preparing the flushing system
Before you do this, you will need to remove the flow top so that it doesn’t get damaged. It should simply pop off. When you fit the overflow pipe, make sure that you connect it in the right direction so that when you reconnect the flow tunnel it has room to operate.
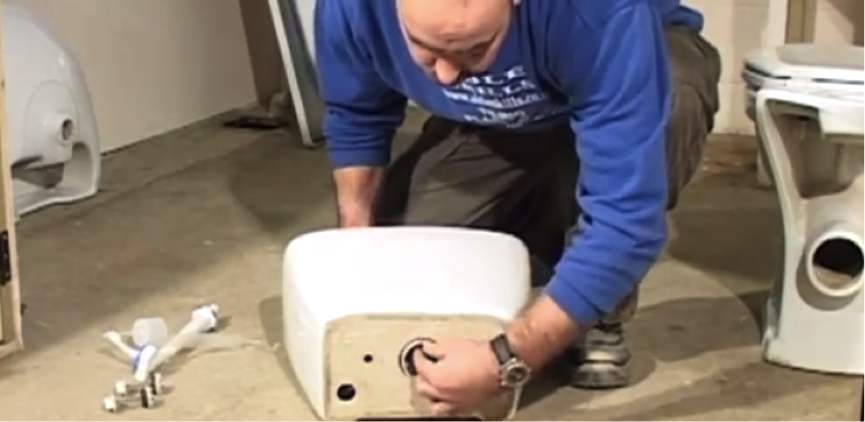
Step 4. Adding the flushing system
Keeping the washer on the inside of the cistern, push it through the hole. Lay the cistern down and hand tighten the nut onto the bottom. Once again, tighten further with the large adjustable spanner. Hold the cistern to make sure it doesn’t turn.
Step 5. Put the flow top back
Pop the flow top back into position on top of the mechanism. Move it around a few times to test that it operates freely.
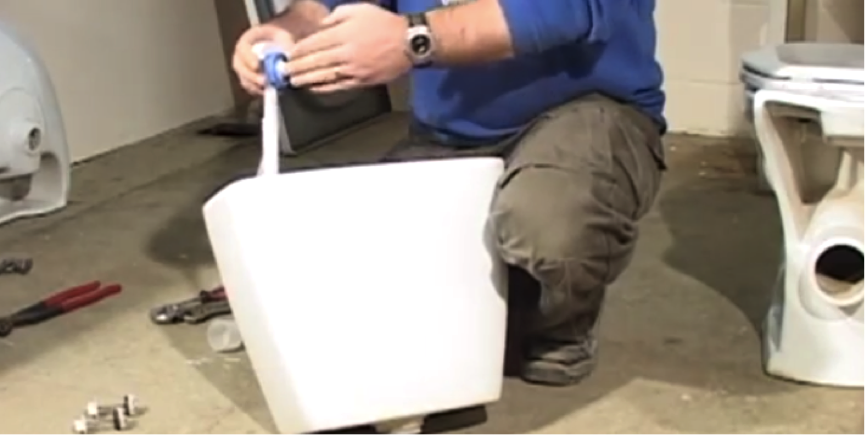
Step 6. Adding the cistern to the pan
For this you’ll need a rubber donut washer and two fixing clamps with rubber sealing washers. These will go through the cistern and clamp into position on the panel of the pan.
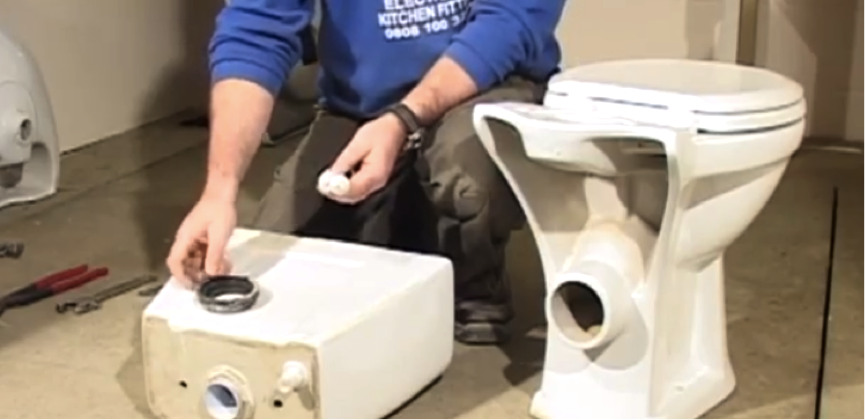
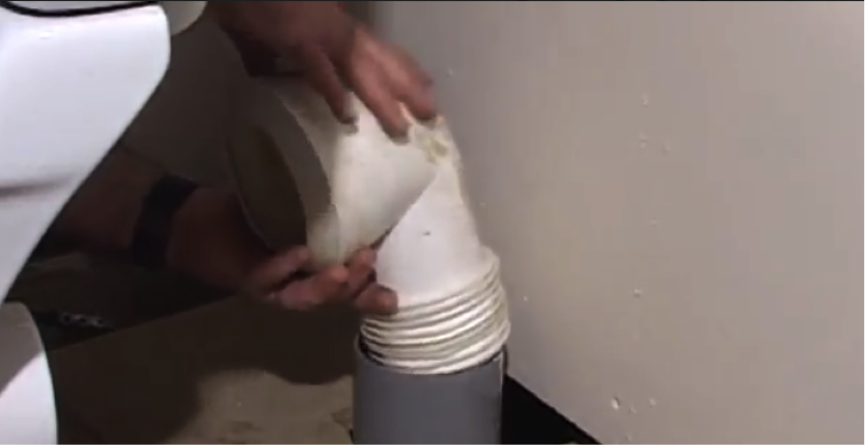
Step 7. Fitting the donut ring
If your instructions say to place the donut ring over the gap on the pan first, DO NOT do this. This is because when you lift the cistern into position it is very easy for the ring to slip or move, and the seal will not be fully secured. This will result in leaks when you flush the toilet. Fit the donut ring on the cistern, as shown in the image.

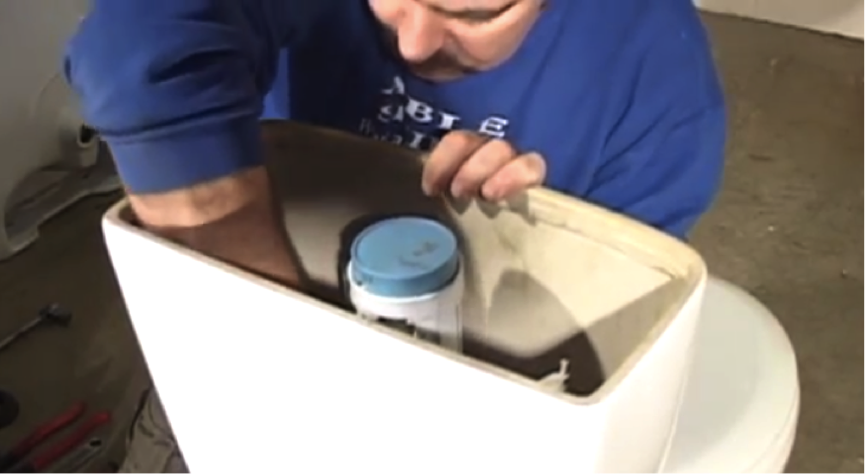
Step 8. Fitting the cistern
Lift the cistern, line up with the hole and lower into position. Line up the two smaller holes where your fixing clamps will go, slot them through and hand tighten. Take a flat head screwdriver and tighten from the inside of the cistern.
Step 9. Link the toilet to the waste pipe
Push the pan into position, making sure a seal is created. Ensure all rims are fully sealed and pipes are in position.