After you have fixed all your plasterboard and prepared the more complex areas, you are now ready to do your final preparation of your surfaces, including taping joints in plasterboard panels to ensure no cracking occurs. Here’s our guide on how it’s done correctly.
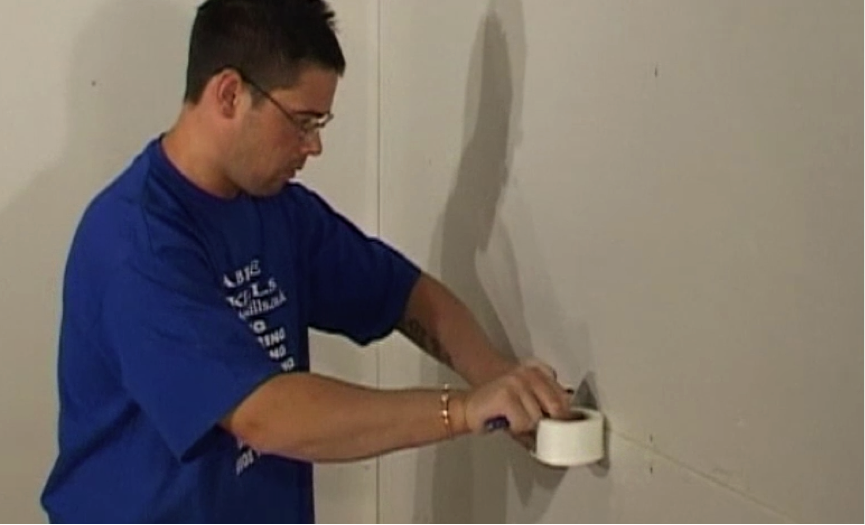
Step 1. Apply the tape
Take the tape and run it along the centre of all your joints, including those in the corners and around the edges of the rooms.
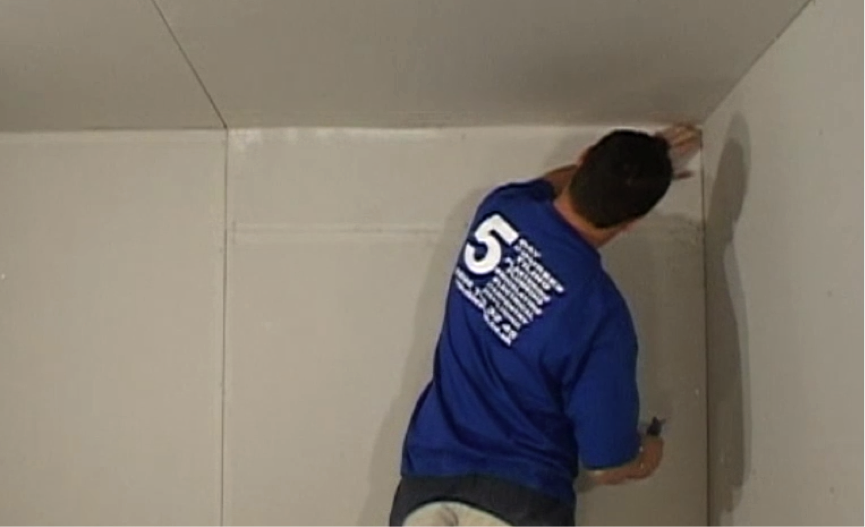
Step 2. Make sure tape is stuck down
Make sure the tape is firmly stuck down by rubbing your hand along all parts of it.
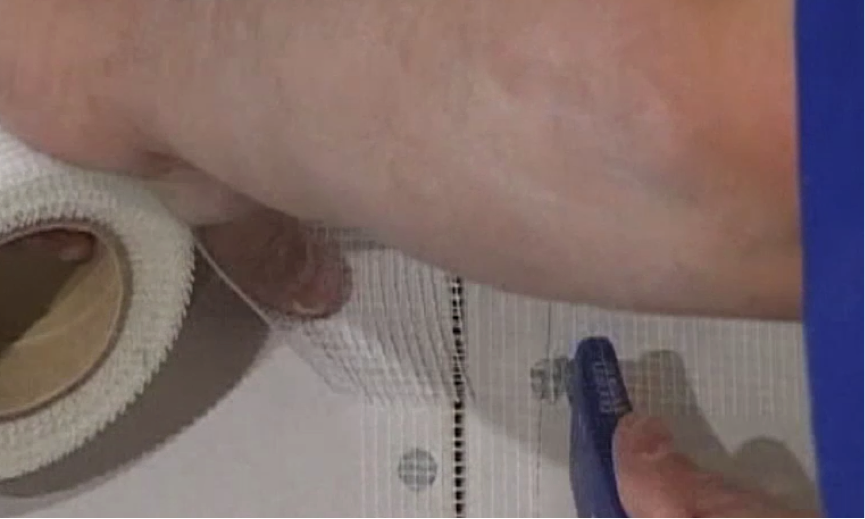
Step 3. Make clean cuts
Once you reach the end, use a blade for a nice clean cut. Ensure that all cuts are made neatly using your Stanley knife and that no edges are coming up.
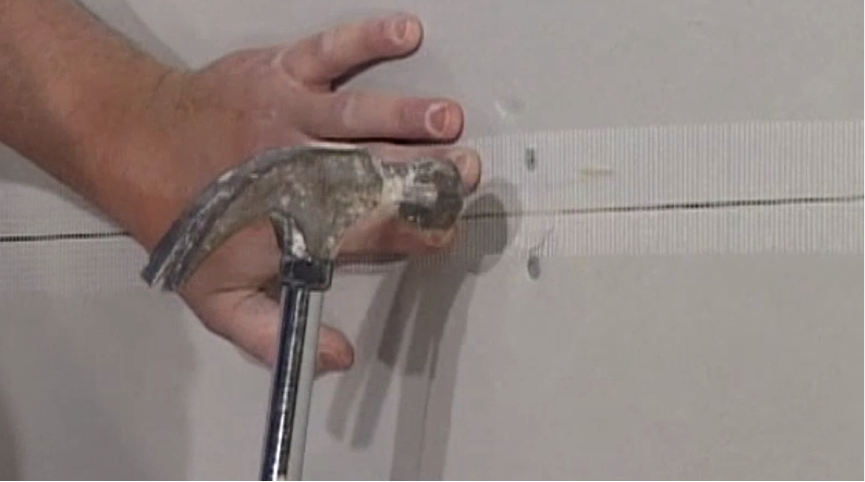
Step 4. Go over the nails
Lastly, go over any of the nails used to secure the plasterboard and make sure they are flush to the wall using a hammer. This is to ensure that when you are plastering, your trowel does not catch any of the nails.
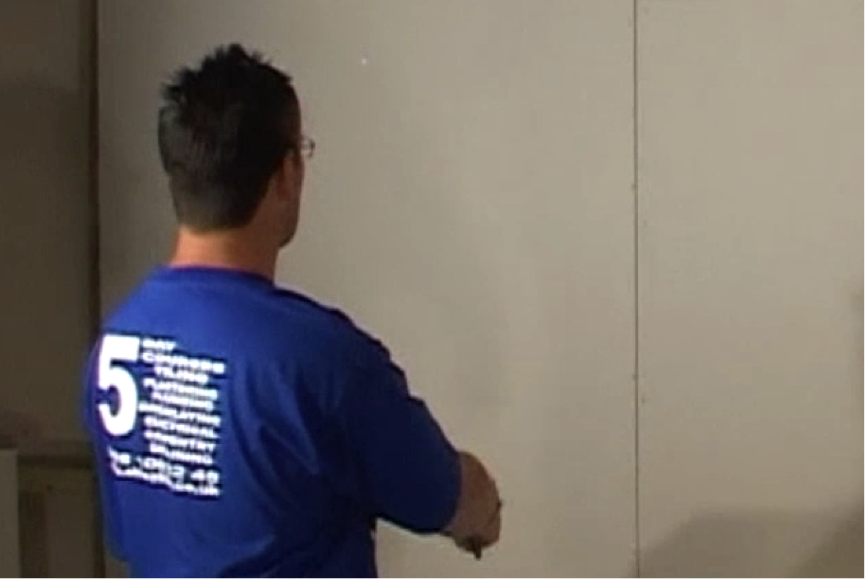
Step 5. Check your work
Survey the room thoroughly when done. The last thing you want is to start plastering and find that you have missed an important area.