Once you have measured out your floor space and dry tiled to avoid thin cuts, you can now start to apply your adhesive and lay tiles for real. Follow your guidelines and use your level to make sure all tiles are flat for a smooth finish. Follow this easy guide to get the very best results.
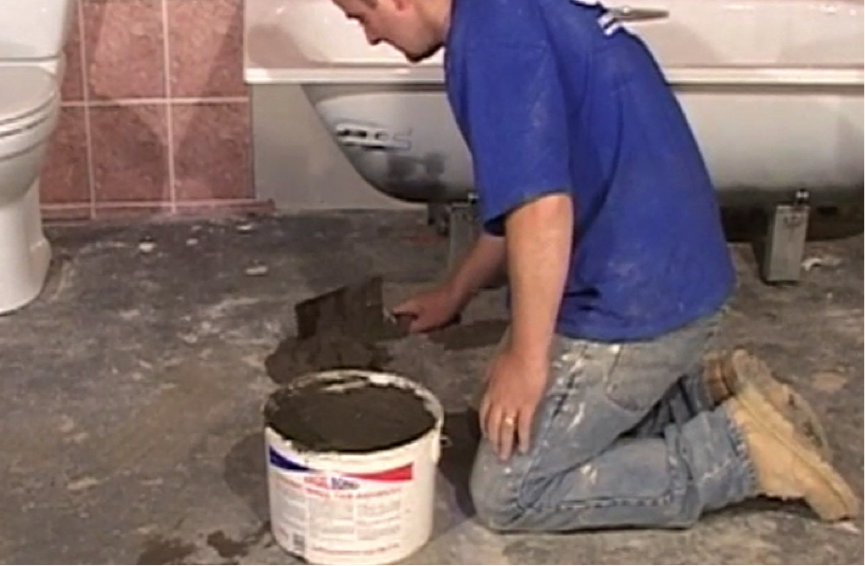
Step 1. Start to lay your adhesive
Using your bucket trowel, scoop out adhesive and lay it on the floor. Make sure that you do not cover the chalk line.
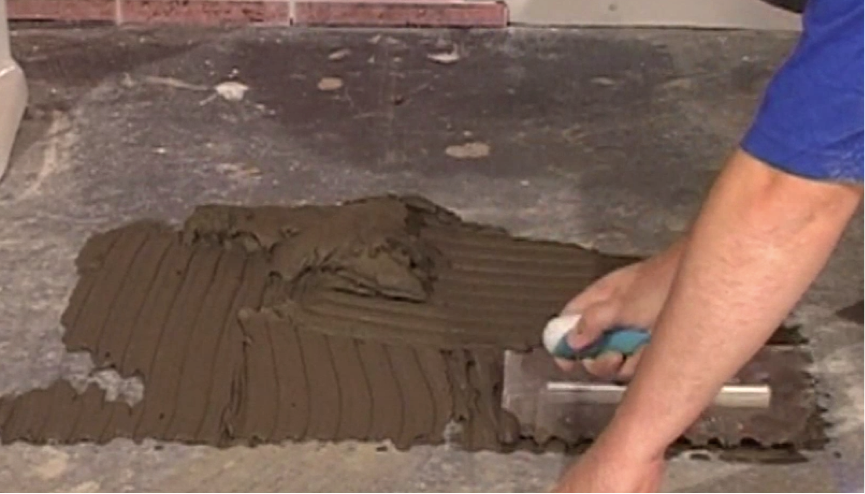
Step 2. Spread the adhesive
Start to spread the adhesive using your serrated floor trowel. Use the same technique as you would on the wall, keeping the trowel open at an angle of between 35 to 45 degrees. This will spread the adhesive to the right thickness and create the grill-like pattern you are looking for.
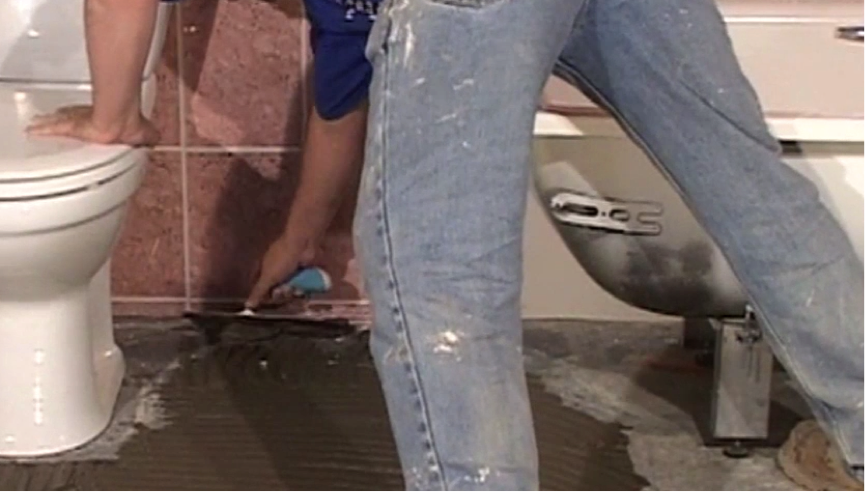
Step 3. Add adhesive to the edges
Add adhesive to the edge of the floor and spread away from the walls. This will prevent you getting any on the walls of previous tiling work.
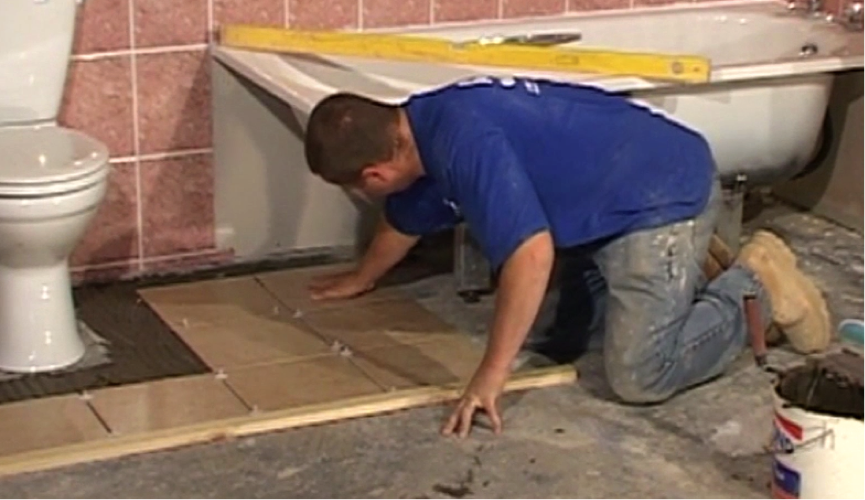
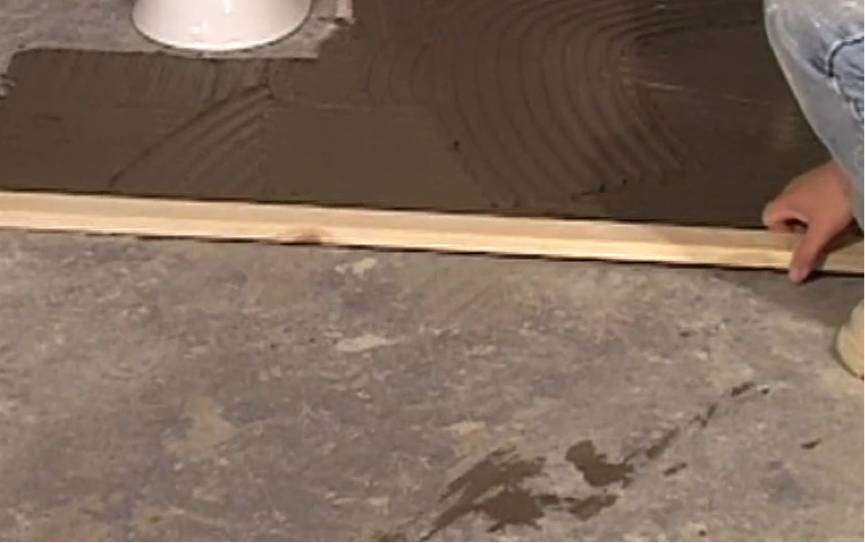
Step 4. Place your baton
Once you have covered a sufficient area, take a long strip of wood and place it along the edge of your line. This will act like the baton in our wall tiling guide. It will help to mark out where the edge of the tiles should go, keeping your rows and columns level.
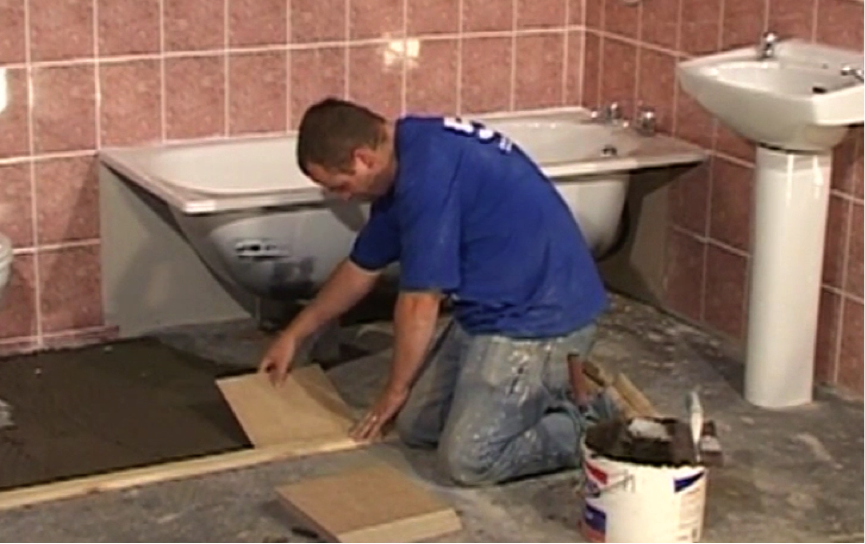
Step 5. Start to lay your tiles
Place your first tile on the floor, keeping it in line with your wooden baton.
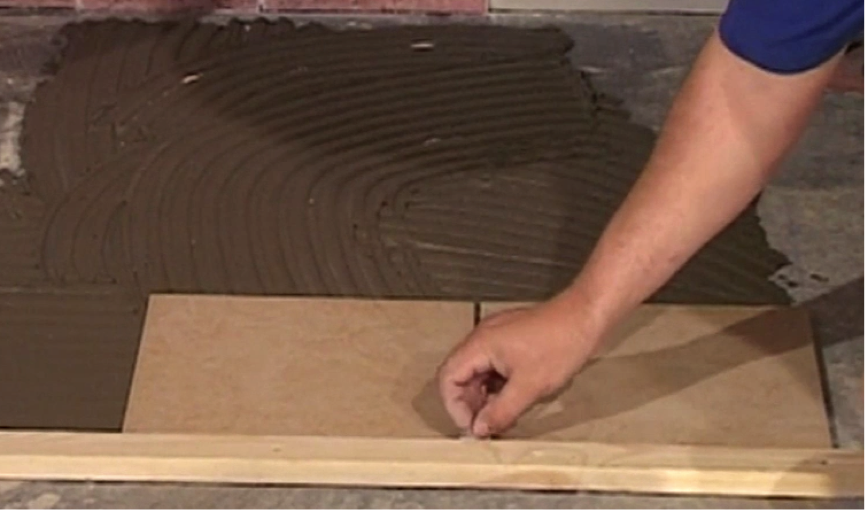
Step 6. Continue to lay tiles
Continue to lay your tiles along the strip of wood, remembering to add your 5mm spacers as you go.
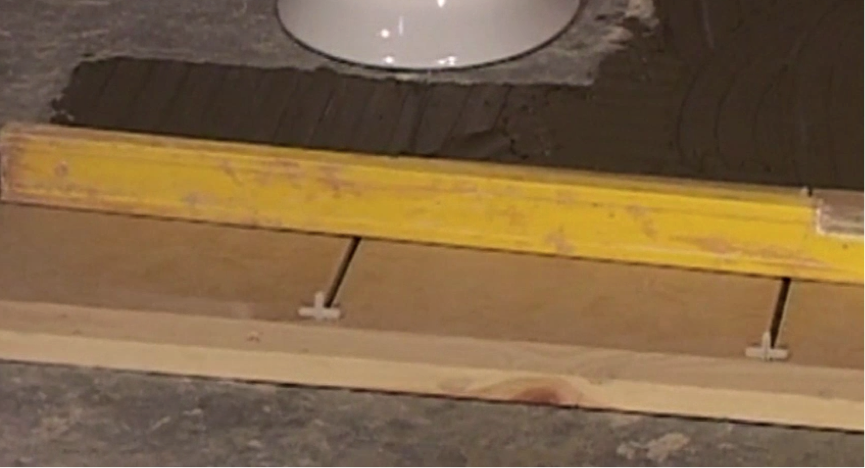
Step 7. Check your level
Rest a spirit level along your tiles, once you have done a few, to make sure they are flat. Adjust the tiles depth appropriately to ensure a flat surface. Continue to use your level throughout the tiling to make sure the surfaces are level. Press down any tile that is higher than the rest and make sure there are no gaps between the tile and the level.
Step 8. Repeat
Carry on laying tiles until you have laid all the full tiles you can. It will now be time to measure some tiles for the necessary cuts.