When you are finishing a room built with a timber or metal frame, the best way to create flat walls is using plasterboard. This provides a smooth surface to plaster or skim. Here’s our guide on how to measure, cut and fix the board, including what tools you’ll need to do the job correctly.
Step 1. Prepare the area
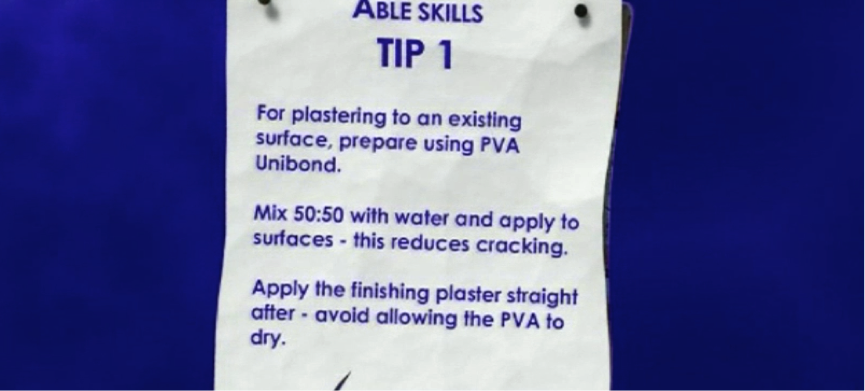
Before you begin, analyse the area you intend to plaster and prepare the surface accordingly.
- On new projects, you’ll need to board out the entire area in plaster board, which can then be directly plastered
- When plastering to an existing surface, prepare it using PVA unibond mixed with water. Apply this to surfaces to stop cracks appearing. NB Always apply plaster straight after PVA application, do not allow it to dry
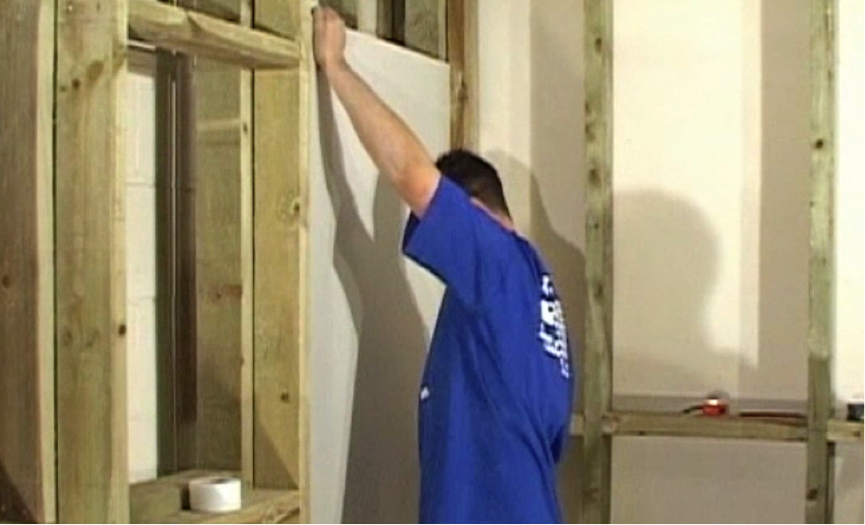
Step 2. Boarding
Working on new projects, you will need to board out the walls. Plasterboard has two distinctive sides, one is darker than the other. The lighter side needs to face away from the wall and into the room.
- Start with the ceiling first and then proceed to the walls
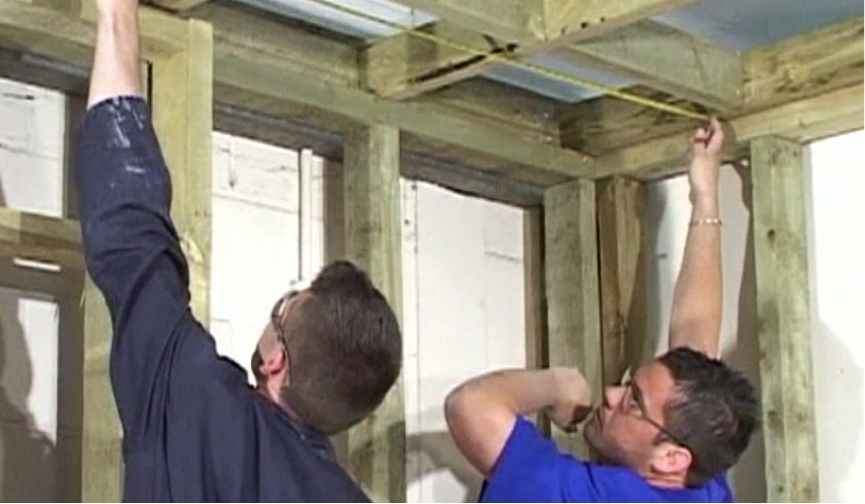
Step 3. Boarding the ceiling
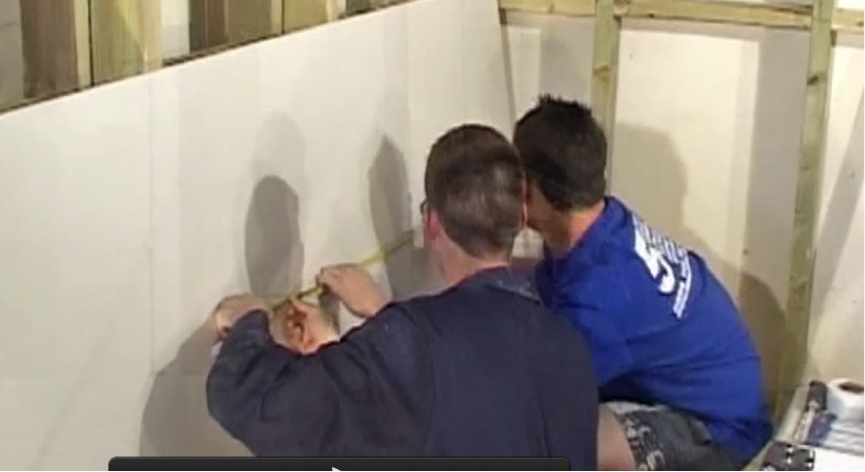
Take your tape measure and accurately measure the size of the ceiling. If you are unable to plaster a ceiling with one board, then you will need to cut and fix the boards between suitable joists.
- Start from the corner and measure to the centre of an appropriate joist
Step 4. Marking the boards
Using your measurements, mark out the length needed on the board with your pencil.
- Do this three times down the board to ensure you are marking it straight - one at the top, middle and bottom
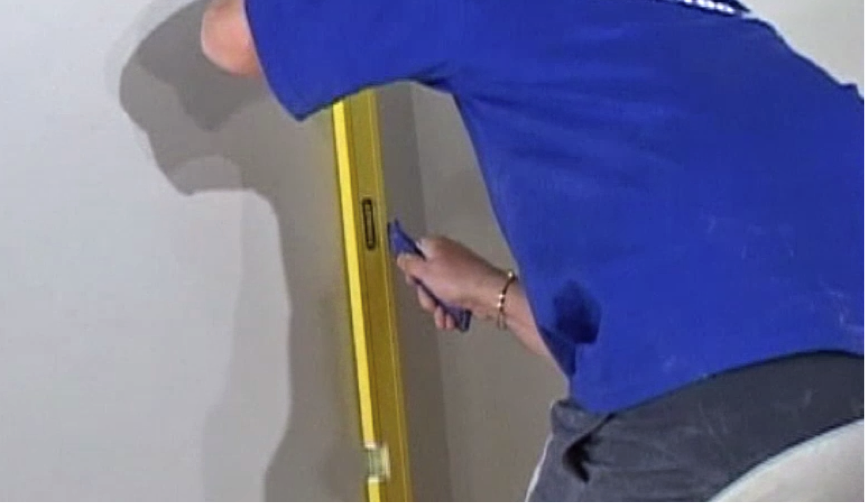
- Mark the line using your level to ensure it is straight
Step 5. Cutting the boards
Using your level for a straight line, cut down using a stanley knife, being careful to avoid your fingers. Once cut, turn the board round so that the darker side is facing you and fold the ends of the board towards you. This should cause the board to separate along the cut. Run your stanley knife down the dark side of the board to complete the cut on both sides.
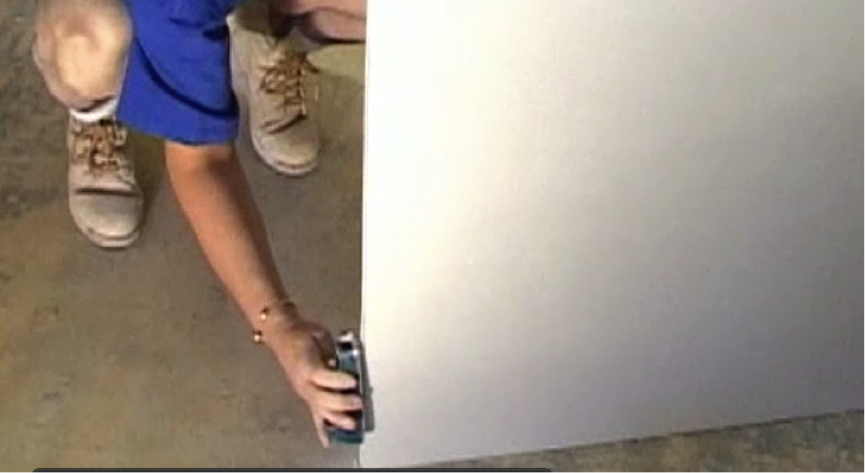
Step 6. Finishing the board
Remove any lumps or rough edges on the board with your rasp. Lightly run it up and down, cleaning the edge of the board until you are happy with the finish.
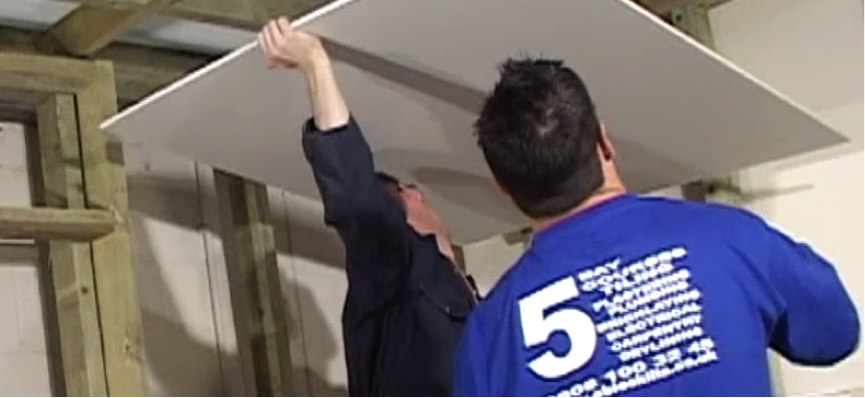
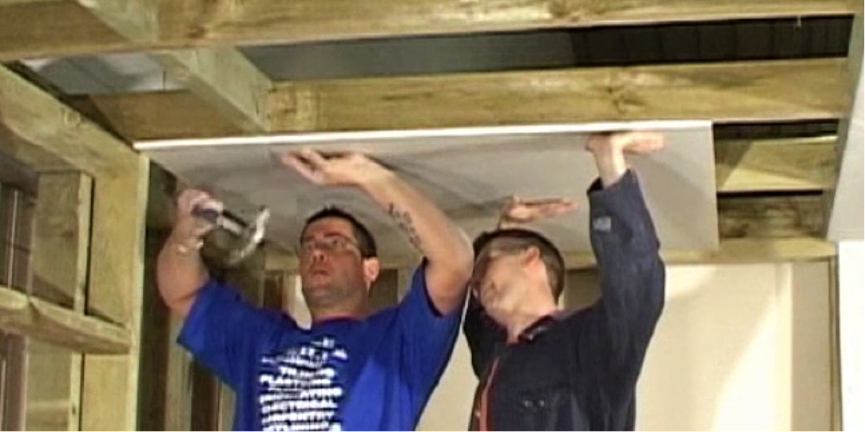
Step 7. Fixing the board to the ceiling
You may need help to carry out this step as boards can be heavy. Align the board to the wall and hammer it to the timber frame, using the correct type of nails.
- Always start nailing in the corners of the board
- Space out your nails roughly every fourteen inches from the corners
- Make sure there is no movement in the board
Step 8. Repeat process until room is boarded
The above guidelines in step 7 apply whether you are boarding the ceilings or the walls. Continue to measure, finish and fix boards until the whole room is covered. The boards are now ready to be taped and plastered.