Once you’ve put beading around windows and boxed in areas, you can set them in place using a bonding mix. This is an undercoat, a thicker plaster for setting the beads and covering poor or undulating surfaces. This prepares the area for the topcoat or finishing plaster. Here’s how to do it and what you’ll need for the best finish.
Step 1. Add the water
Start with a half bucket of clean water poured into the mixing bucket.

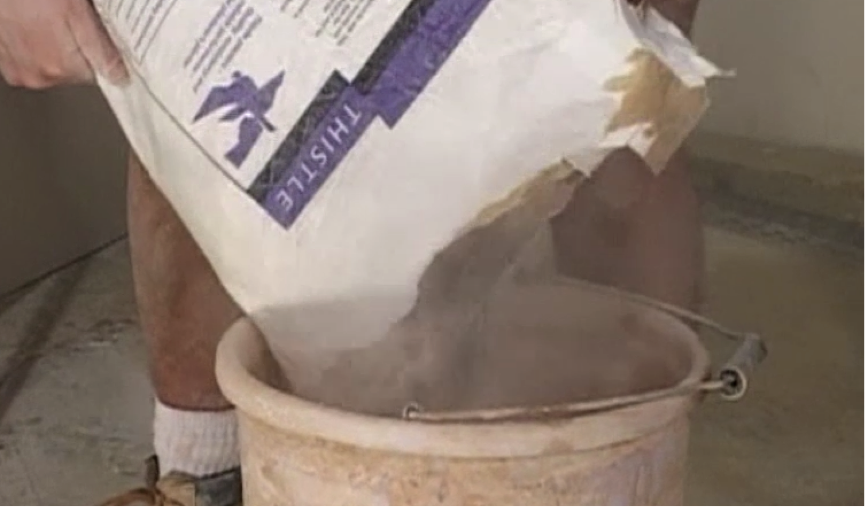
Step 2. Add the plaster and mix
Then add the bonding plaster to the bucket and start to mix with the drill and paddle, slowly adding more plaster as you go.
- This is the same technique as is used to make finishing plaster, although bonding plaster requires less mixing as it is rougher
- However much water you add gives twice as much plaster – so a half bucket of water should give a full bucket of plaster mix
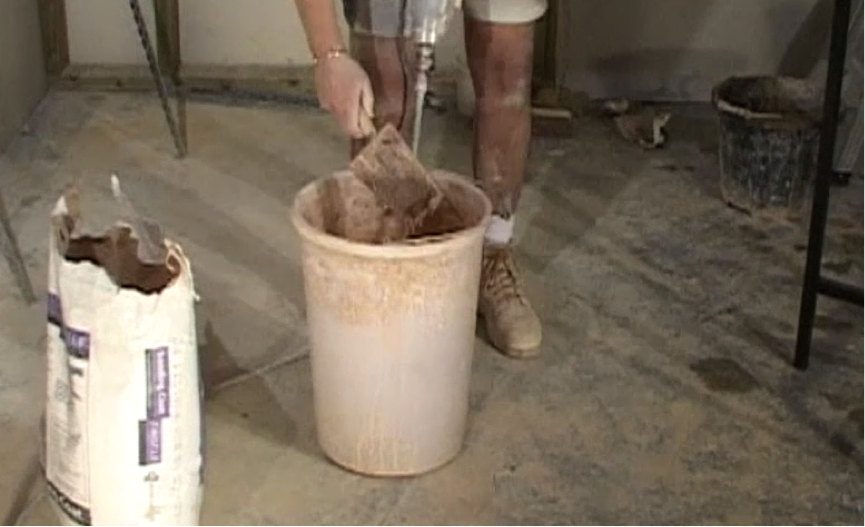
Step 3. Mixing the plaster thoroughly
Around the top of the bucket you may find some sediment that has not been mixed properly. Make sure that this is all mixed in or the plaster mix could be lumpy. To do this, run your trowel around the edge of the bucket and place the sediment back into the main mix.
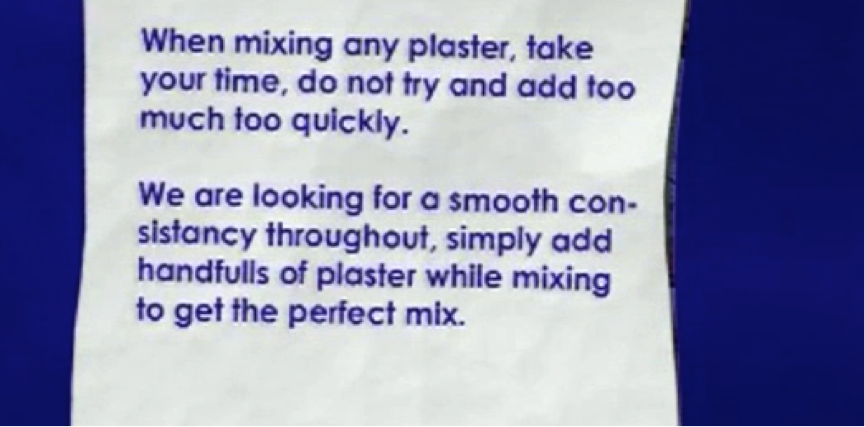
Step 4. Take your time
When mixing any plaster, take your time. Don’t add too much plaster too quickly as it will prove very difficult to mix thoroughly. The finished mix should be smooth and easy to spread on the walls around the beading.
- Add a handful of plaster at a time whilst continually mixing to get the perfect mix