Bath tubs, plus the water they hold, and the person taking a bath can be extremely heavy. That’s why you need to spread the weight evenly across the floor and the walls. Here’s a guide for what you need to know and how to safely fit your new tub.
Step 1. Turn off the water (part one)
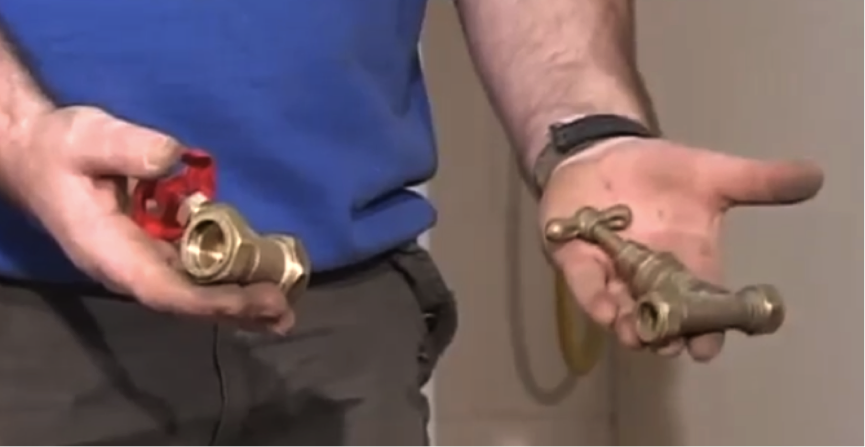
Before you start any work in the bathroom, you must turn the main water supply off. That should look like the tap pictured on the right on this photo. This is the mains inlet valve and will stop all the water coming into your house.
Step 2. Turn off the water (part two)
Usually located in the airing cupboard are two 22mm gate valves, pictured on the left (in red). One is from the hot water and comes from the cylinder. The other comes from the cold water tank. Turning both of these off will isolate the water coming into the bathroom.
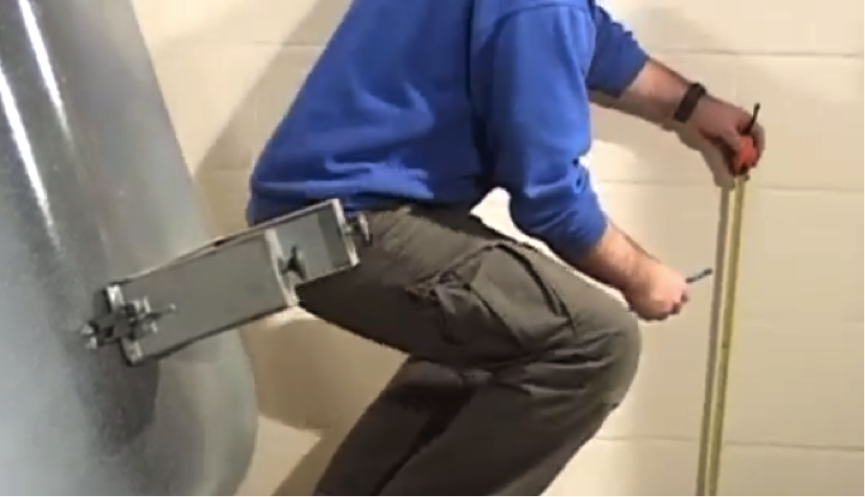
Step 3. Determine the height of the bath
You need to know how high the panel is. Mark the bath height on the wall. It may be necessary to do this a few times along the length of the tub.
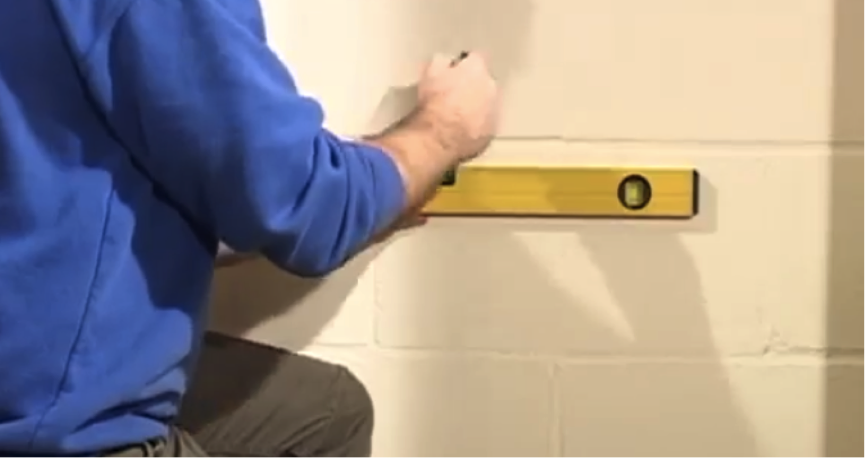
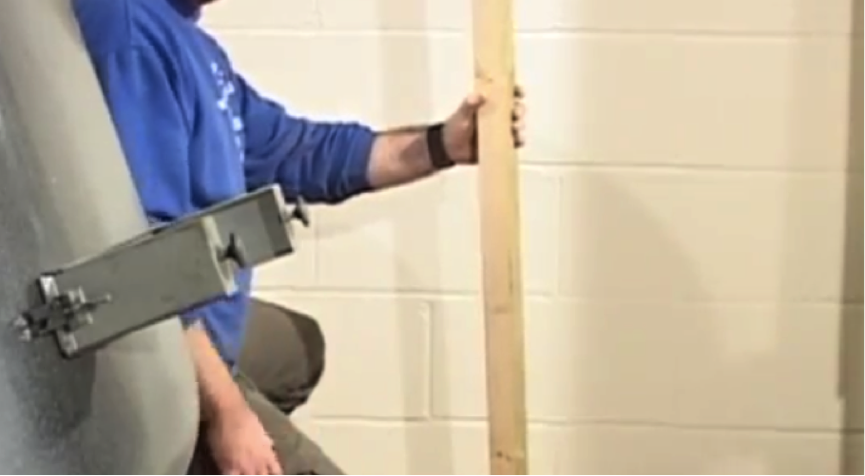
Step 4. Level your line
As no floor is ever completely level, use a spirit level to mark out a level line for the bath to follow. Draw the line along the whole wall as your guide to determine where the supports will go for the bath.
Step 5. Add supports on the floor
In the demonstration there is a solid plywood floor so it will not require supports. If however, you are installing on top of floorboards you need to run some wooden supports horizontally to help spread the weight and support the bath. Some new baths come with wooden supports and wooden brackets already fitted. However, if it’s an older bath like in the picture, you need to create these supports yourself.
Step 6. Think about weight
One litre of water weighs one kilogram. Add a person to the weight of a full bath, plus the weight of the bath itself, and you start to see why you need spread the weight out from the small feet.
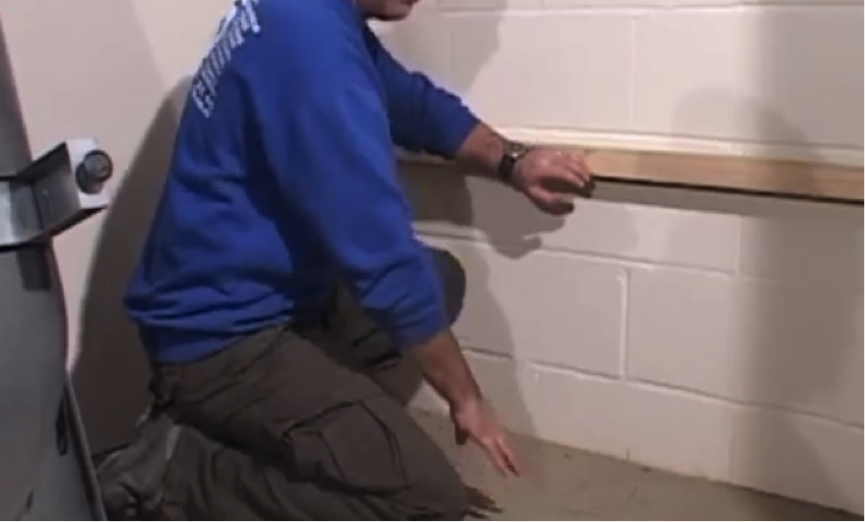
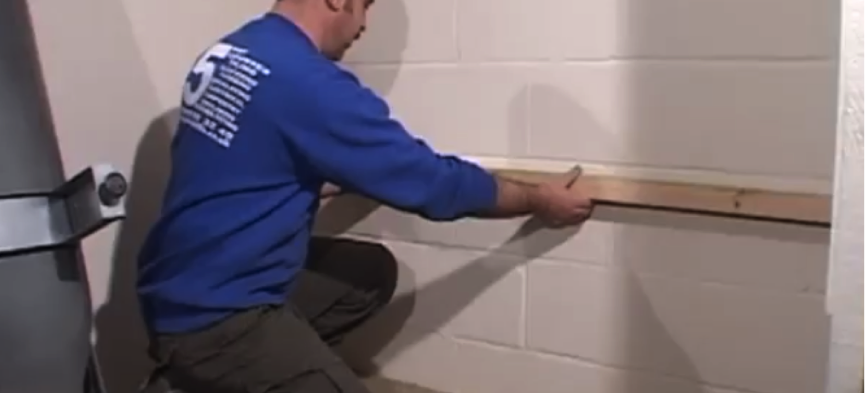
Step 7. Add wall baton
As well as spreading the weight across the floor, you can take some more of the weight by fixing a baton along your straight line, on which the bath will sit. A 2x2 baton will suffice. You can also fix a baton at the opposite end of the taps (if there is a wall there).
- Don’t fix at the tap end as this will prohibit access.
Step 8. Fit the bath
You’re now ready to fit the bath and level up the feet on the ground, according to your wall line.