The second dry trowel is the last phase of the plastering process, one which completes the finish and leaves the walls feeling and looking smooth and ready for painting. Here’s our guide on how to do it correctly.
Step 1. Where to start
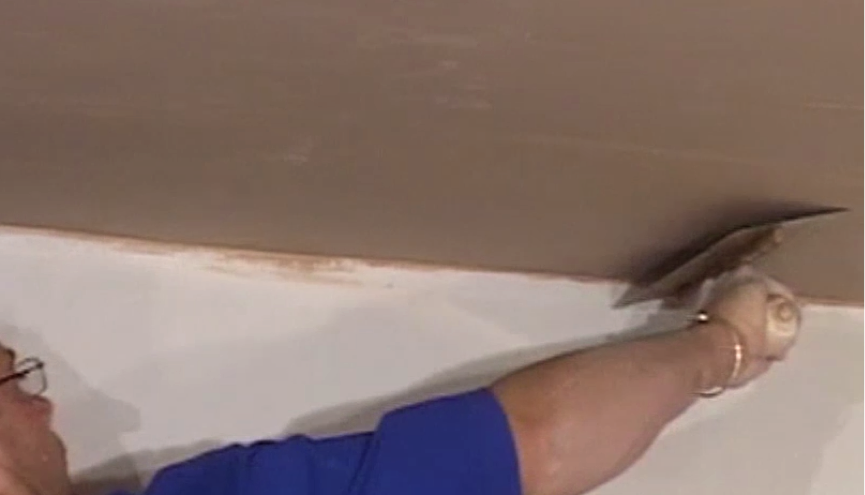
As always start at the top of the job and work from right to left, this will allow all coats of plaster to dry evenly and allows for easy and more methodical working.
Step 2. Get the technique right
Open up the trowel and apply a large amount of pressure. Run the trowel along the surface to achieve a final polish of the plaster.
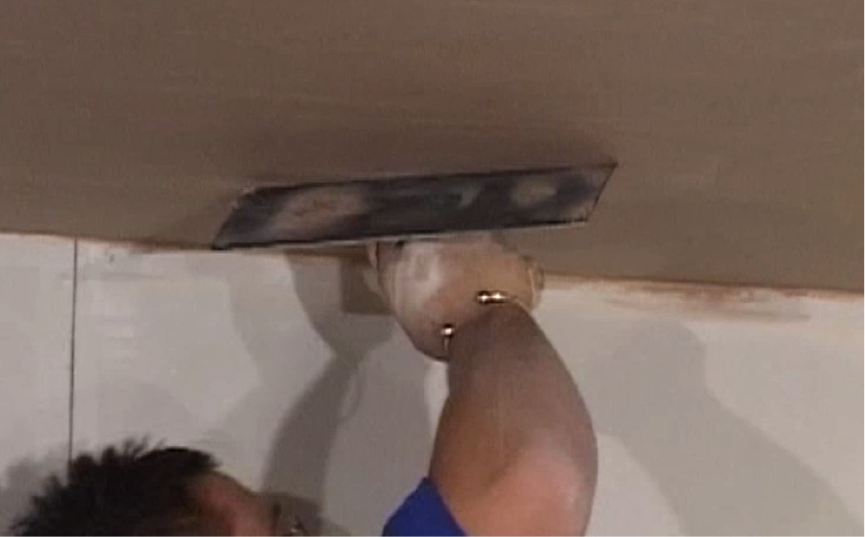
Step 3. Check for surplus
At this stage, you should not be getting any surplus plaster on your trowel. Check to make sure this is the case, and if plaster is coming off the walls, you need to leave it to dry for longer. The walls and ceiling need to be completely dry at this stage.

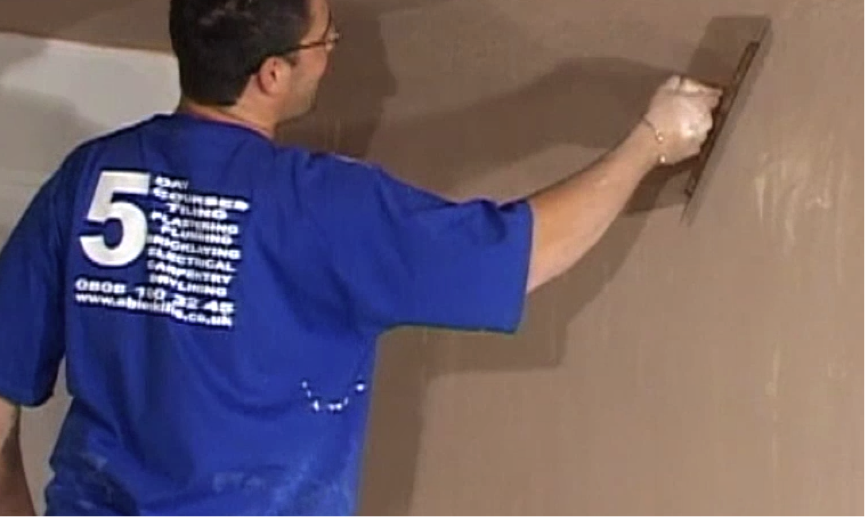
Step 4. Follow the pattern
Once the ceiling is complete, carry on and repeat the above procedure on the walls, working from top to bottom.
Step 5. Leave to set
Once you have finished your second dry trowel, you need to leave it to set for at least two days before you start decorating.