This is very similar to the first wet trowel application, only that during this process, instead of flicking water the brush is now used to paint the water on to the wall for a smoother surface. Follow the below guide to do it correctly and get the best finish possible.
Step 1. Where to start
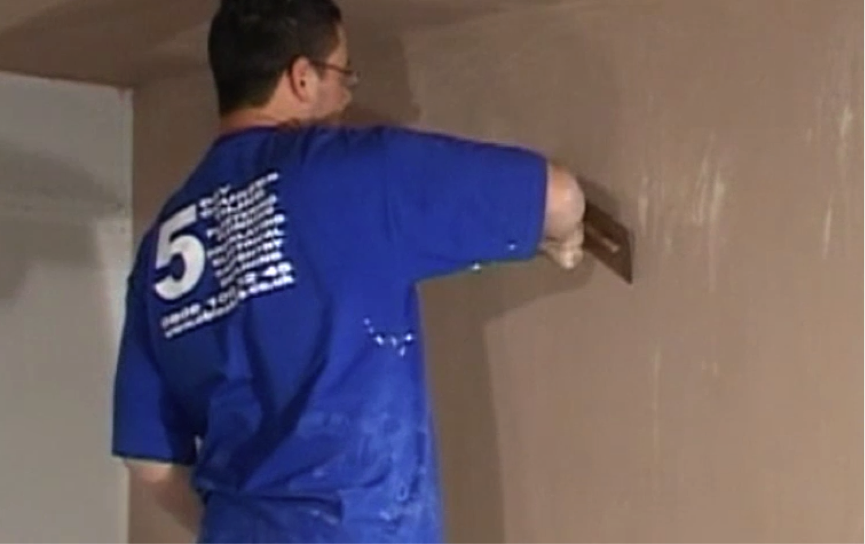
As always, follow the same working pattern from previous plaster coats and start at the top and on the left. This will ensure an even drying time for all coats of plaster.
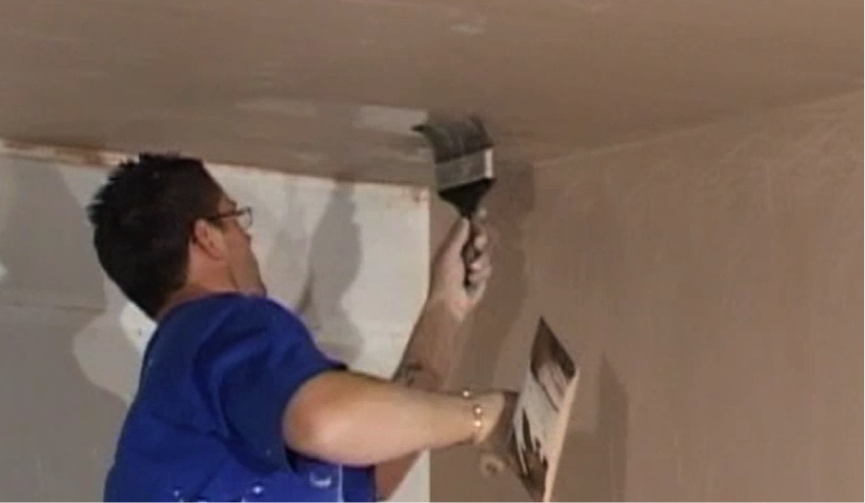
Step 2. Apply the water
This second wet troweling process is very similar to the first. Only this time, instead of flicking the water on to the wall, now you will be painting it on using the brush, for a more even application.
Step 3. Creating the finish
You should now be bringing the walls and ceiling to a flat finish that is smooth, even and ready for decorating. By adding water, the plaster naturally becomes smoother, so it will be ready to paint without having to sand it or treat it in any way.
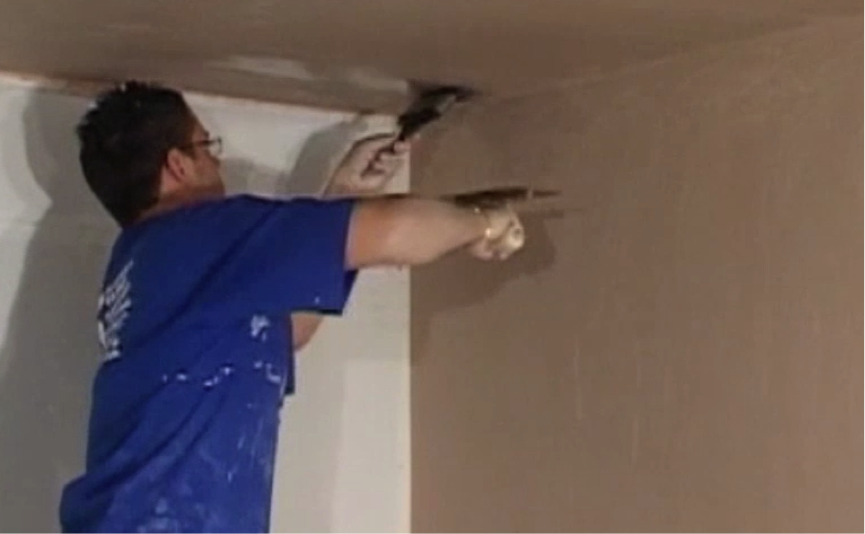
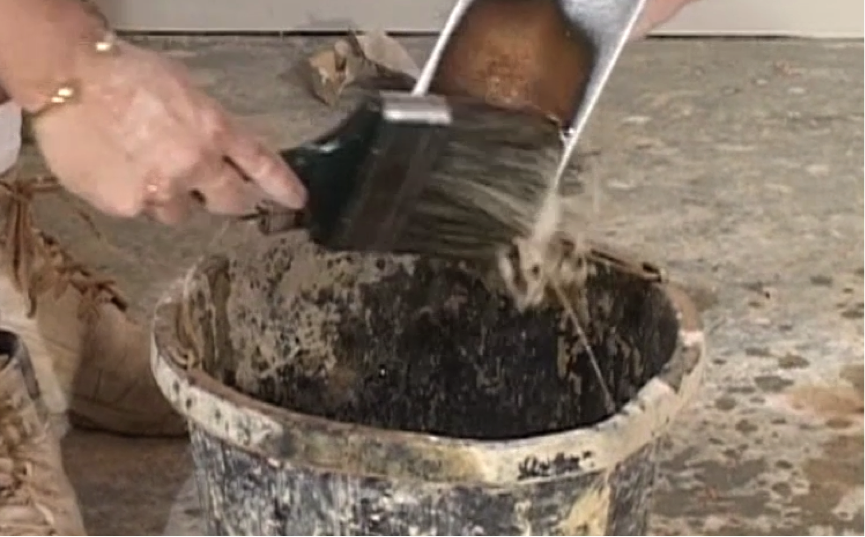
Step 4. Clean and wet your trowel
As you work through this phase of second wet troweling, continue to wet and clean your trowel regularly, as this makes for a better finish.
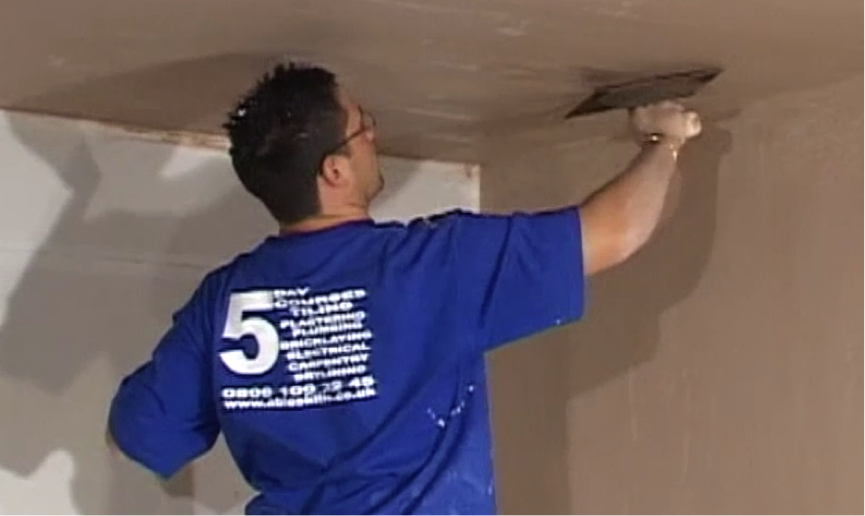
Step 5. Continue across the walls
Continue to apply water and smooth. Less excess water is produced by brushing than sprinkling but this will produce a smoother finish at this stage. Work in the same manner as you did for the last phases and remember to always wash and clean your trowel at the end of the job.