After tiling, grouting and pointing, silicone sealing is the final stage of the bathroom tiling process. Once this is done around the units, they will be watertight and ready to use. Sealing is very important for protecting the walls and units, such as showers and sinks, so watch our guide on how to get it right.
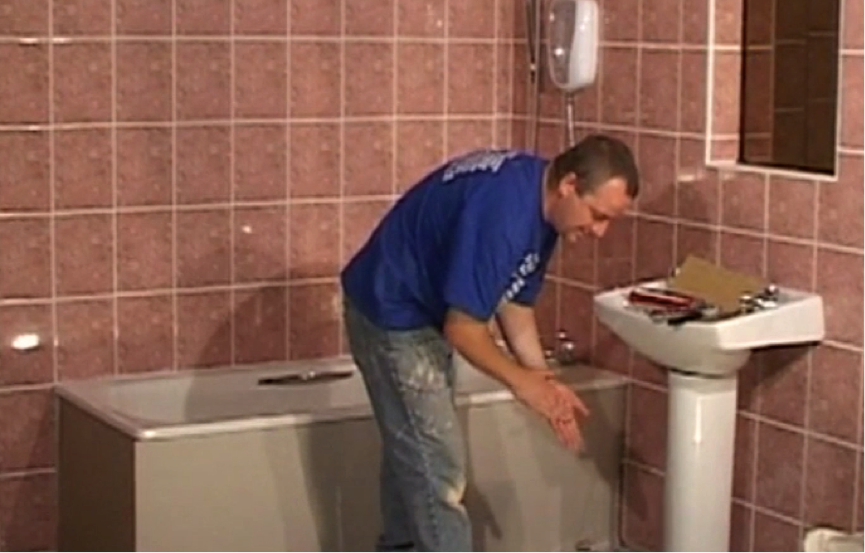
Step 1. Identify areas that need sealing
In the bathroom, there will be a number of obstacles that will have been tiled around, including shower units, bathtubs, sinks and toilets. The areas where these join the walls can now be sealed to make them watertight.
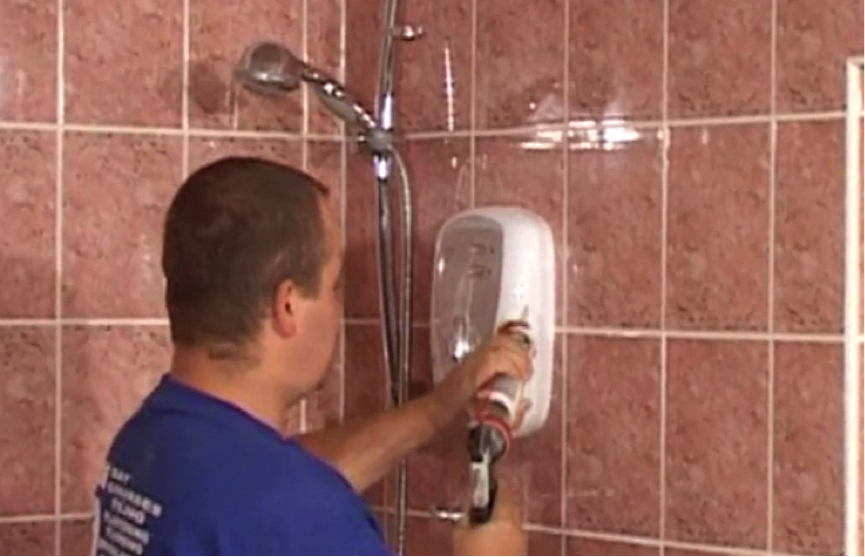
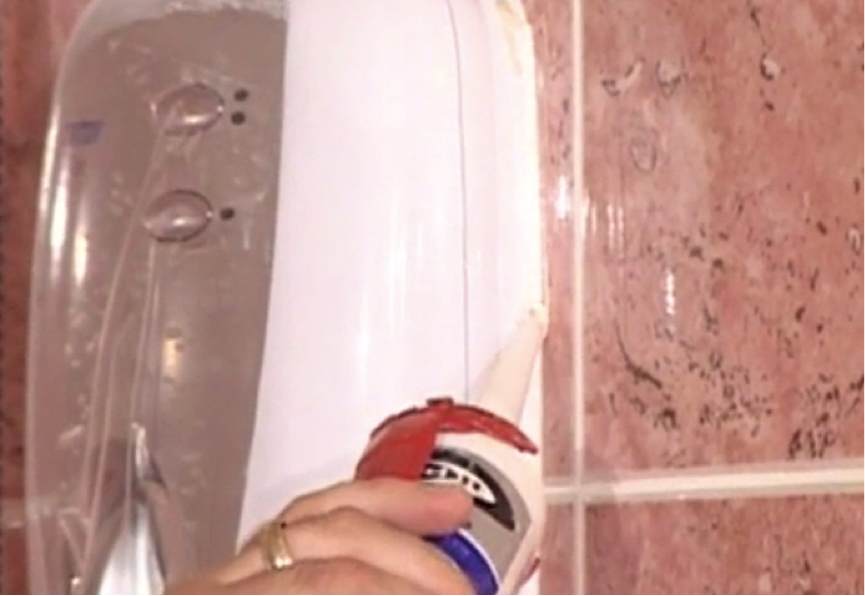
Step 2. Seal the units
Load the sealant into the gun and snip off the end of the spout to allow sealant to come out. Slowly run the sealant gun down the join to ensure a good and even join. This will make it waterproof.
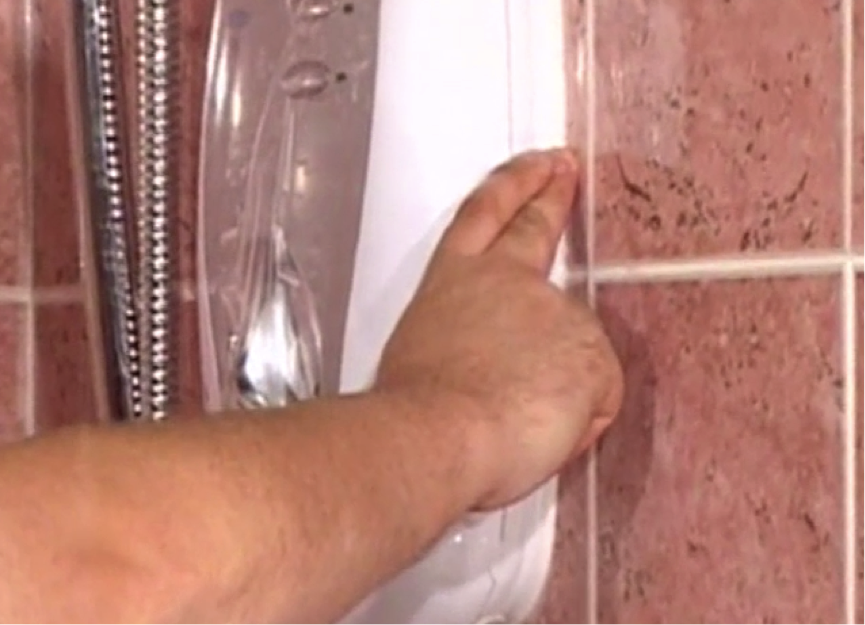
Step 3. Finish with fingers
Wet your fingers and run them slowly down the silicone to spread and create a smooth finish.
Step 4. Continue throughout the room
You will need to use sealant wherever there is a possibility of water penetrating and causing damage. This will be around sinks, baths and showers. With the silicon sealing complete, your bathroom is now ready to use.