Solvent joining is ideal for fusing two pieces of plastic piping of many shapes and sizes. The solvent cement forms a solid and waterproof bond that completes the pipe section in a similar way to welding metal.
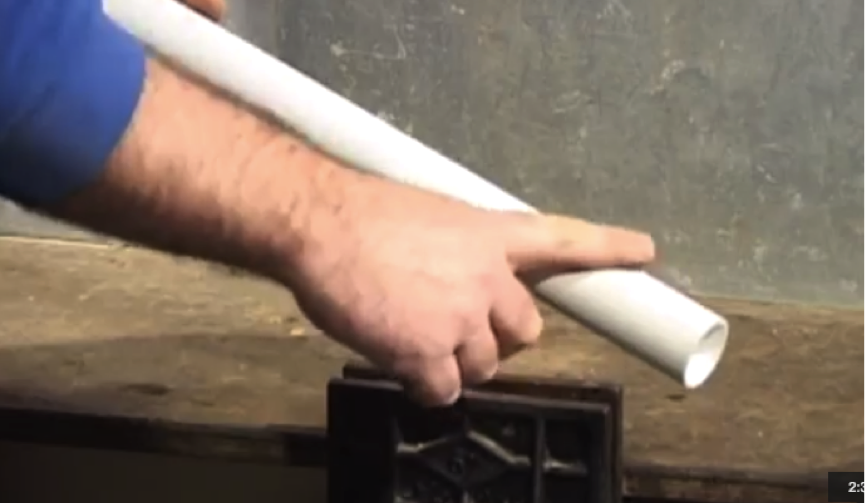
Step 1. Identify the sheen
Look carefully at the outside of the pipe and you’ll see that it has a natural sheen on it.
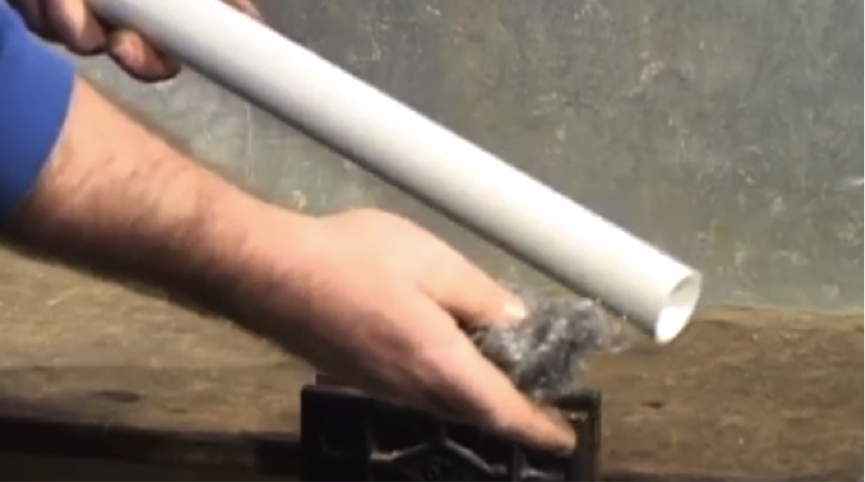
Step 2. Remove the sheen
You need to remove this sheen to allow for successful bonding. The best way to do this is to rub the outside of the pipe with wire wool.
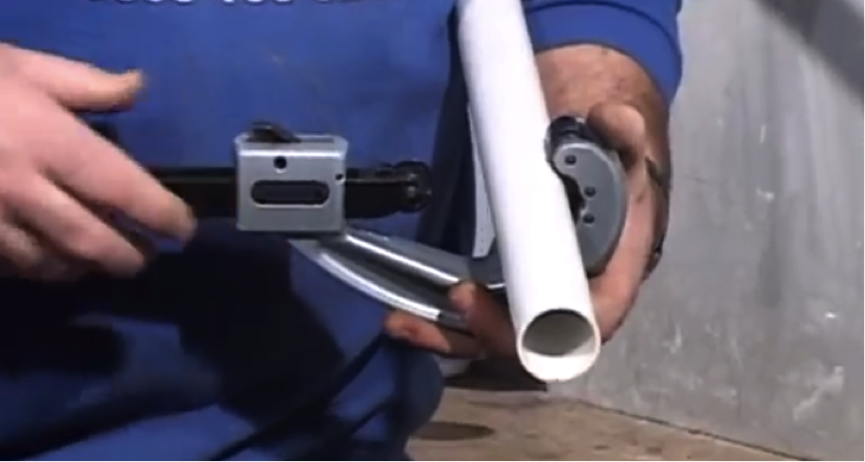
Step 3. Pipe cutting methods
The cheapest method of cutting plastic pipe is using a hacksaw. However, this makes it difficult to get a good straight edge, which is especially necessary when solvent welding. You can get specialised plastic pipe cutters which will give you the required dead straight lines. It operates on a wheel, which clamps onto the pipe, cutting the groove.
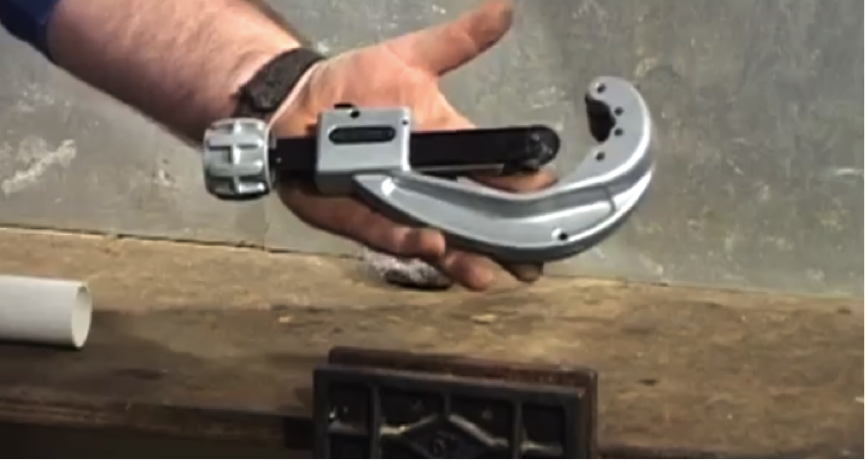
Step 4. Line up before cutting
Line the cutter up with the pipe and tighten the adjustable wheel firmly, being careful not to crush the pipe. Turn the cutter, adjusting the wheel to cut deeper into the plastic. Continue until the pipe is cut completely.
Step 5. Clean the pipe (part 1)
Similar to copper piping, you must clean the inside and outside of all the pipes using wire wool. Again, make sure you take the sheen off the outside of the pipe.
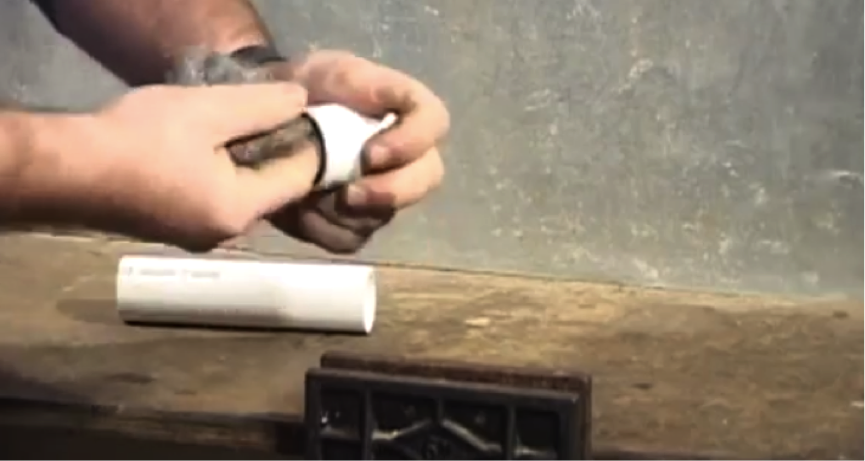
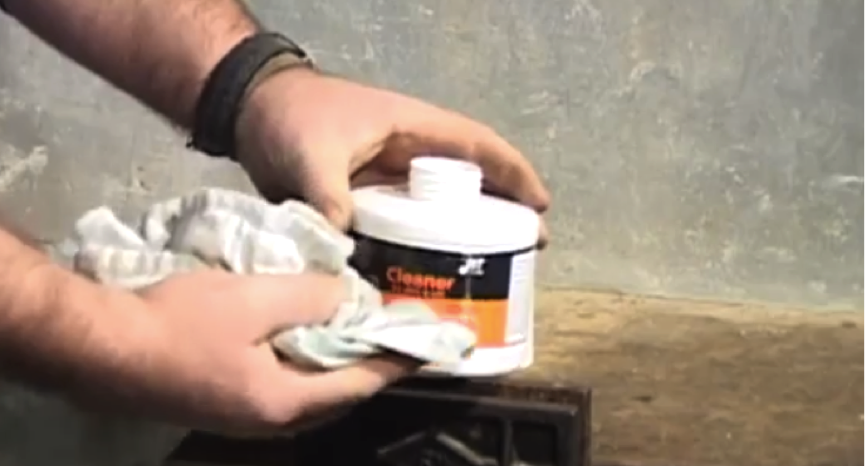
Step 6. Clean the pipe (part 2)
Using a UPVC cleaner, clean all parts of the pipe around the area to be joined to allow for a better bond. Using a cloth, make sure you rub the pipe both inside and out. Then let dry.
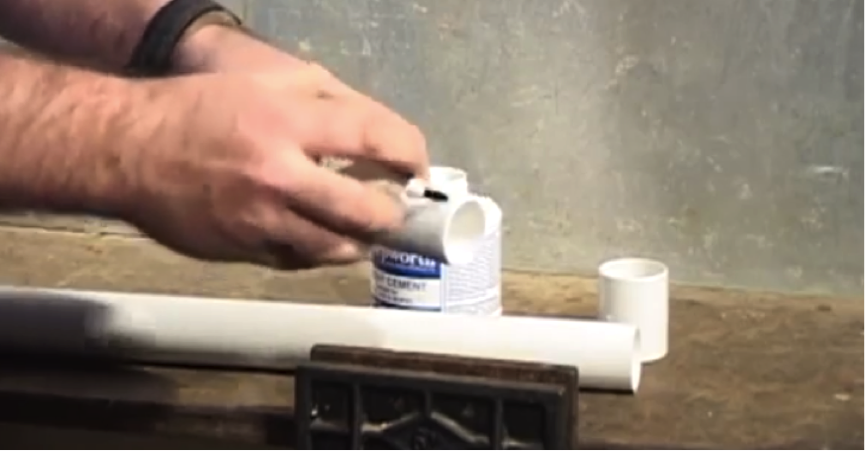
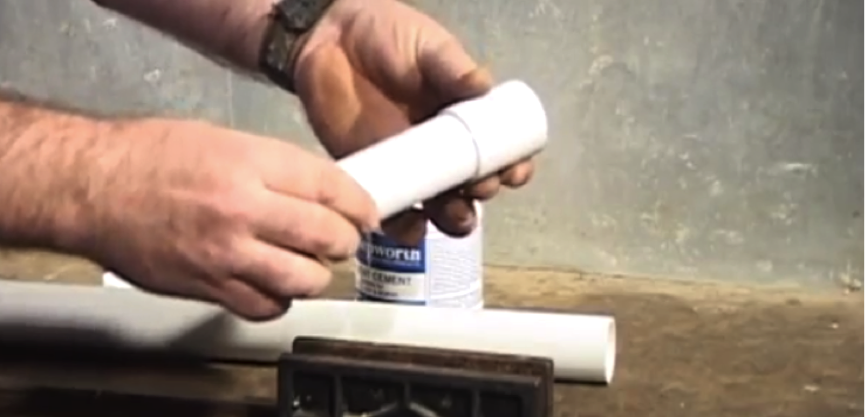
Step 7. Apply solvent cement
Solvent cement is not glue. It actually fuses the two bits of plastic together. Coat both surfaces to be fused in the solvent, evenly applying with a brush.
- Use in a well ventilated area, as fumes can be dangerous.
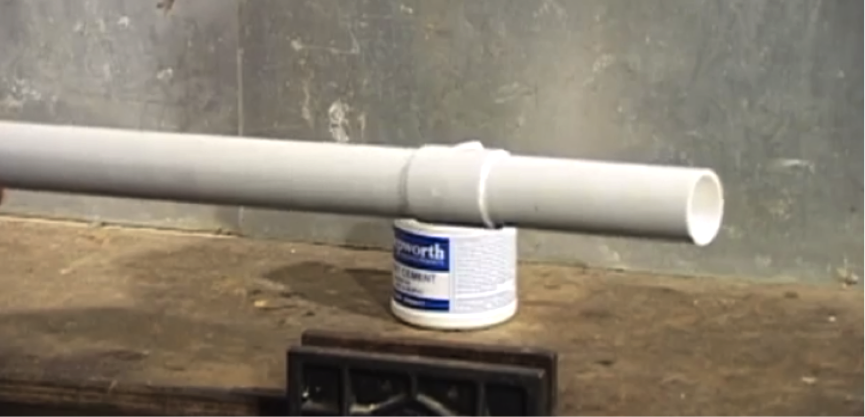
Step 8. Join the pipes
Push the pipes together and twist to ensure an even spread of the solvent in the join. This will ensure the bond is completely watertight and secure.
Step 9. Leave to fuse
Once the pipes are joined, they must be left and placed under no stress for at least 25 minutes. This will ensure the fusing process is completed. The pieces will then be as solid as a normal piece of pipe.
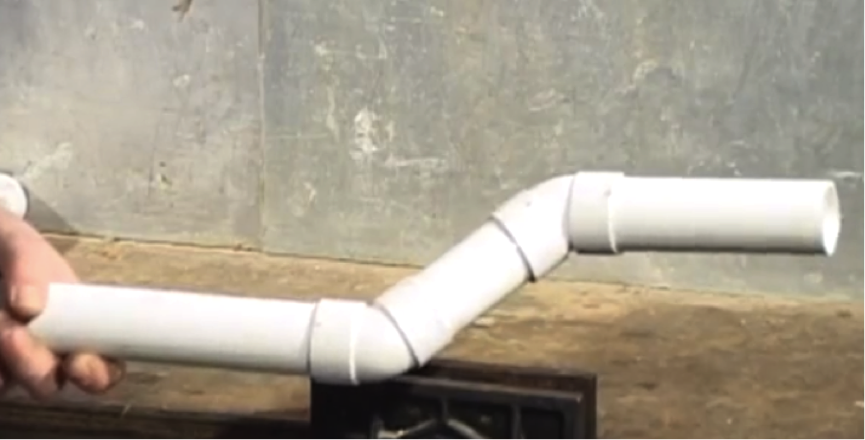
Step 10. Options
There are many different pieces and sizes of pipe join available, including corners piping or solvent welding for different size pipes.