Tiling around a shower unit uses a lot of the same techniques used to tile around a sink and window. You’ll need to measure, cut and fit tiles neatly and firmly, for a good finish and watertight shower area.
Step 1. Turn off the mains power
Before you start tiling around the shower, it is imperative that you have turned off the mains power. Power showers are connected to the mains and can be live. When carrying out any work around live fixtures and fittings you need to be 100% sure the mains are disconnected first. Only then can you start to apply your adhesive using a trowel.
Step 2. Fix full tiles first
As always, fix and secure any whole tiles first, using the existing rows and columns as a guideline. Then add the spacers. This will ensure you are more accurate when measuring and cutting tiles.
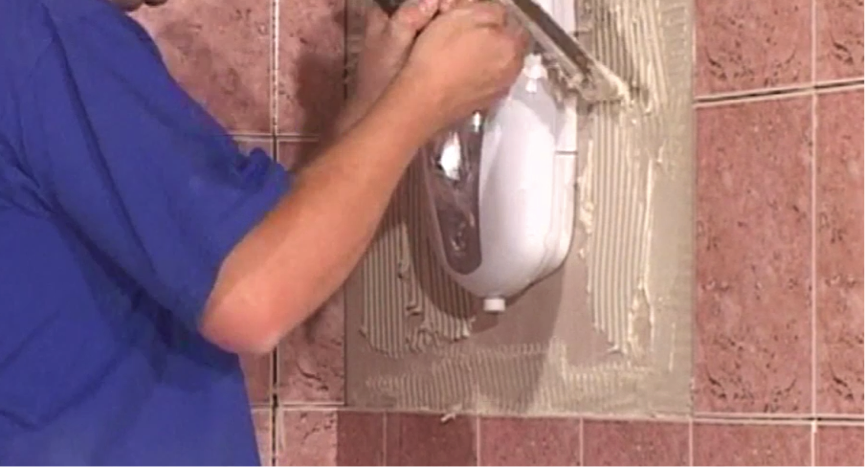
Step 3. Remove the front case of the shower unit
Start by removing the front case of the shower unit. As you are tampering with the unit itself, this is why the mains should be turned off.
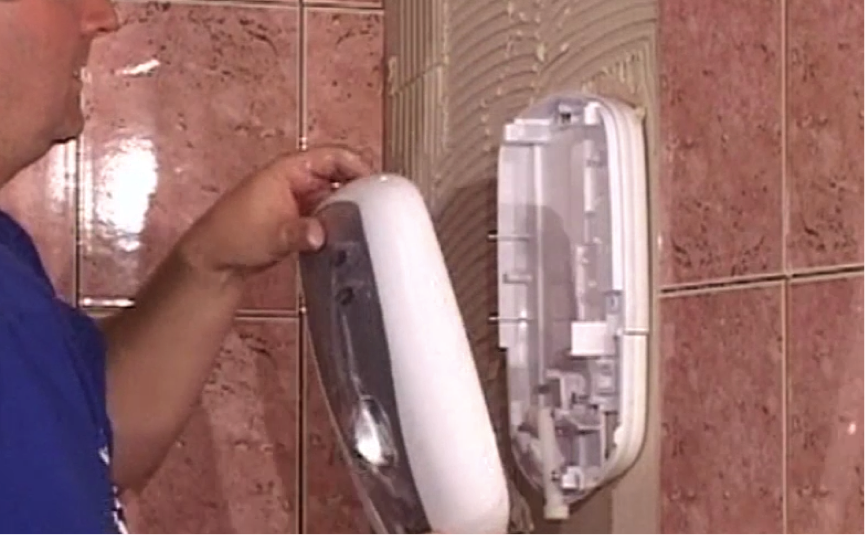
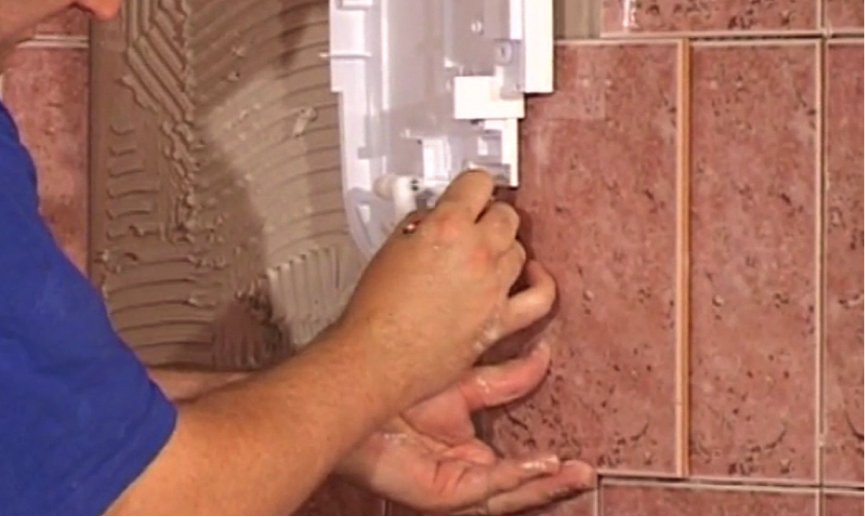
Step 4. Loosen unit from wall
Find the screws that secure the unit to the wall and loosen enough so that a tile will slip behind it, much like you did when tiling around the sink (see our other video).
Step 5. Locate the screws
Align a tile up with a row and slide it across to make a mark under the screw. Then do the same horizontally, aligning the tile with a column below and make a mark to the right of the screw (if on the right hand side of the unit).
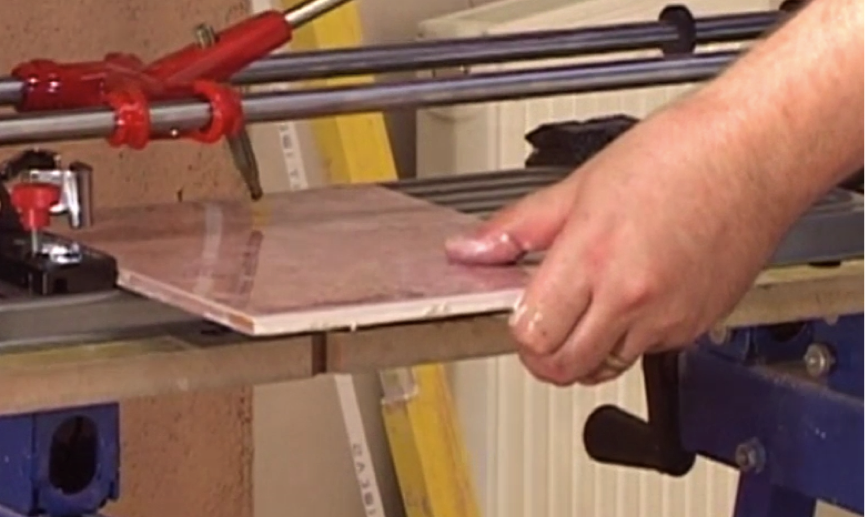
Step 6. Score and chip
Score out the lines on the tile using your cutter, being careful not to go too far past the meeting point. Then take your tile snips and gradually chip away the excess tile. Let the teeth do the work and don’t apply too much pressure as the tile may crack or break.
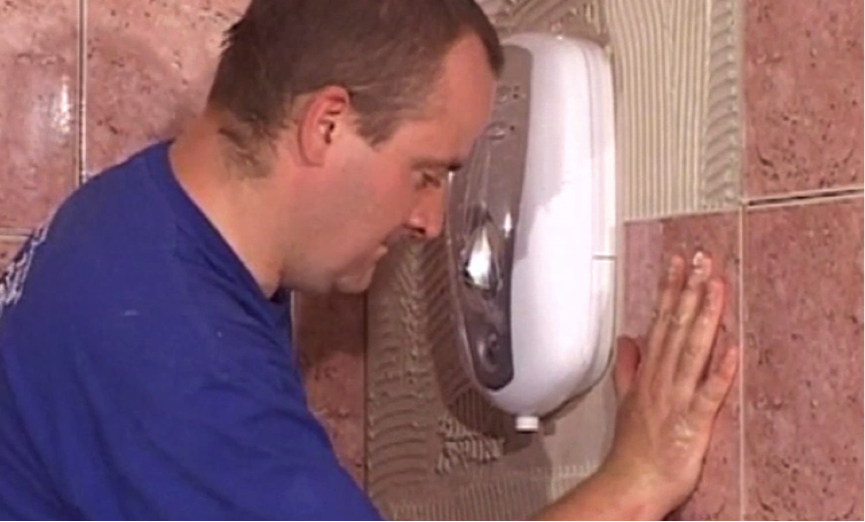
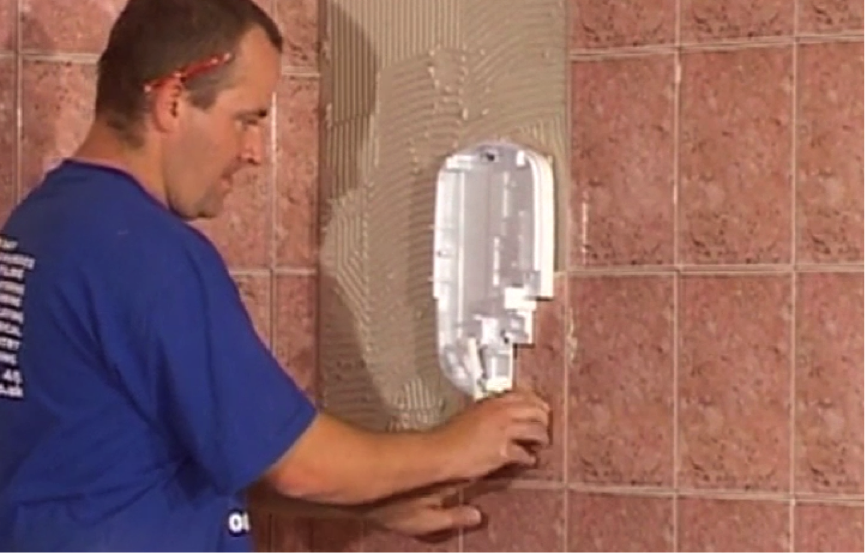
Step 7. Insert the tile
Apply adhesive to the back of the tile and slide it in behind the shower unit. Then repeat the process for the other tiles around the unit until the entire shower area is tiled.
- Remember that when you make your mark on the tile in pencil, mark in whichever direction the tile is coming from to allow the correct amount of space i.e if the tile is above the unit, mark above the screw, and so on
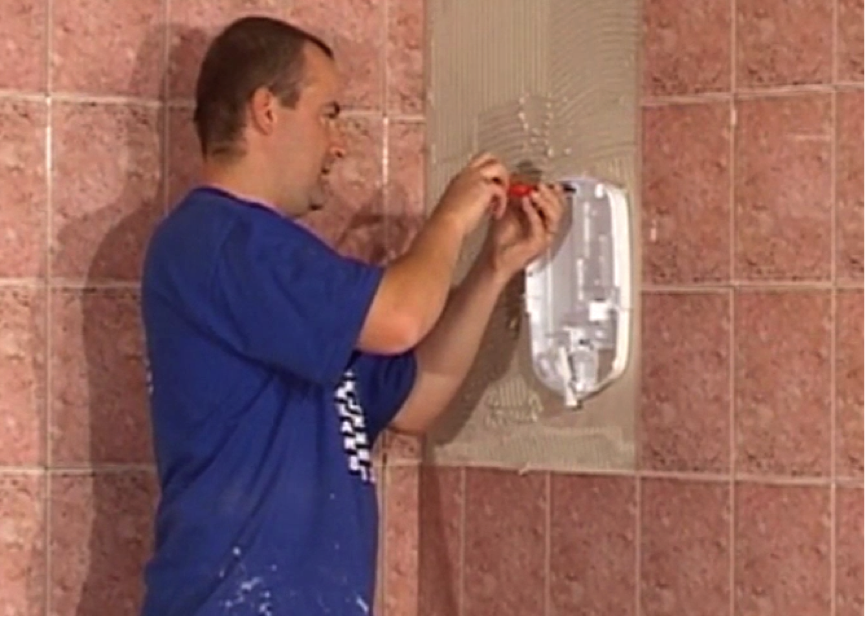
Step 8. Secure the unit
Once the tiles are in, secure the unit so that it is firmly in place on the wall. Place the cover back on the unit and you are now safe to turn the power back on. Finish up the rest of the tiling to complete the job, remembering to add spacers as and when needed.
