Tiling behind and around sinks can be tricky, especially if they are screwed to the wall. However, you can measure, mark and cut tiles to avoid screws and get a great finish behind your sink and along the wall. Here’s our guide on how to do it.
Step 1. Attach the baton
Since you should already have your guidelines drawn on the wall, the first thing to do is to attach your baton. Screw or nail this to the wall, if possible so that it is level with existing batons, but if not, as long as it is level and straight with your guidelines, then it should be fine.
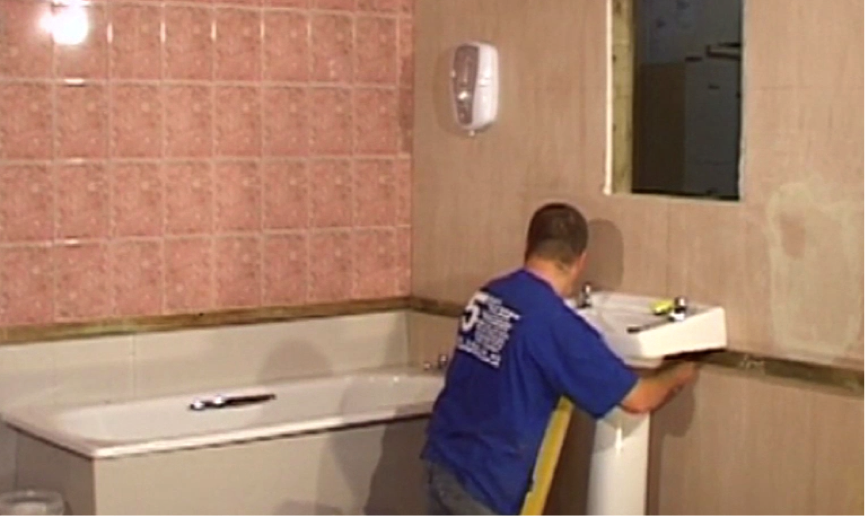
Step 2. Tiling behind the sink
In order to add the tiles behind the sink, you need to locate and loosen the screws that hold the sink to the wall. You will need to do this so that there is enough room for a tile to fit behind them.
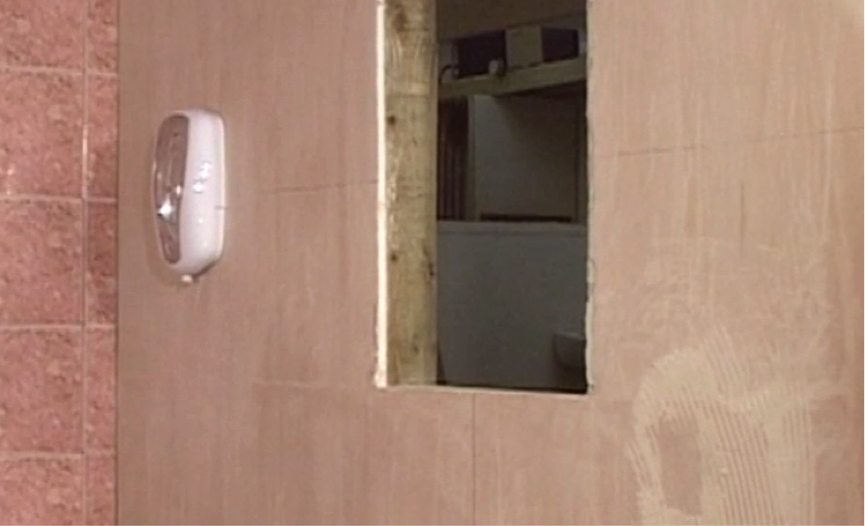
Step 3. Use your centre line
In our example, we’ll be using our centre line on the window as a guideline to tile. This will end up with cut tiles required on both the left and right walls. Any ordinary centre line will do, however.
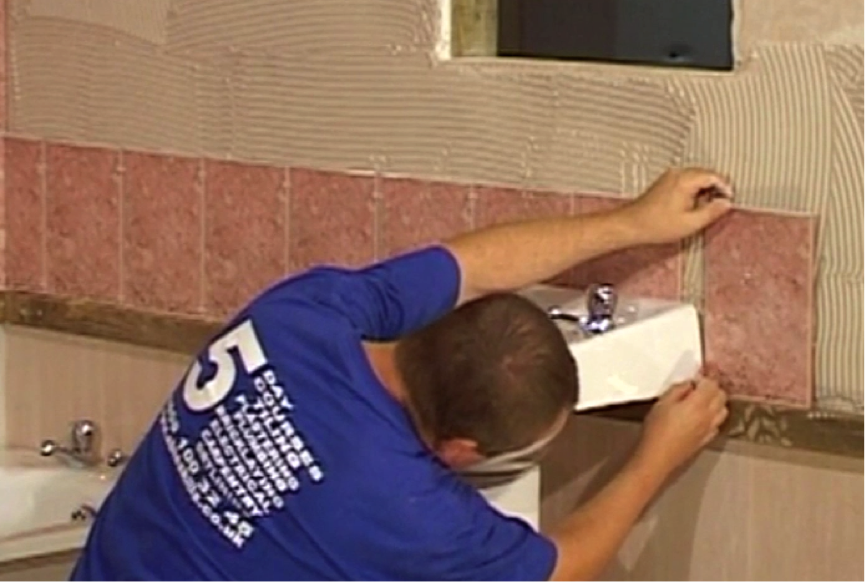
Step 4. Spread the adhesive
Start to spread the adhesive along the wall above the baton. Try to keep the thickness of the adhesive on the wall the same, and spread to create a grill effect using your trowel.
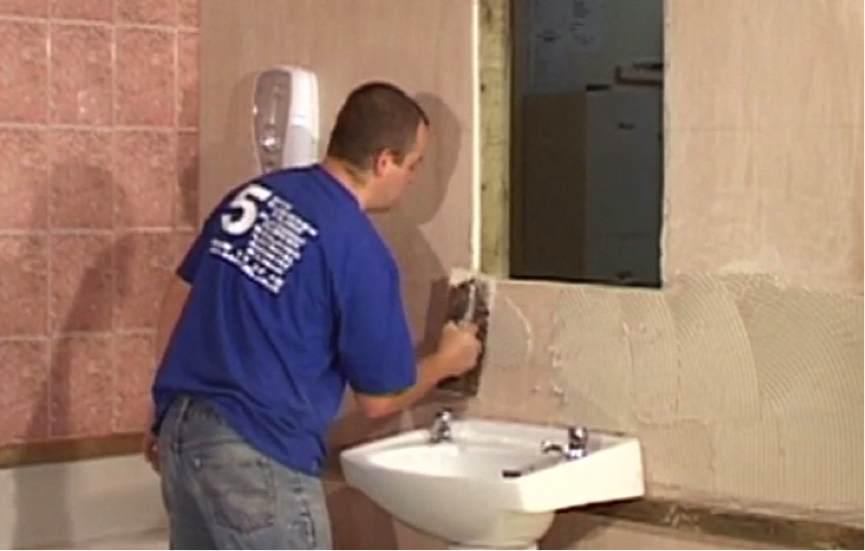
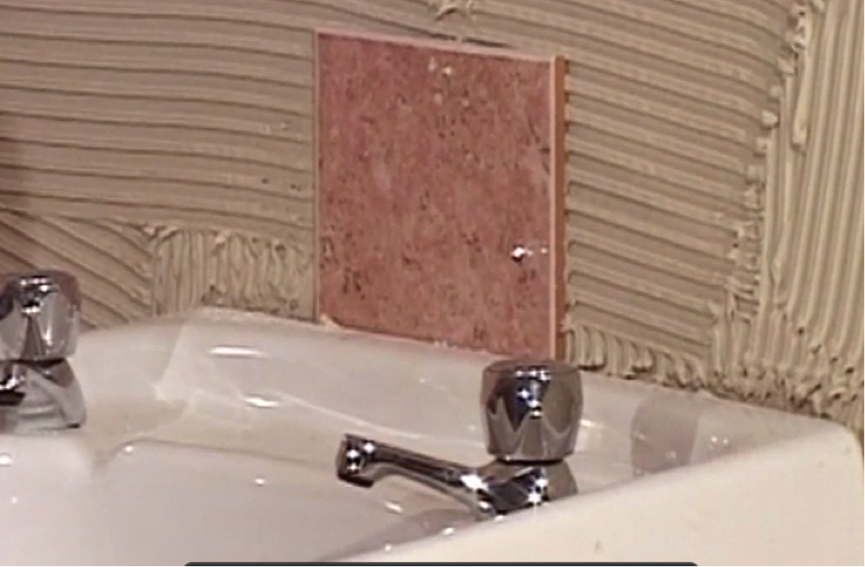
Step 5. Place the tile
Using the centre line, run a tile down the back of the sink and press firmly into place.
Step 6. Avoid the screw fixing
The tile to the left of the centre tile may by obstructed by the screw that holds the sink to the wall. You will need to cut out a corner of the tile in order for this to fit. Mark on the tile in pencil a point on the tile above where the screw would be located, both vertically and horizontally. Remove the tile and clean off the adhesive on the back using water.

Step 7. Scoring the tile
Using your scorer, make two grooves in the tile along markers so that they meet forming a corner. Be careful not to go too far with your scoring as the sink may not hide your scoring marks.
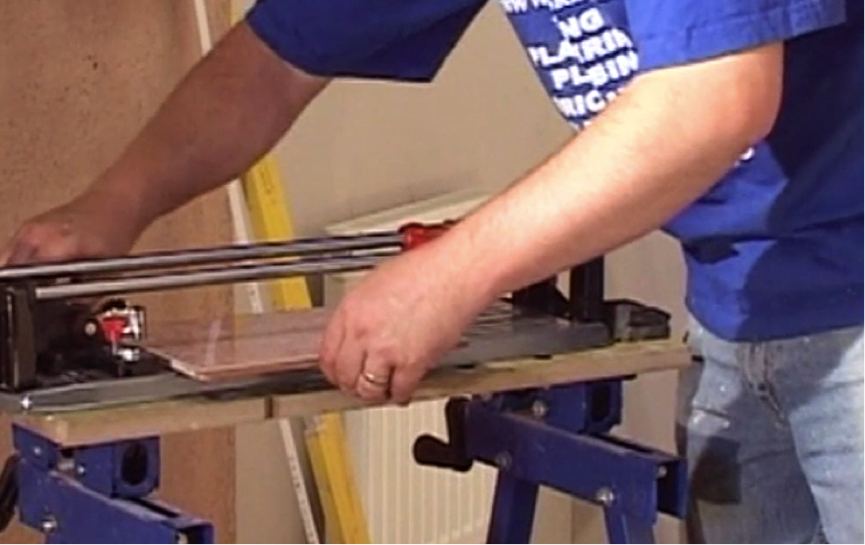
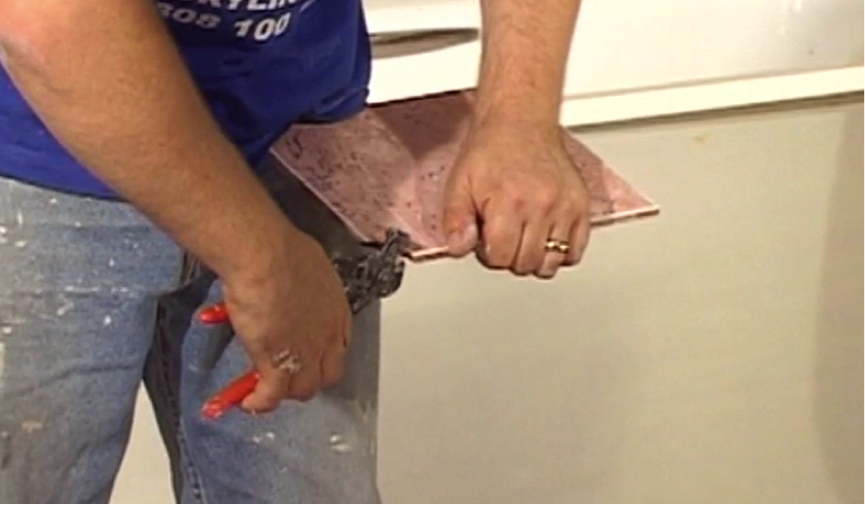
Step 8. Cutting the tile
Take your tile pincers and chip off small chunks of the section to be removed. Don’t use the pincers like pliers and let the teeth do the work. As you get closer to your score marks, the pincers will naturally cut off straight lines. Don’t rush as the tile might break and you will need to start again.
Step 9. Smooth off the edge
To smooth off the edges, take a rubbing stone and run along the jagged parts until smooth.
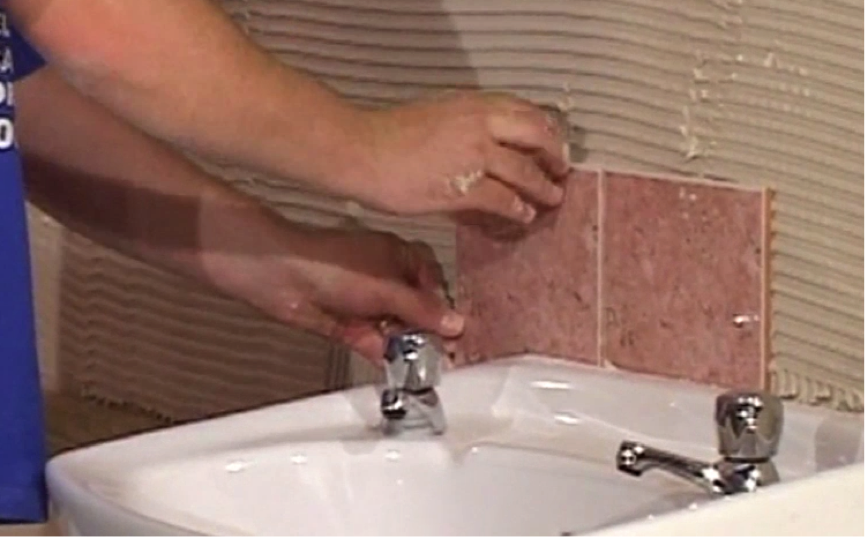
Step 10. Place the tile in position
Once the tile corner is cut out, you can now place it back into position behind the sink, making sure to line it up correctly and adding spacers. Continue to add tiles towards the wall, again using spacers. When you reach the corner, the same approach applies as before. Measure, mark and make the cut.
- If you’re measuring towards a corner that has already been tiled, only allow a 2mm space as you want the tiles to be flush with each other
Step 11. Repeat on opposite side
When working on the other side of your marked line, repeat the sink tiling process and work out towards the wall and corners.