Tiling around windows can be a bit tricky and involves planning, measuring and cutting accurately and in the right order. You also need to cut and fit trim. Follow this guide to do the job properly and end up with a neat tiled finish around your windows.
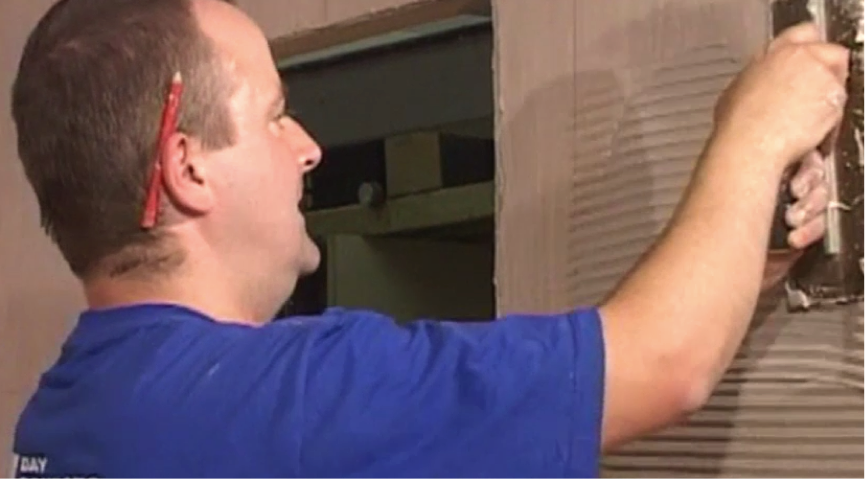
Step 1. Attach full tiles
Using the tiles already on the wall as a guide, continue to lay all the full tiles that you can, leaving the cuts around the window until the end.
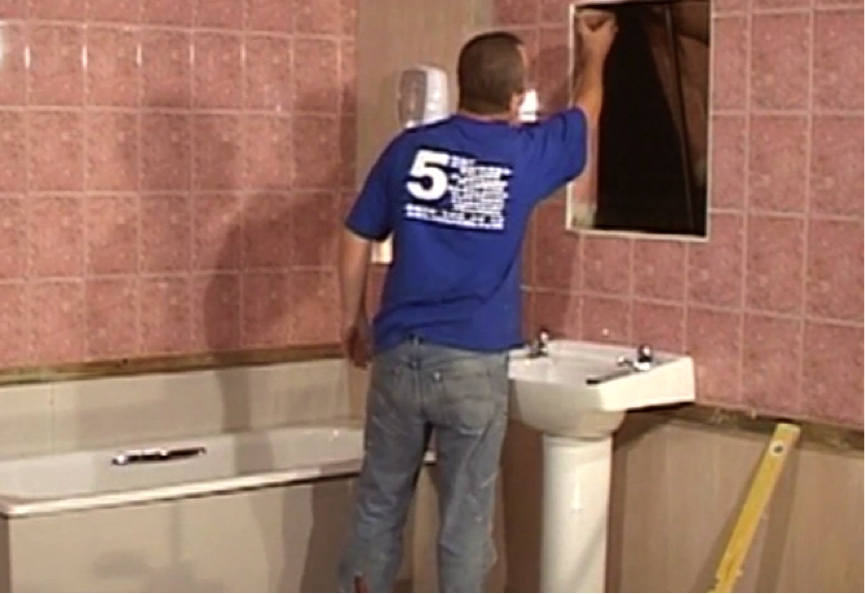
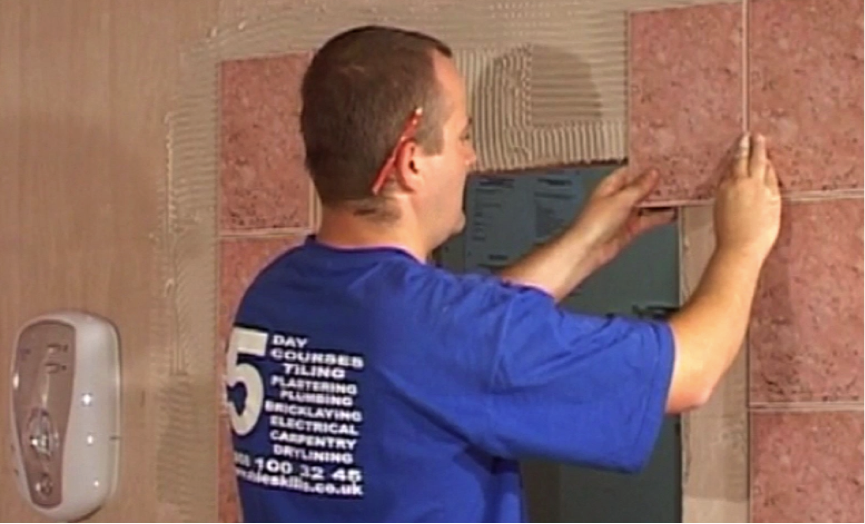
Step 2. Fit the corners
When you get to the end of the row, fit the tile in the corner by marking the tile cuts in pencil, cutting and fitting with adhesive
- Remember, if it is going up against a wall already tiled, like pictured, you don’t leave room for a spacer on the wall side, for a flush finish

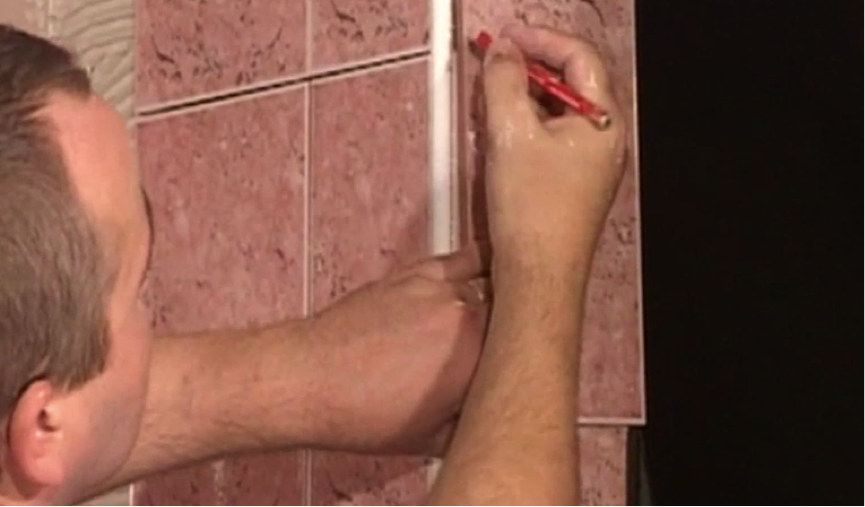
Step 3. Mark your cut line
Using a level, mark on the wall a line which will show where the cuts will need to be made. This line will be a guide for the other tiles to proceed along. Repeat the process on the other side of the window.
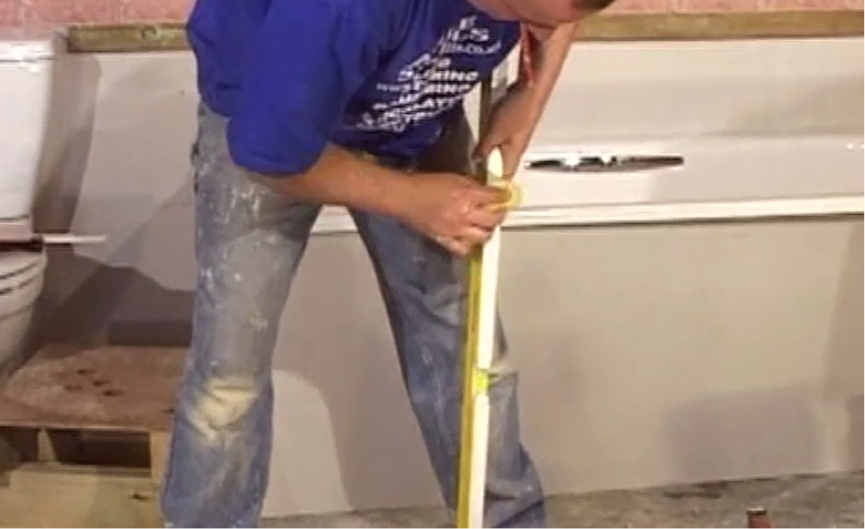
Step 4. Clean your tools
Always remember to clean your tools regularly after use. This keeps everything in good working order and reduces your chances of spoiling any finish with dirty plaster or adhesive later on.
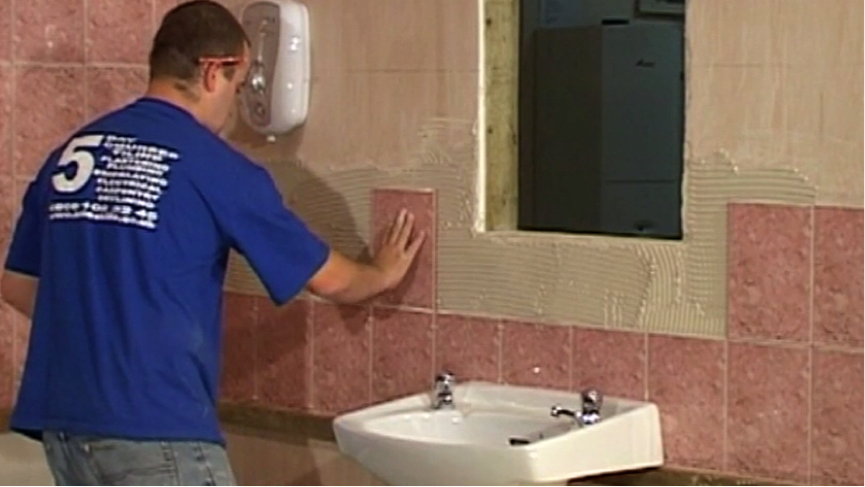
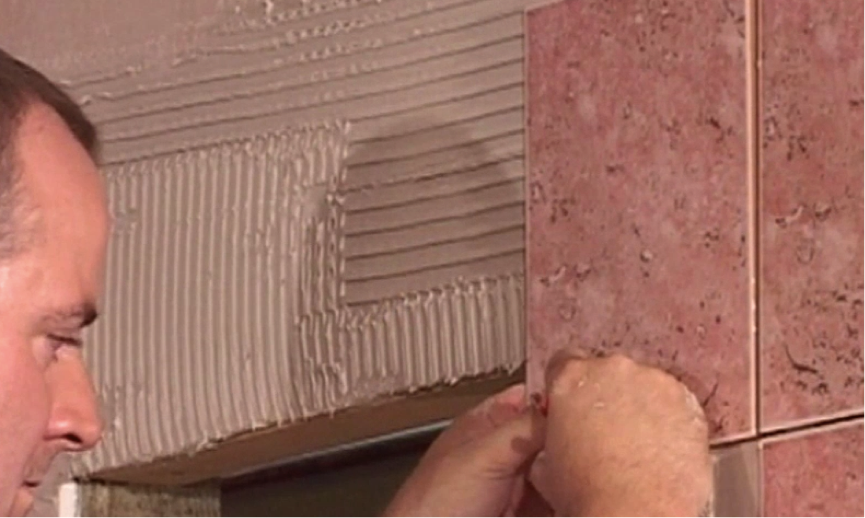
Step 5. Spread your adhesive
Go back to spreading your adhesive. Remember that you’re looking for a nice, even grill-like pattern on the wall. These channels mean air can flow and increases the suction that holds tiles to the wall. Getting the right trowel angle when applying is very important for this – it should be between 35 and 45 degrees.
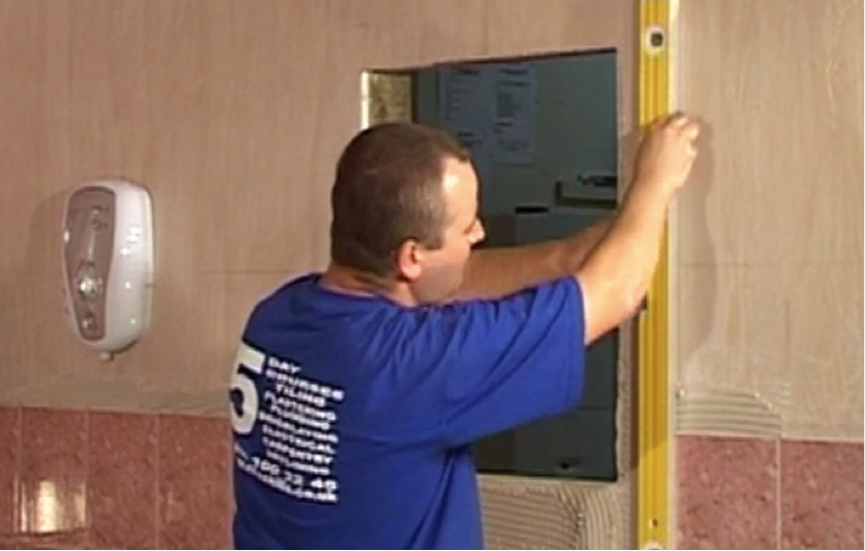
Step 6. Check you’re square
It’s important to keep the tiling around your window square so that your cuts will fit neatly. To do this, measure between the top and bottom of the gap between the tiles on either side of the window, using your level. This way you can make sure they are straight.

Step 7. Measuring for cuts
First, space out tiles in the gap along the top to make sure the right number of whole tiles fit correctly. Now take a tile and line it up next to the top tile, as pictured, as though you are laying it normally.
Step 8. Mark your cuts
You will find that there is a square overhang, which you will need to mark with a pencil.
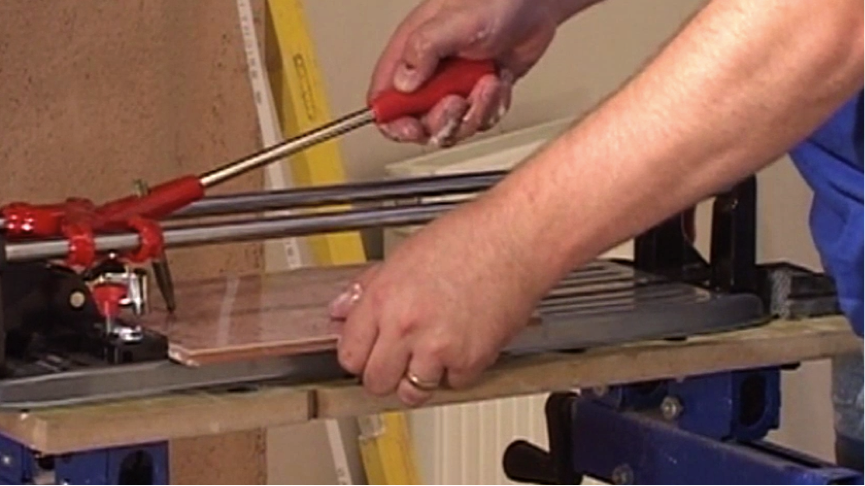
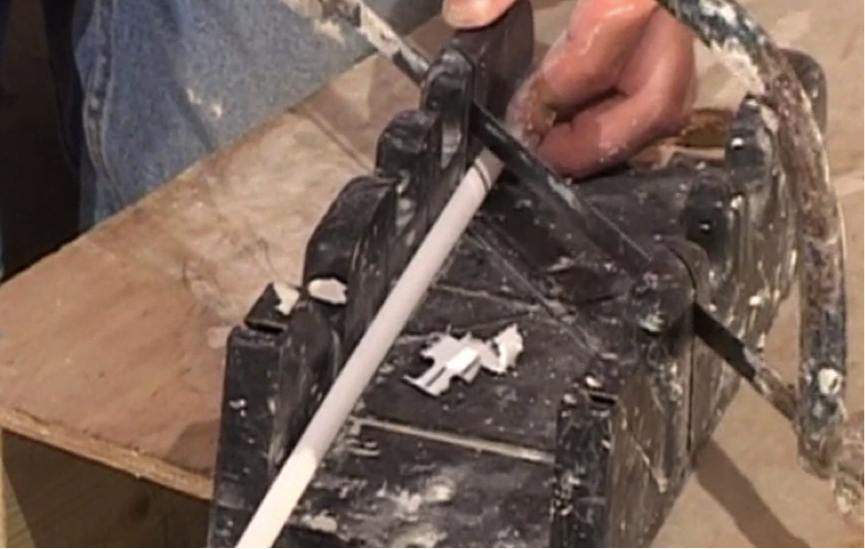
Step 9. Line and score
Lining the parts out on the cutter, score the square section which needs to be removed, being careful not to overscore where the lines meet.
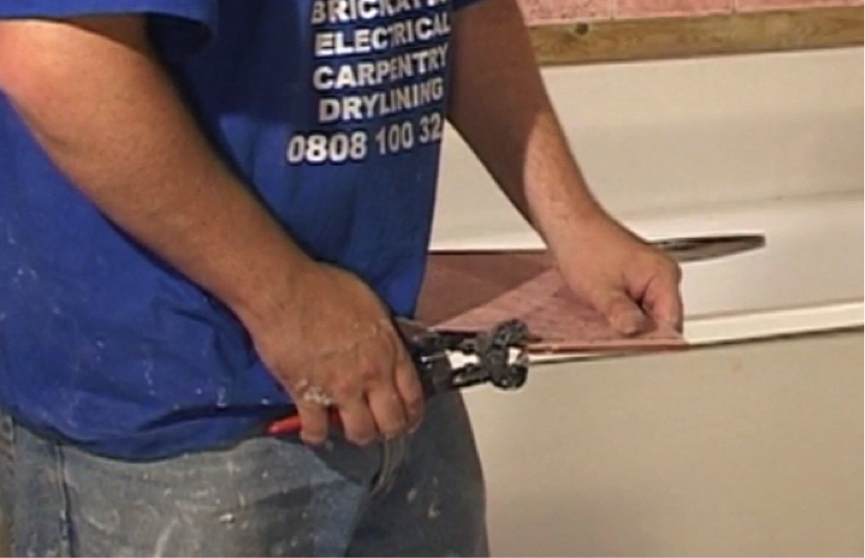
Step 10. Remove the excess
Using the tile snips, remove the excess tile small chunks at a time. Be careful not to break the tile and let the teeth do the work rather than applying too much force. Smooth off the edge with a rubbing stone to avoid sharp edges.
Step 11. Fix and repeat
Fix the tile onto the wall and repeat on the other side of the window space. Now do the same for the cut tiles down the sides of the windows, until you fill in all the gaps. Then clean the tiles before moving on to the trim.
Step 12. Add the trim
Adding trim gives the edge of the window a nice rounded finish. Cut four strips to fit the window edges with 45-degree cuts to join at the corners. To cut the trim in this way you will need a mitre block and saw.
- Remember to have the trim standing in the mitre block, and not laying down, or you will make an incorrect cut
Step 13. Add adhesive
Using your bucket trowel, add adhesive to the sections of the window edge where the trim is to be added. Insert your trim so that is flush at the front and sponge away all excess. Repeat the process around all edges of the window until your trim is complete.

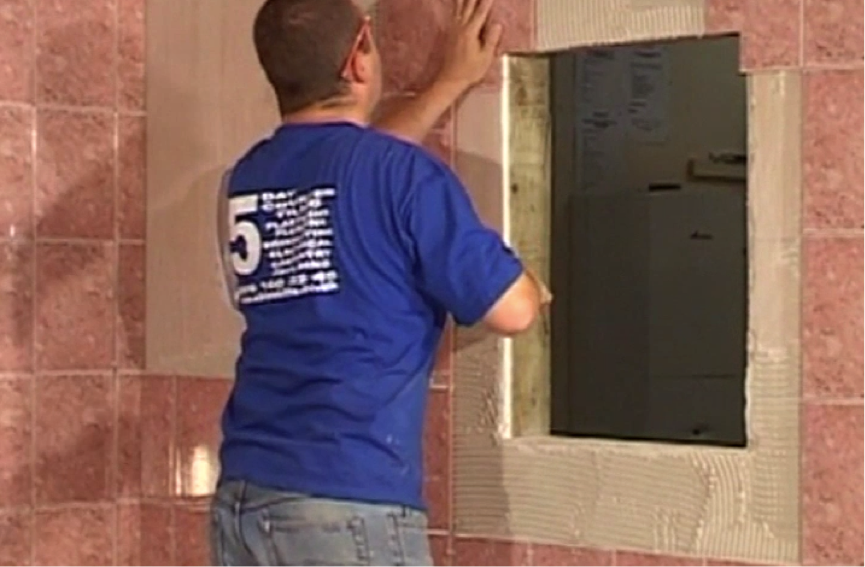
Step 14. Tile the inside of the window
Once the trim is added, you can start to lay tiles on the inside of the window. Make cuts to the depth of the window, add the adhesive in a grill pattern, and add the tiles in the same rows and columns as on the rest of the wall for a uniform pattern.
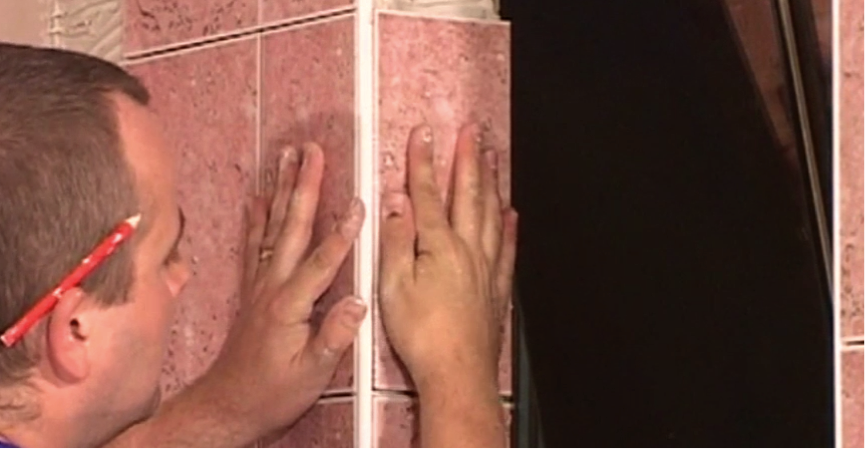
Step 15. Inside corner cuts
These can be a little tricky. Take a tile with the correct depth, place it on the tile on the frame below and then spin it 180 degrees so the cut edge is now facing you. Glide it up to cover the part to be tiled and mark with a pencil how much tile needs removing – allowing room for a spacer.
Step 16. Fit the corner
Cut the tile to size but remember to spin the tile back round so that the clean edge faces towards you. Slot in and press firmly into place. Add spacers and repeat around the frame.