A guide on how to fit radiator valves, bleed valves and stoppers. This includes knowing which side to fit the valves in order to have easy access to the radiator. We’ll also tell you how to make sure they are waterproof, and how to mount them using your brackets at the correct height.
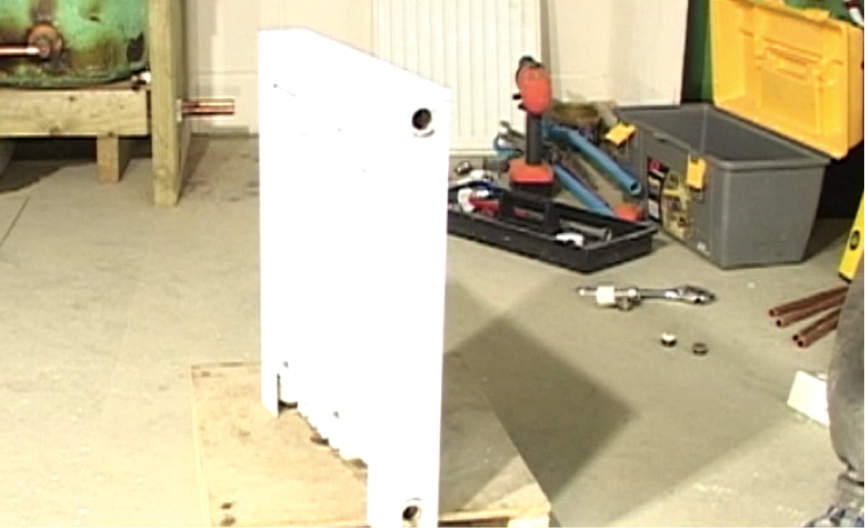
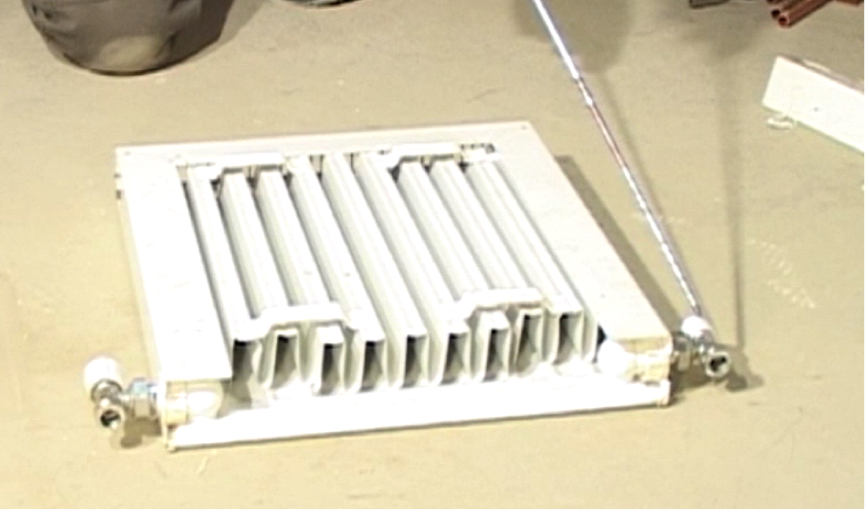
Step 1. Identify openings
The bottom holes of the radiator are where the valves will go. The top holes are for a bleed valve and a stopper. You have to decide which side the bleed valve is fitted for the most convenient access.
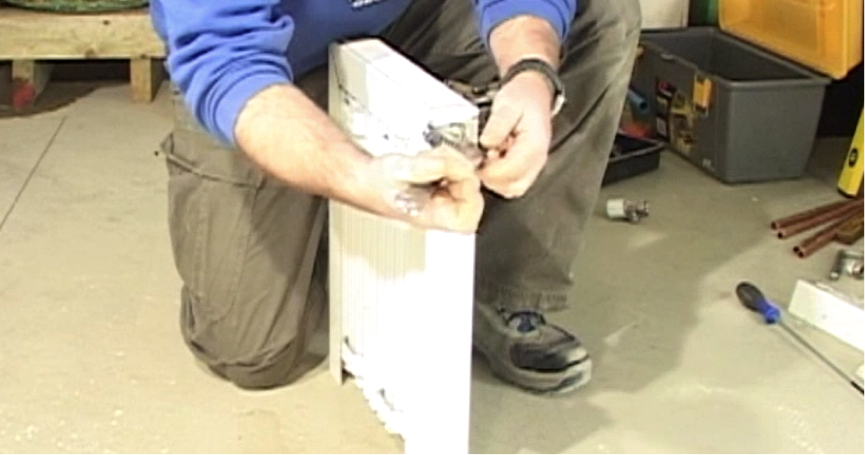
Step 2. Fitting bleed valves and stopper
The bleed valve and stopper both come with a rubber washer already on them. All you have to do is screw it to the radiator on the correct side and tighten with a spanner.
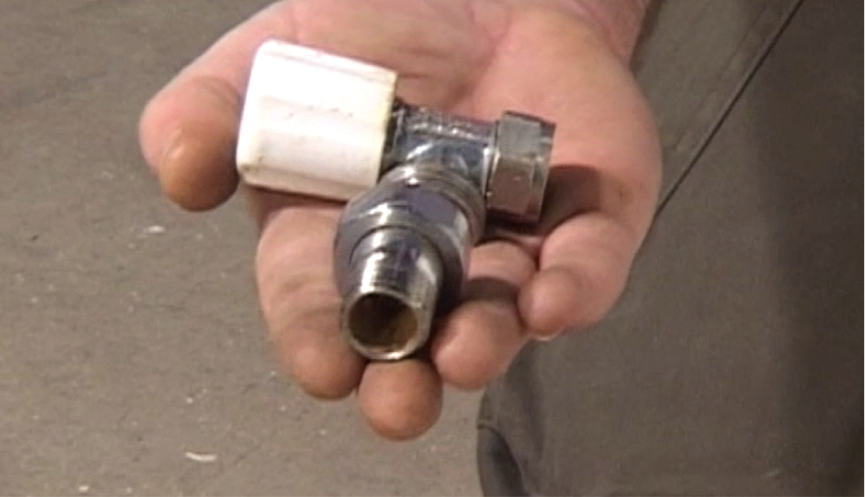
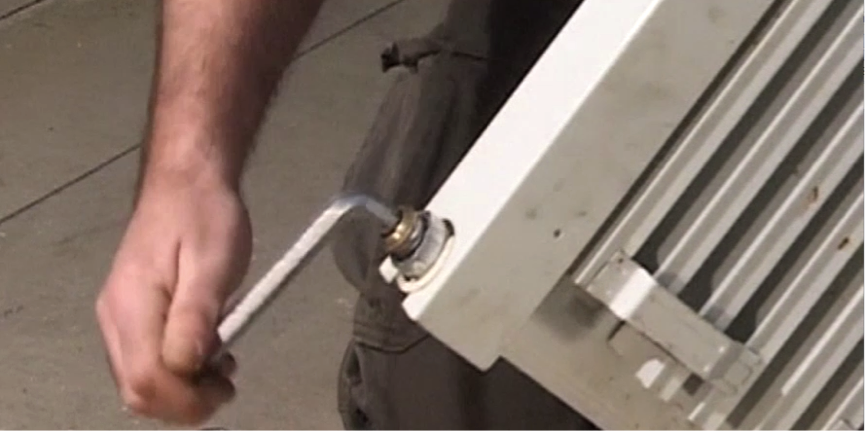
Step 3. Fitting the radiator valves
The radiator valves come in two halves. The pipe part of the fitting goes into the radiator and you will need a radiator Allen key to secure.
Step 4. Waterproofing valves
Before you fit the valves, you need to make sure they have been covered with PTFE tape to create a seal.
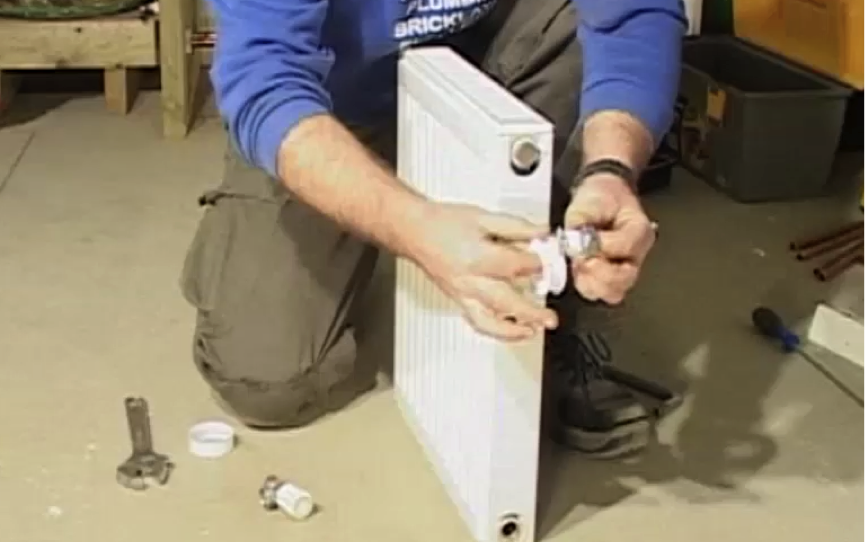
Step 5. Securing valves (part 1)
Secure it in the hole and then ensure the nut is in position at the end so that the other end of the valve will meet properly. Then use your radiator Allen key to tighten the valve.
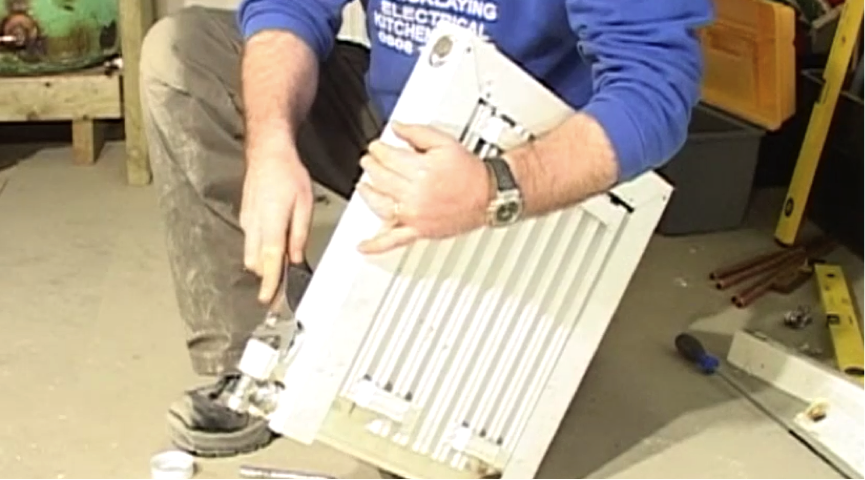
Step 6. Securing valves (part 2)
From here bring the second part of the valve into position. Line it up and tighten the nut with a spanner. Hold the valve to keep it straight.
Step 7. Get the right sides
When fitting the valves, make sure the side with the winch handle is the flow side, where the water enters the radiator. The return flow is at the other end, where the water leaves the radiator.
Step 8. Fixing the radiator to the wall
In this demonstration we fitted the radiator 200 mm from the floor. To do this we needed know the measurement from the base of the bracket to the base of the radiator. When you have this measurement, you can add 200mm to give you the base height for your bracket.
- The minimum height for a radiator is 100mm
