Tiling is a relatively straightforward job, if you have the right equipment and you’ve measured up correctly. Here’s our guide to the equipment you’ll need and how to measure the job before you start. This is very important for making sure the tiles are level, even and finished well.
Step 1. Make sure you have the right equipment
As you can see from the above list, tiling is a job that requires lots of equipment, much of which is quite task-specific. In order to do the job correctly, make it easy and get the best finish, you need to make sure you have all of the above before you start.
Step 2. Look around
Each bathroom or kitchen that you tile is different - as are the tiles that you are using and the surfaces that you are tiling. So bear this in mind for each new job.
Step 3. Measure the room correctly
Correctly measuring out the room is one of the most important parts of tiling. It’s all too easy to start putting up tiles without thinking the job through first, and this is where most of the mistakes are made. Planning is essential to a good finish.
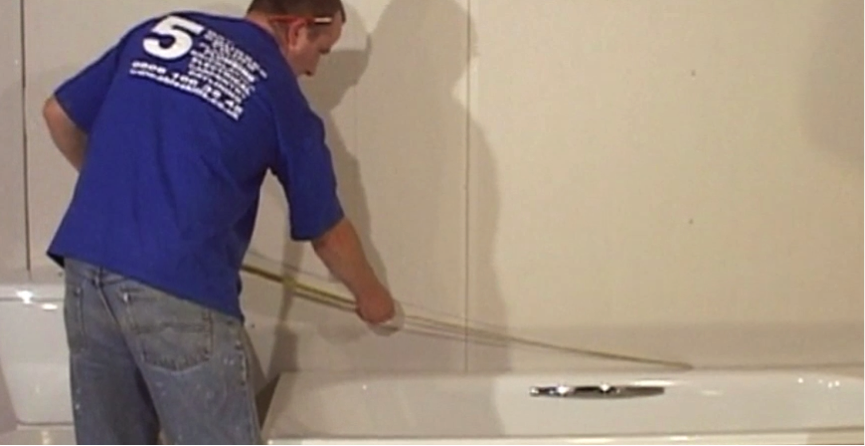
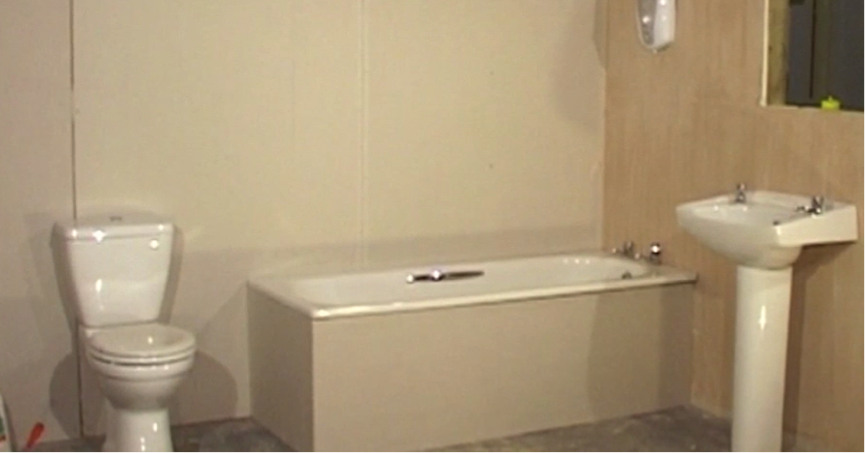
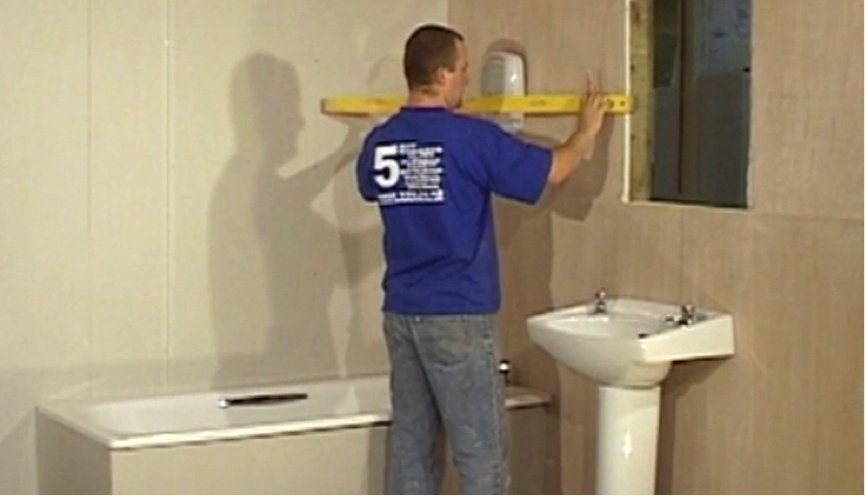
Step 4. Assess the obstacles
In most rooms, especially bathrooms and kitchens, there will be obstacles which you will have to tile around. As you can see in the picture, the back wall has the toilet and bath, with the side wall home to the sink, shower and a window – a major obstacle.
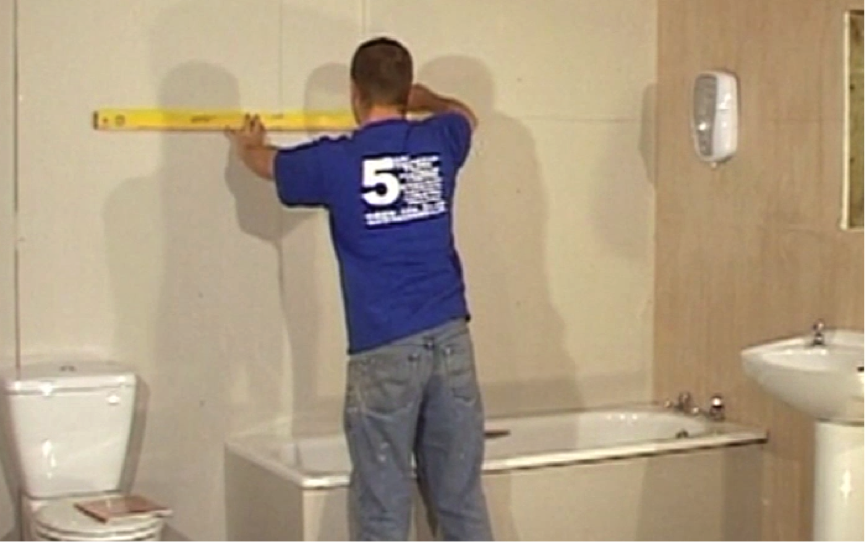
Step 5. Find the halfway point
To start, measure the width of the room and find the halfway point. Now draw a plumbline down the wall with your pencil, using your spirit level to keep things straight. If the wall is 3m wide, your plumb line will be drawn vertically at 1.5m. This is the line where you will start your tiling.
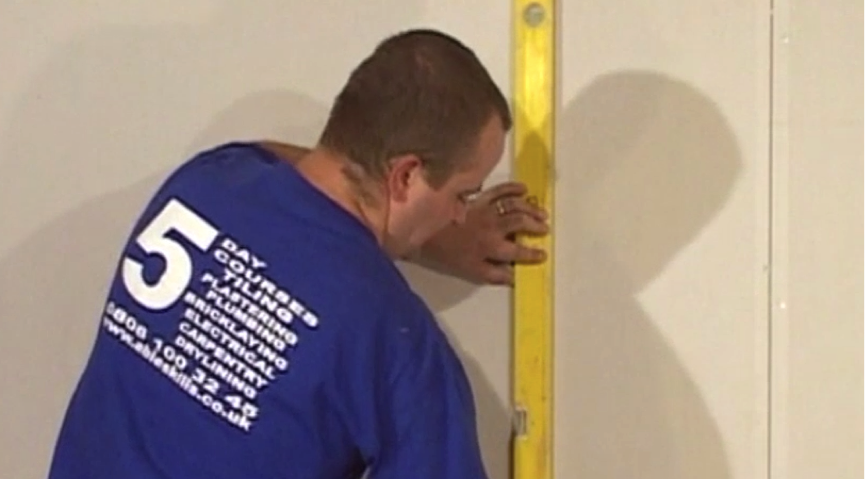
Step 6. Where to start
The plumbline gives you a completely straight guide on the wall, which you can use to make sure your tiles are straight. Never start tiling in the corner as your internal angles may not be straight. If this is the case, by the time you have placed tiles down the wall, you will notice a gap starting to appear which will create more work. Tiling from the centre with a fresh plumbline means you can stop this from occurring.
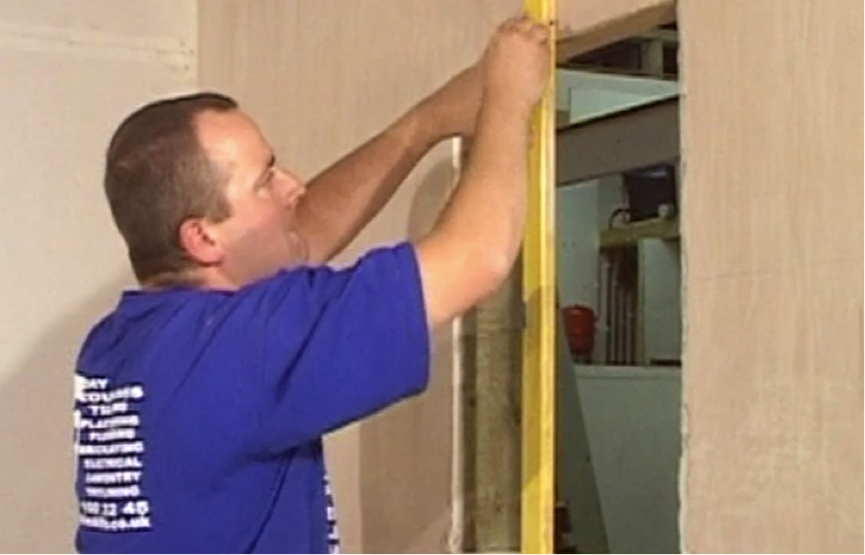
Step 7. Centre the window
You also need to draw a plumbline through the centre of a window. That’s because windows tend to be the focal point of bathrooms and kitchens, and centre tiles will look more correct. When you tile the wall, the cuts fit neatly around the window and you end up with a degree of symmetry.
Step 8. Horizontal guidelines
Using the vertical centre of the window, use your tape measure and level to mark the mid point. This will be your horizontal guideline for the whole room. This line will need to run all the way around the walls.
Step 9. Complete your setting out
Ensure all your centre plumblines and horizontal markers are made in pencil around the walls, and check they are level. The setting out stage is now complete and you can begin to add your adhesive and tiles.