When applying your first coat, it’s essential to get a good and even coverage to act as a base layer for your second and finishing coat. Start from the left and always work from top to bottom. Here’s our handy guide on how to apply plaster quickly and evenly.
Step 1. Prepping your work
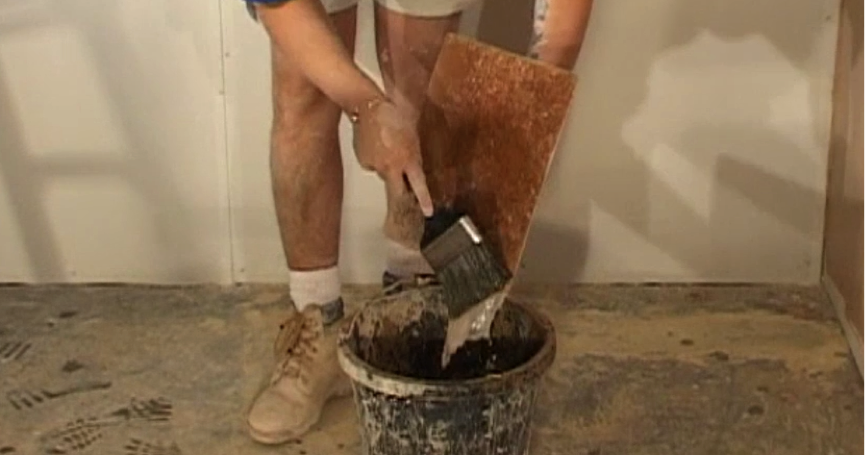
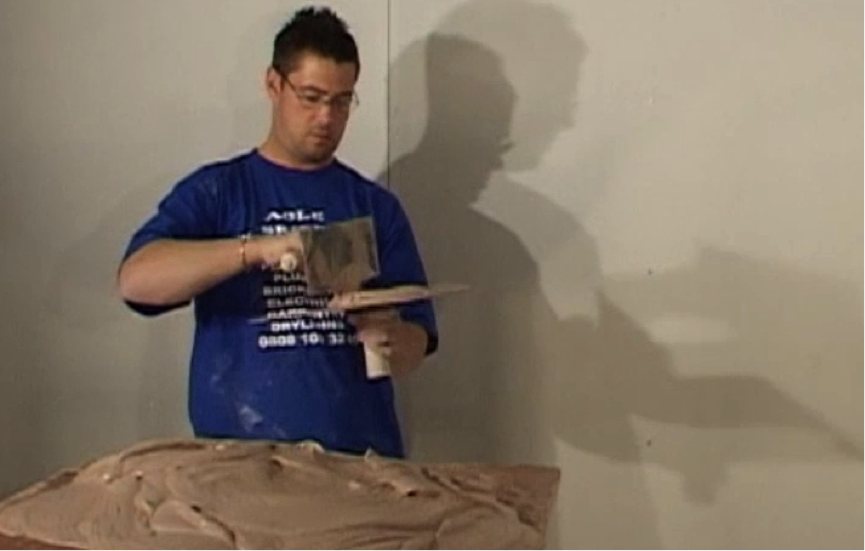
With your mix complete and your materials and equipment prepared, you are now ready to start applying the plaster. Cut a piece of plaster out of the mix and on to the hawk. Move back and forward from trowel to hawk to allow air to escape for easier application.
Step 2. Where to start
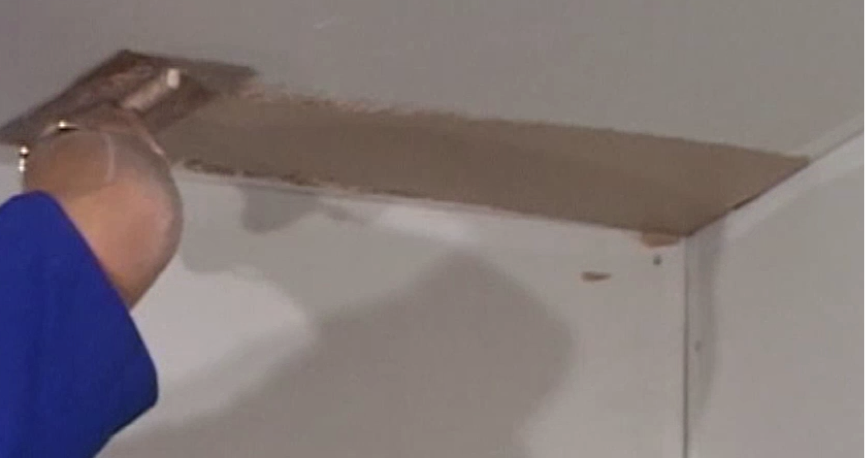
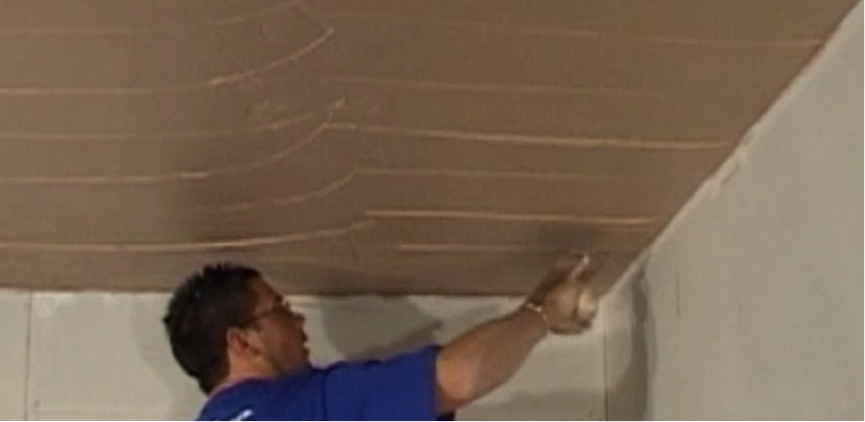
If you’re working on ceilings and walls, always start with the ceiling, starting in the left corner. Run your trowel back and forth, applying your plaster in a straight line. The coat needs to be roughly three to four millimetres thick.
- Spread the plaster out from any internal angles and then work back out from the corner until smooth and evenly spread
- Lines of excess plaster will appear on the work but don’t try to fix at this stage. Once you have finished applying the coat you can smooth over
- Don’t try and do too much at this phase
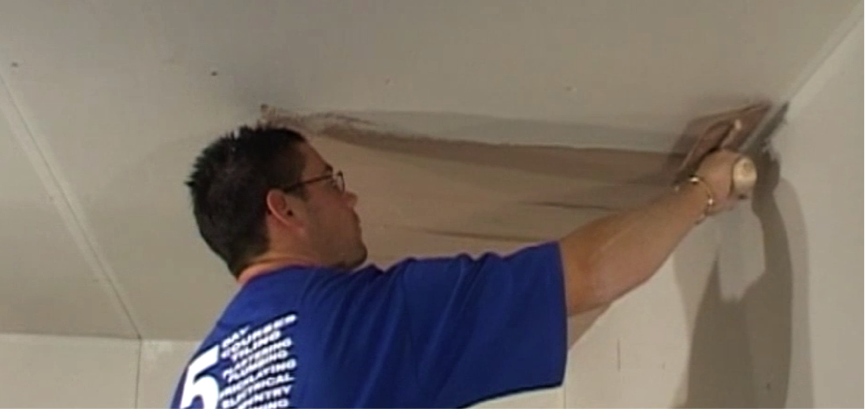
Step 3. Move along the ceiling
Moving along the ceiling, simply add the plaster in the same way, starting at the wall and working out. Add the plaster evenly, going backwards and forwards with the trowel.
- The standard size of the trowel is eleven inches and beginners should go no bigger than fourteen inches
Step 4. Continue applying first coat
Moving into the room away from the left corner and edge, continue to apply the first coat in this way. Again, don’t worry too much about excess plaster ridges as the finish will improve with every coat. Keep going until your first coat is finished.

Step 5. Removing excess plaster
As soon as your first coat is finished, proceed straight away to remove the excess plaster ridges, including lumps or holes. To close the plaster in, start with the trowel in an even an open position and as you bring towards you, slowly close it off and remove. Repeat across the whole ceiling.
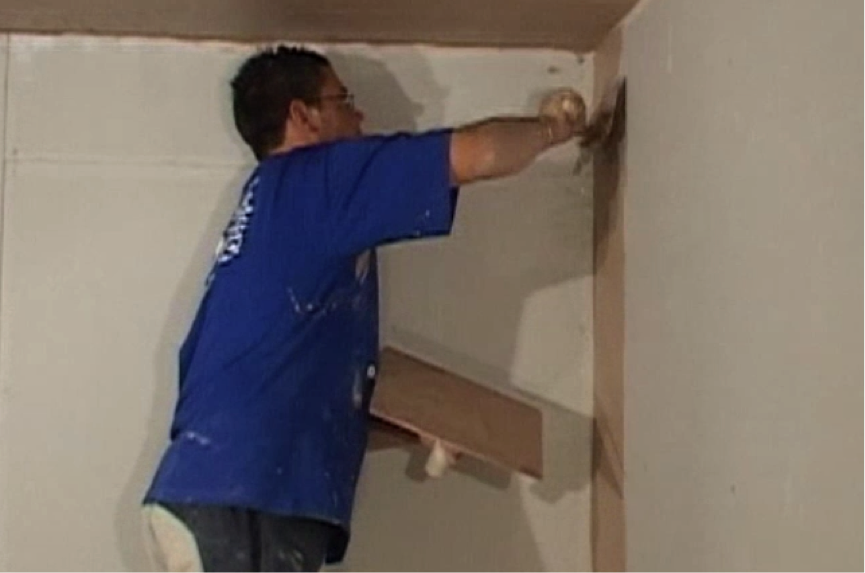
Step 6. Starting on the walls
Once the ceiling is complete, move on to the walls. When you plaster walls, start from the midpoint and work upward. Apply a nice even coat over the top half of the wall, before moving on to the bottom half. Always work away form the corners and edges.
- The reason you start with ceilings and then upper walls is to always work downwards, avoiding dropping excess plaster on to fished surfaces
Step 7. Finish the walls
Always working from top to bottom and left to right, continue to plaster all your walls in the same way, until your first coat is complete. Work in the same way for further coats to ensure drying time is uniform throughout.

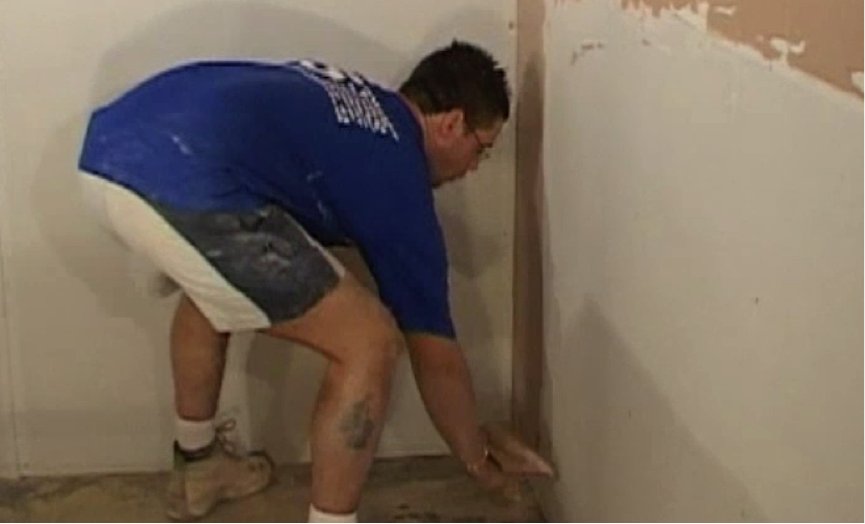
Step 8. Plastering the bottom half
Now move on to plastering the bottom half. You can leave a small gap at the bottom of the wall, as this will later be covered with a skirting board.
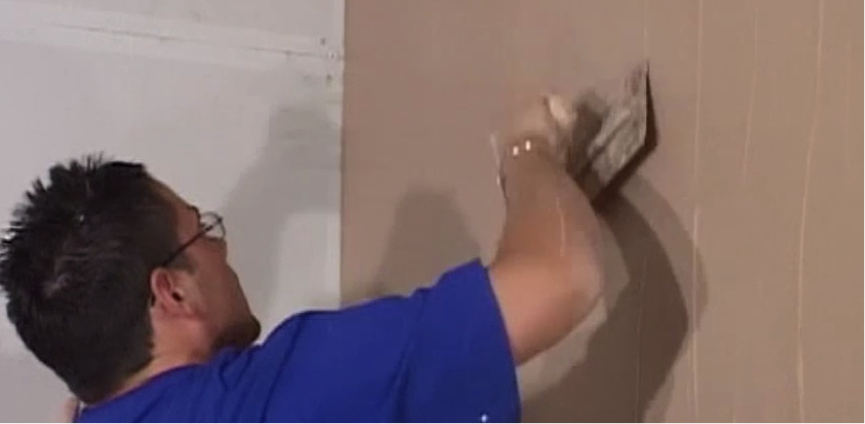
Step 9. Remove sediment and ridges
If there are any bits of sediment on your plaster simply remove them with the corner or edge of your trowel. Then smooth over again with the flat surface of the trowel. Remove the ridges of excess plaster again to ensure a flat and even first coat.

Step 10. Ensure full coverage
The most important part about a first coat is ensuring that you have full coverage across all plastered areas. Continue until you have completed the whole work surface.
Step 11. Clean your equipment
Leave around 20 minutes between applying the finishing touches and applying the next coat. Clean all your tools and make sure you have a nice working area.