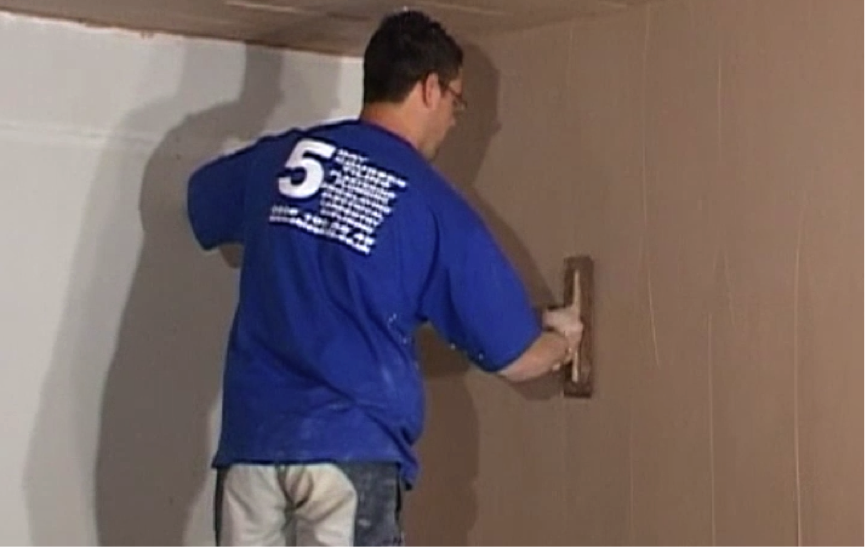
Once your second coat of plaster has been allowed to dry for 25 minutes, you can now use a clean and dry trowel to smooth ridges, bumps or excess plaster. Apply pressure and work in the same way as before, from top to bottom and left to right. Here’s what you need to know.
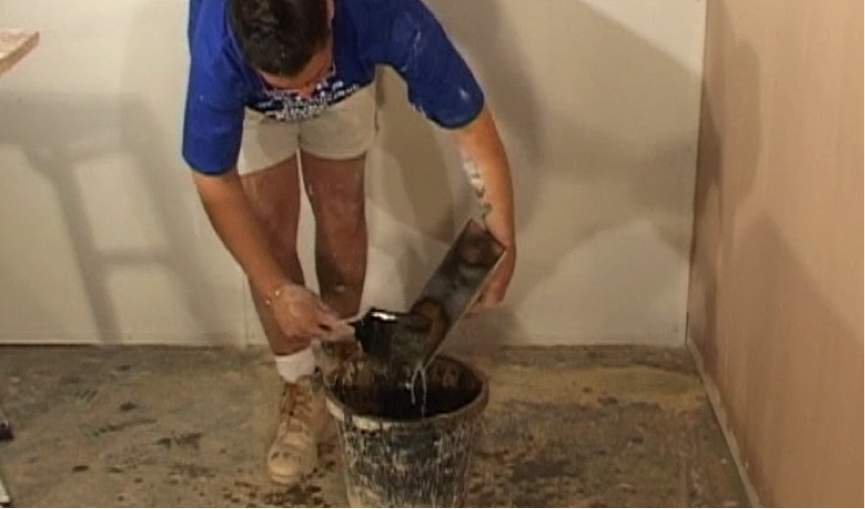
Step 1. Clean your trowel
Before you start this stage, it is essential that the trowel you use is clean, completely smooth and rust free. This will have a major bearing on the quality of your finish.
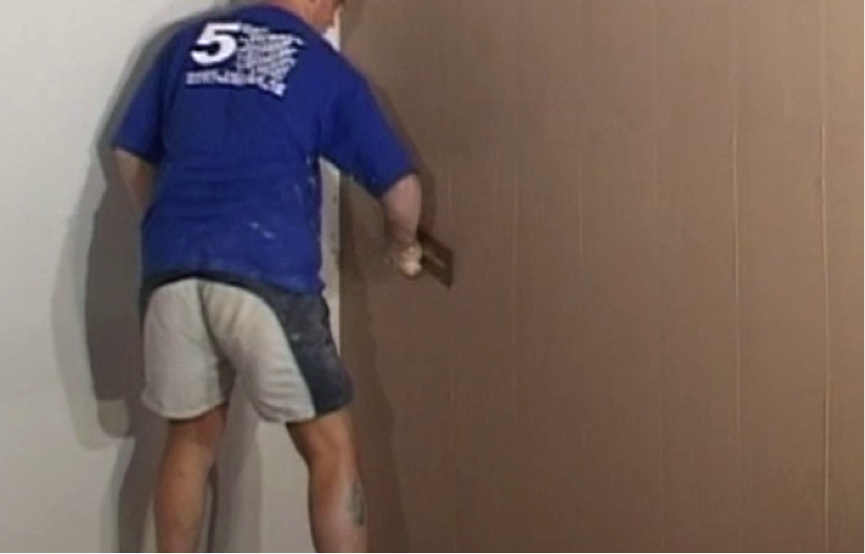
Step 2. Apply pressure
Using nothing but a dry trowel, apply plenty of pressure and go over the areas you have plastered. Follow the same pattern as you worked on your first and second coats.
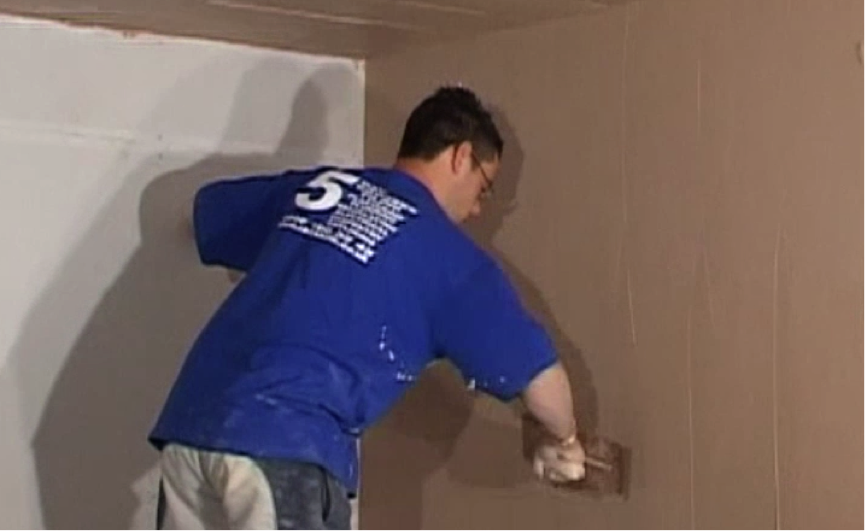
Step 3. Smoothing off
This process smooths off the two coats you have already applied. Use a firm grip with a slight angle on the trowel. If your trowel is too open it will remove the plaster off the wall instead of smoothing it.
Step 4. Filling holes
If you find you have a hole, tuck excess plaster into it and smooth over with the trowel. Going over it in the normal way should cover it.
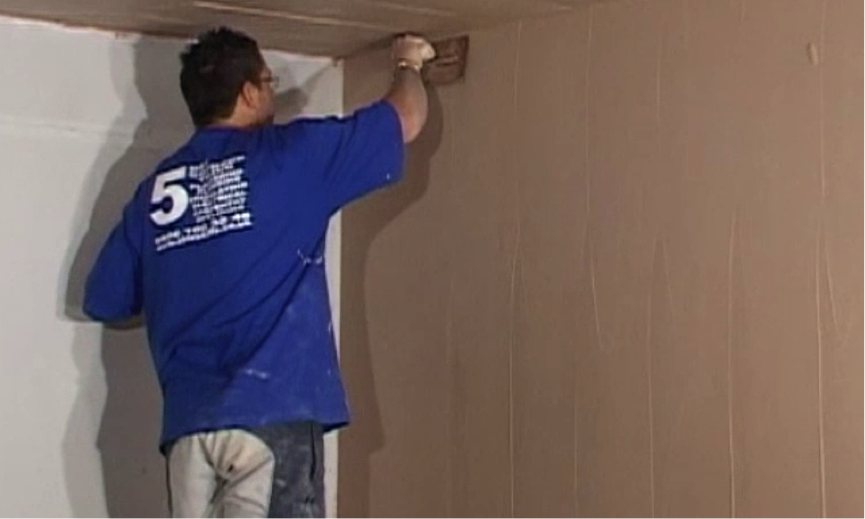
Step 5. Repeat the process
Continue to follow the above steps until you have gone over all the areas. Start with the ceilings, then the top half of the wall, then the bottom half. Once finished, you should find that your wall and ceiling are nice and flat but they won’t yet be completely smooth. This will happen after the next two stages of wet troweling. See our guides for these to learn how it’s done for the perfect finish.