It’s necessary to remove radiators for a number of reasons, including bleeding and to paint or wallpaper behind them. Here’s our handy guide on how to remove, clean, replace and refill radiators for a more efficient heating system.
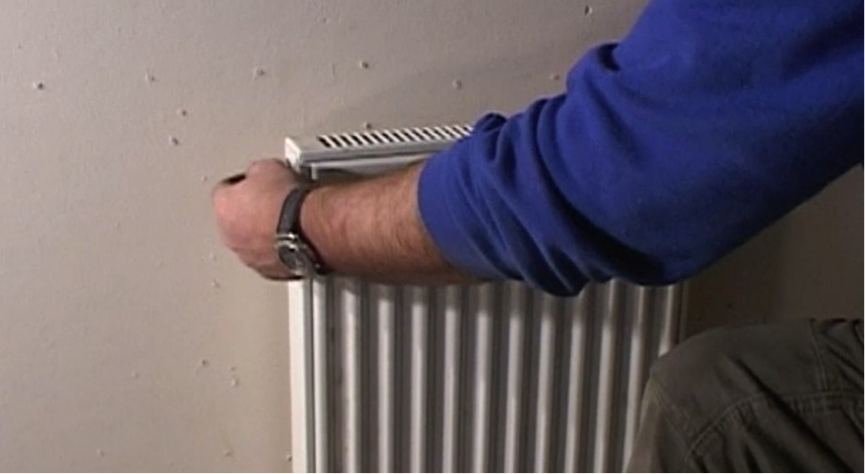
Step 1. Remove radiator
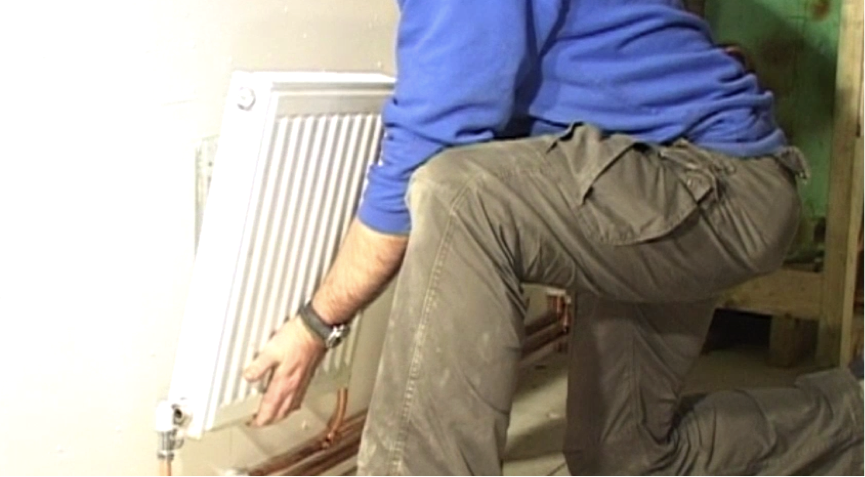
Once the radiator is empty, there will still be sludge in the bottom. To get rid of this, you will need to unfasten the nuts on either side of the radiator.
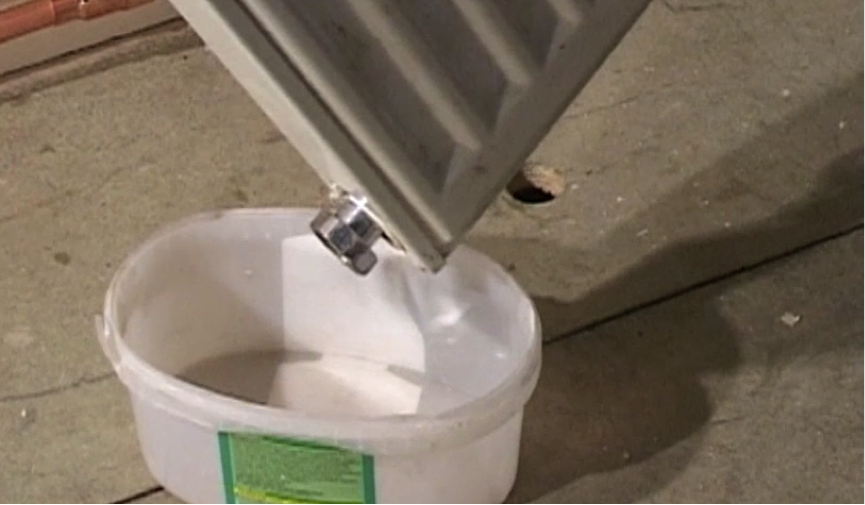
Step 2. Empty sludge
Now carefully lift the radiator off the brackets and empty the sludge into a pot or bucket placed nearby.
Step 3. Turn upside down
Turn it upside down and now it can be carried without making any mess. You can now tackle any painting or wallpapering that needs to be done behind the radiator.
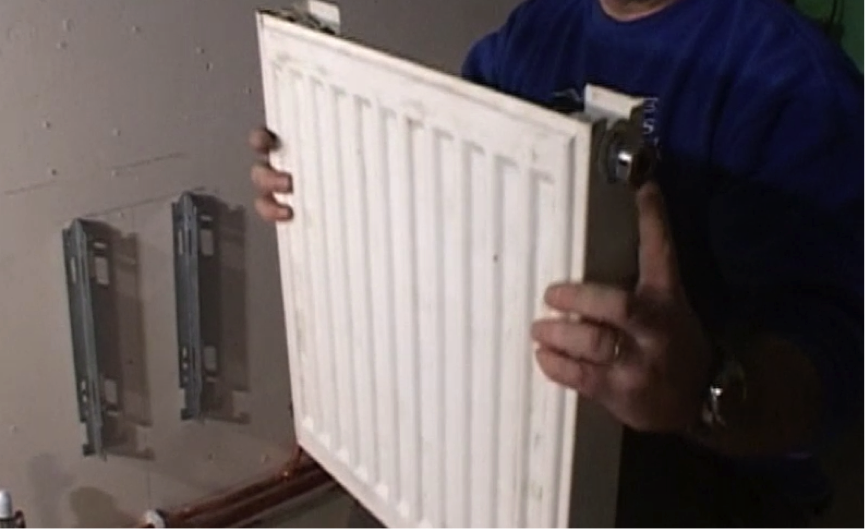
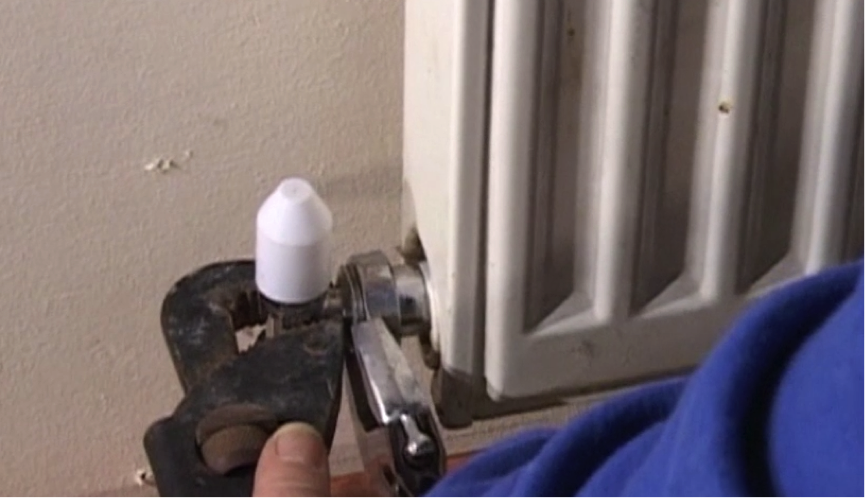
Step 4. Reattaching radiator
To bring the radiator back in, line it up with the brackets and carefully slide back into place. Then tighten up the nuts by hand.
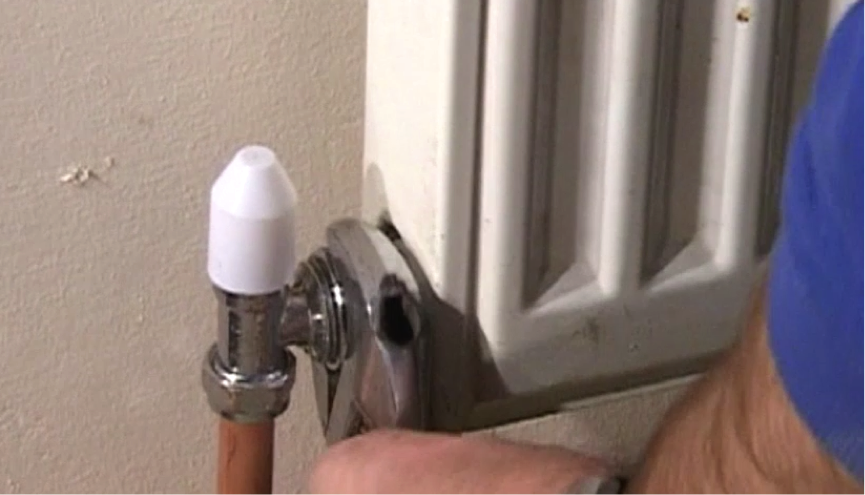
Step 5. Use two spanners
To tighten the nuts fully you need to use two spanners. One to hold the valve steady, the other to pull up on the nut. If you don’t do this, you risk bending the fitting or even splitting the copper pipe, which can cause a nasty leak.
Step 6. Turning radiator back on
When you turn the radiator back on, leave the bleed valve open slightly so that the air will be pushed out. Have the bleed valve key in place so you can close it once it has filled with water. As soon as water appears in the bleed valve, shut it tight and your radiator now has no air in it.
- It’s a good idea to have a sponge or some towels handy to clean up any excess water that might spray out