When applying tiles, there are some areas that will require tiles cut to size, obstacles that need to be avoided and difficult corners. Here’s our guide on how to tackle the tougher parts of tiling and the tools you’ll need to do it correctly.
Step 1. Measure your tile (part 1)
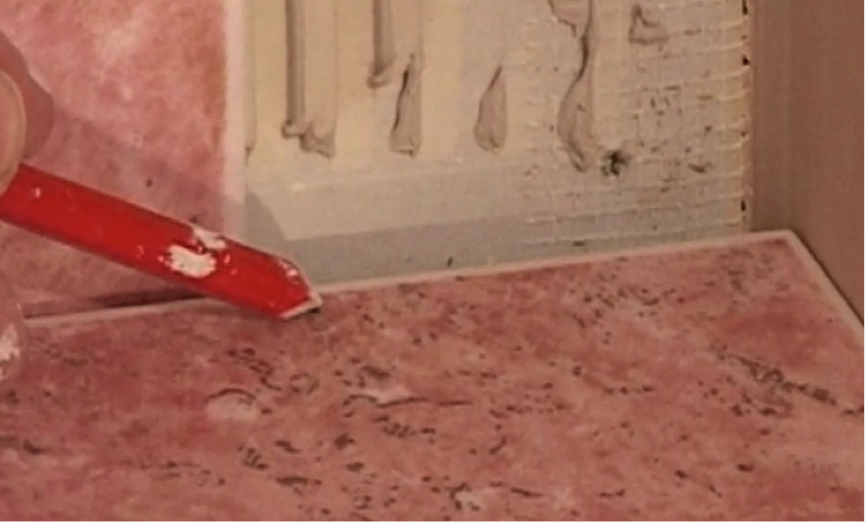
Rest your tile on the baton and slide it in to the corner where it will need to be placed. You can then mark on the tile in pencil where you will need to make the cut so that it fits snugly. Your pencil mark should be 4mm away from the tile fixed to the wall to allow for spacers and grouting (2mm on each side).
Step 2. Measure your tile (part 2)
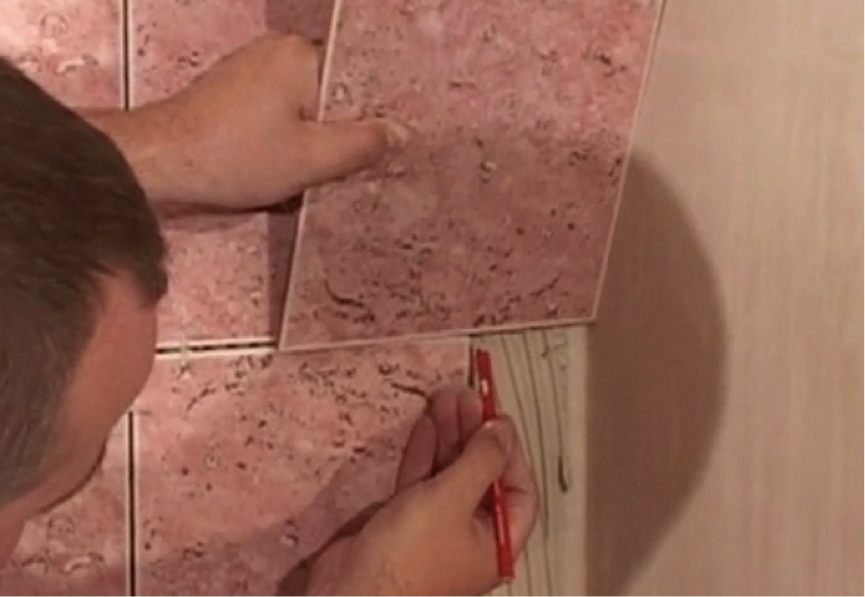
Slide the loose tile up the wall to the top of the first row and mark again at the bottom, leaving 4mm for spacers.
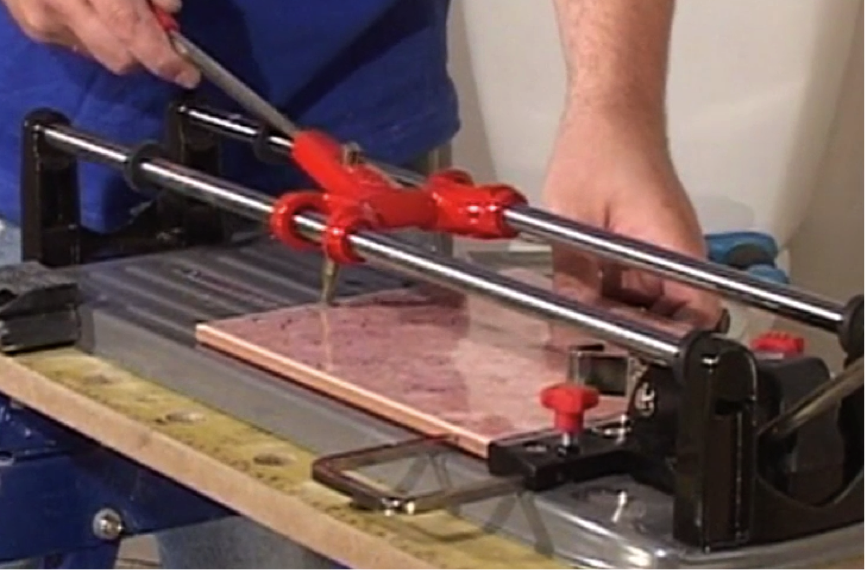
Step 3. Cutting
Align your two marks on the tile cutter and then make a deep cut along the line. Then use your cutter to split the tile in two for a nice, even break.
\
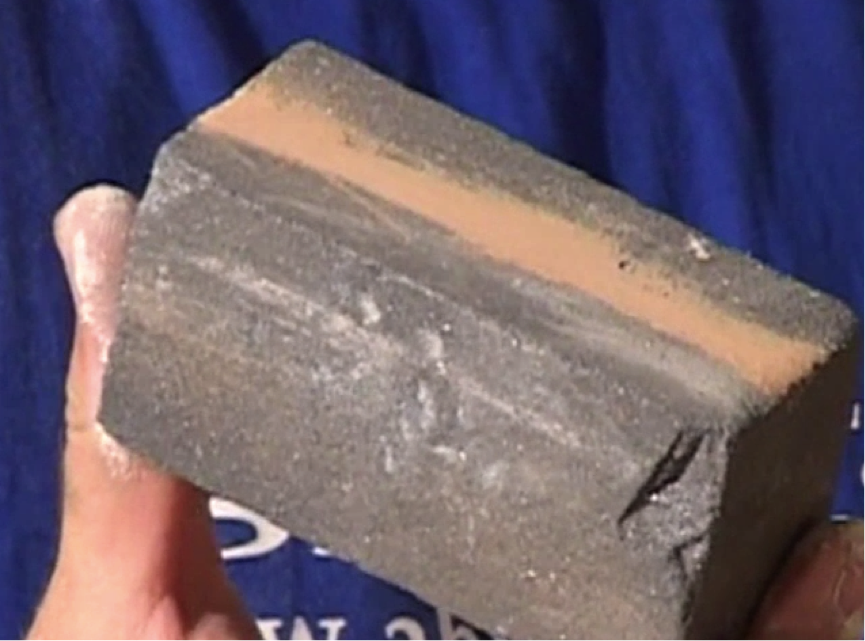
Step 4. Smoothing off the edge
You may be left with a sharp edge to your newly cut tile. To smooth off the edge, simply take your rubbing stone and rub until you dull the sharp edge.
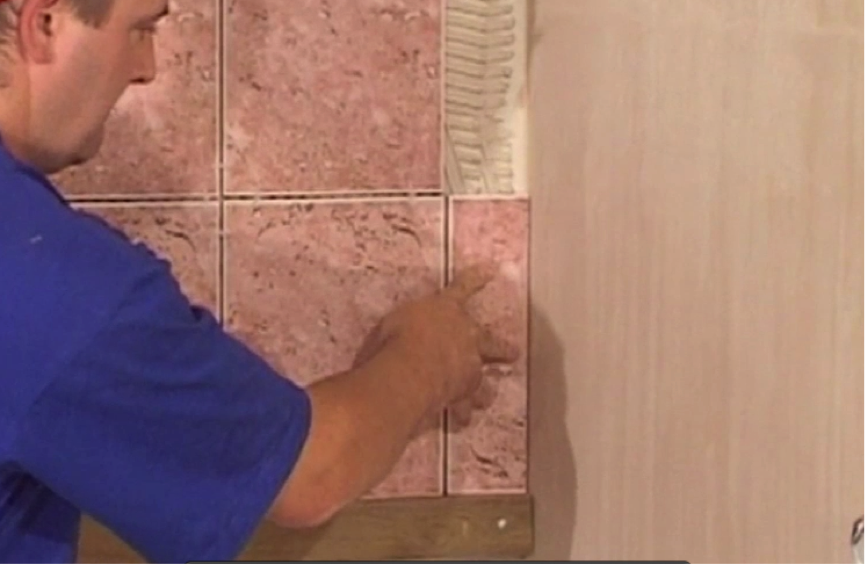
Step 5. Insert your cut tile
Place your tile into the gap, with the cut edge facing the wall. This is for safety purposes, as cut edges can still be jagged when grouting. It also hides the jagged edge, leaving only the clean edge visible.
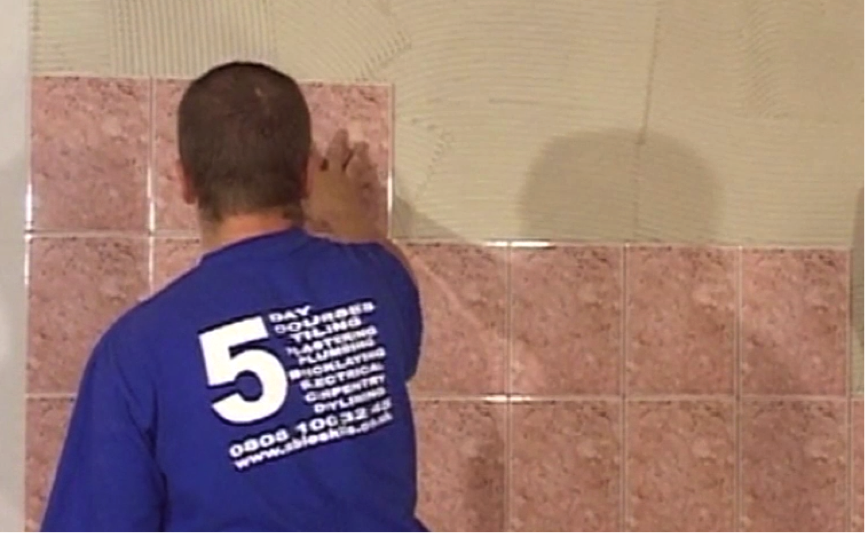
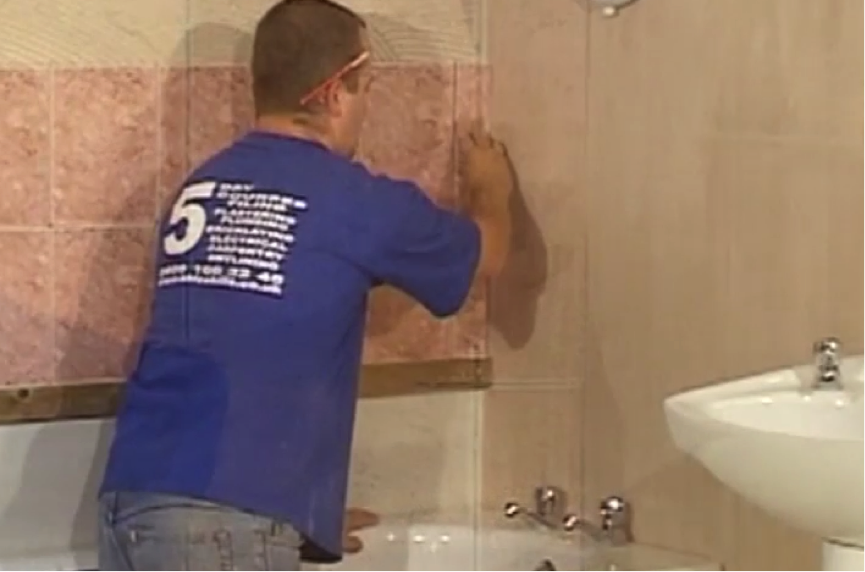
Step 6. Continue up the wall
Continue using the above process to fill all the missing section of your tiling wall. Most edges will require tile cutting and fitting for a good finish.
Step 7. Move on to the next section
Once this section of tiling is done, you can move up the wall using adhesive and tiles in the same way to complete the job.