After your first two coats and the dry troweling stage, it’s now time to apply some water with a brush and give the walls a wet troweling to smooth. This is one of the final stages of the process and here’s our guide on how to do it properly.
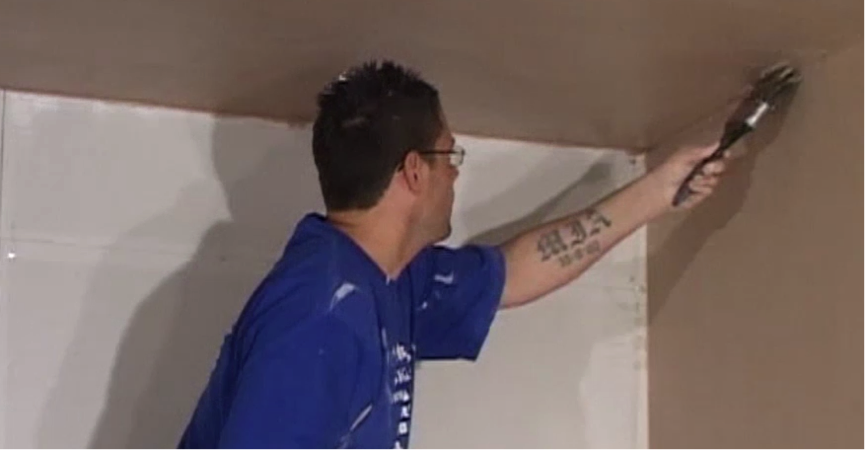
Step 1. Wet the walls
Using a wet brush, sprinkle water on the surface of the plaster and brush it over in the internal angles.
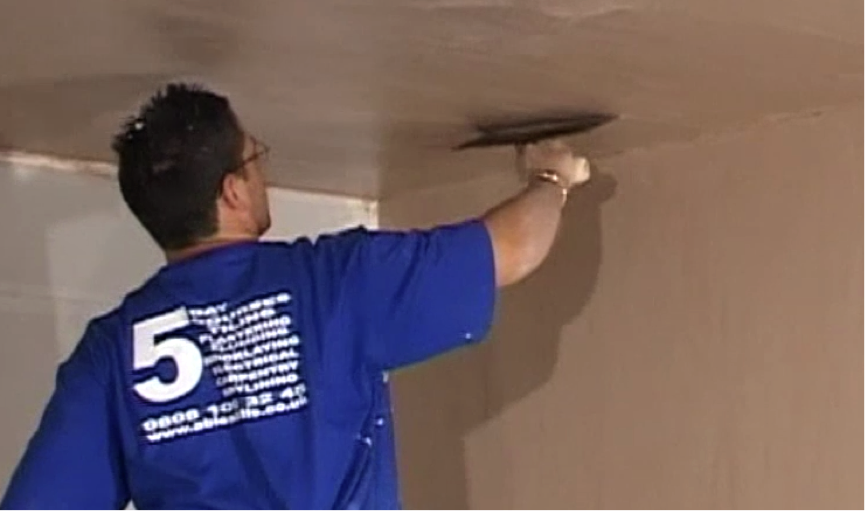
Step 2. Trowel the walls
Now run your trowel over the wet walls, opening up the face to remove any excess water off the wall. This will smooth and flatten any rough or bumpy areas of plaster.
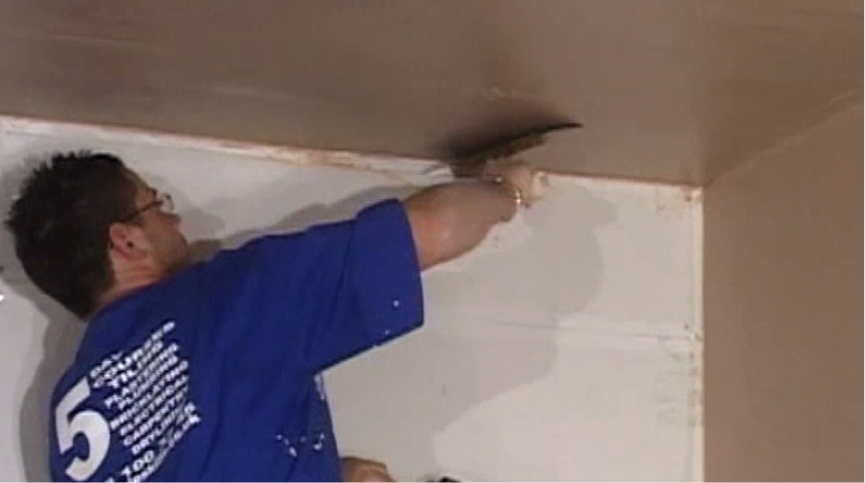
Step 3. Start with the angles
Start with the internal angles of the wall first to get it looking neat. Apply water with the brush and then smooth with the trowel, as described in steps 1 and 2 above.
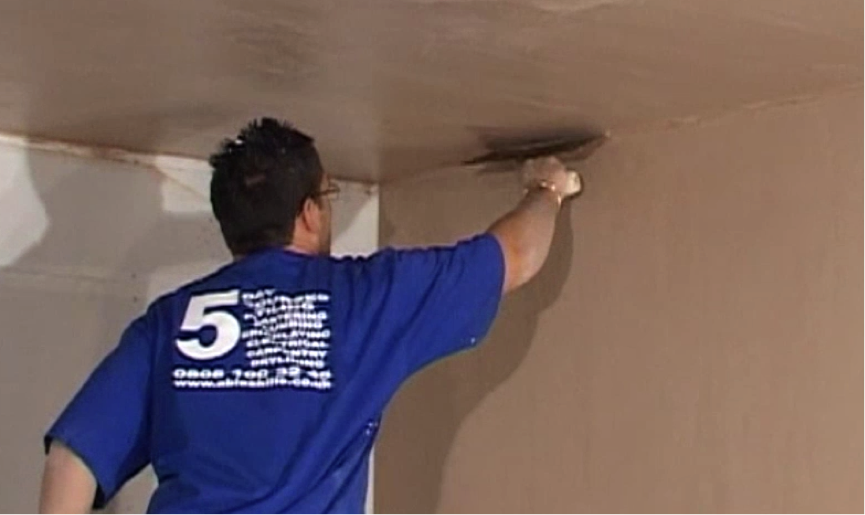
Step 4. Follow the pattern
Remember to work in the same way as you did when applying coats one, two and dry troweling. This is so that you ensure an even drying time of the plaster across all parts of the wall.
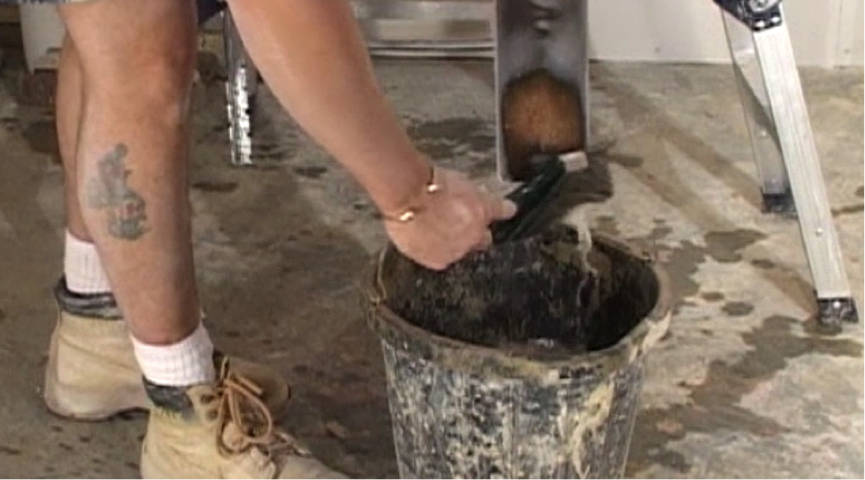
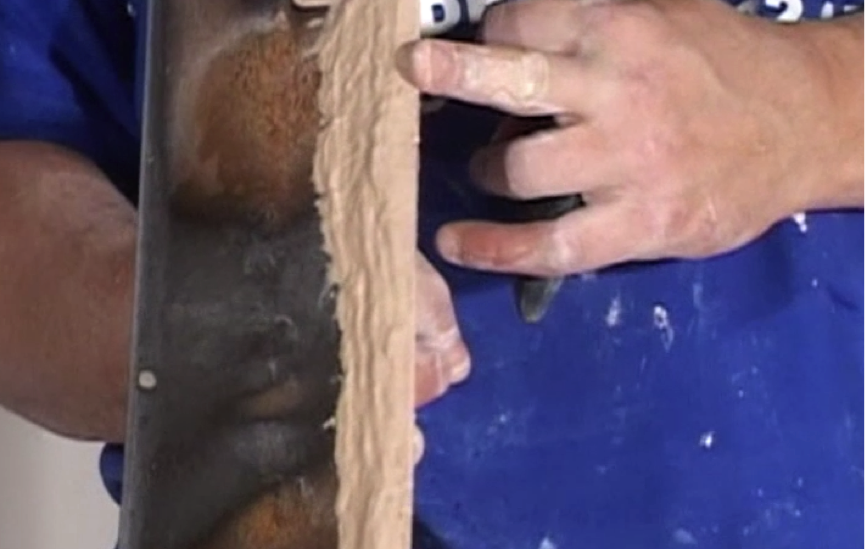
Step 5. Remove the fat
The surplus you find on the end of your trowel is known as ‘fat’. It is a mix of plaster and water and cannot be reused and needs to be thrown away. If you reapply to the walls it will dry differently and become very rough, spoiling the finish.
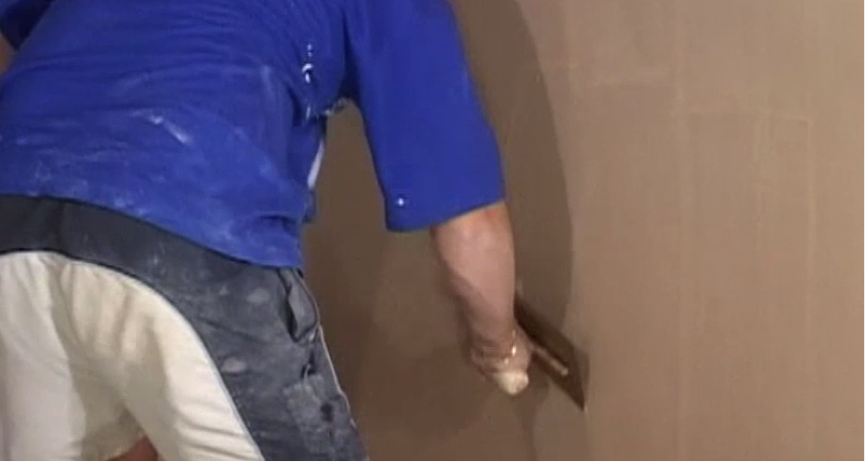
Step 6. Apply pressure
Always bend your back and apply plenty of pressure on the trowel. The walls and ceilings are now flatter and starting to take shape. There are now only two more stages until they are complete.
Step 7. Clean equipment
As always, ensure you keep all your equipment clean and wash trowels after use so that they are ready for the next step in the process.