When installing a new bathtub, it’s usually easier to install the taps, waste pipe and overflow before you fit it. That way you can make sure everything is levelled up and straight without limiting your access to make adjustments.
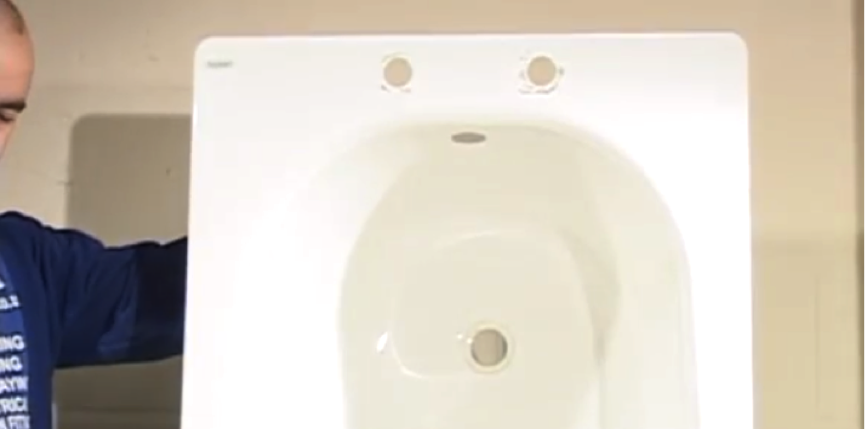
Step 1. Stand the bath up
Carefully stand the bathtub on its end so that you can easily fit and dress the tub.
Step 2. Fitting the taps
On the bottom of the taps will be a rubber washer, or for more expensive taps a small fibre washer. Follow the instructions to see exactly how the taps are fitted or if there is any extra information supplied. But usually you will need to feed the pipes through the holes, with the rubber washer forming a seal.
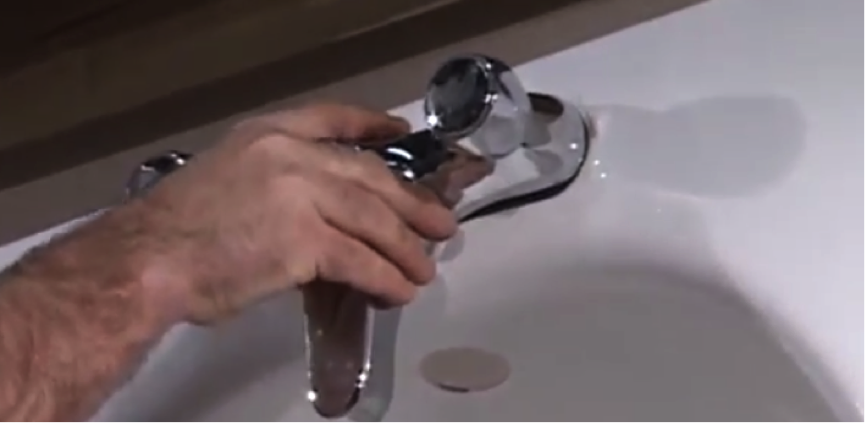
Step 3. Tighten the taps
Then attach the back nuts and tighten them by hand. Take your tap spanner and set the end to tighten. Lock around the back nut and tighten until the taps are firmly screwed in place.
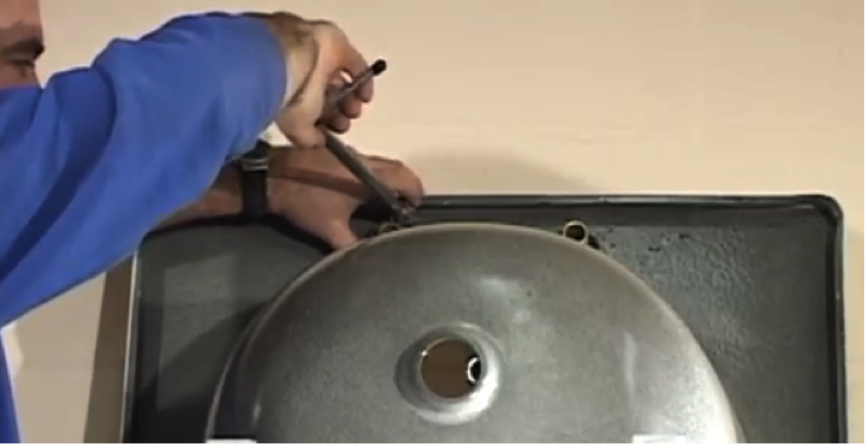
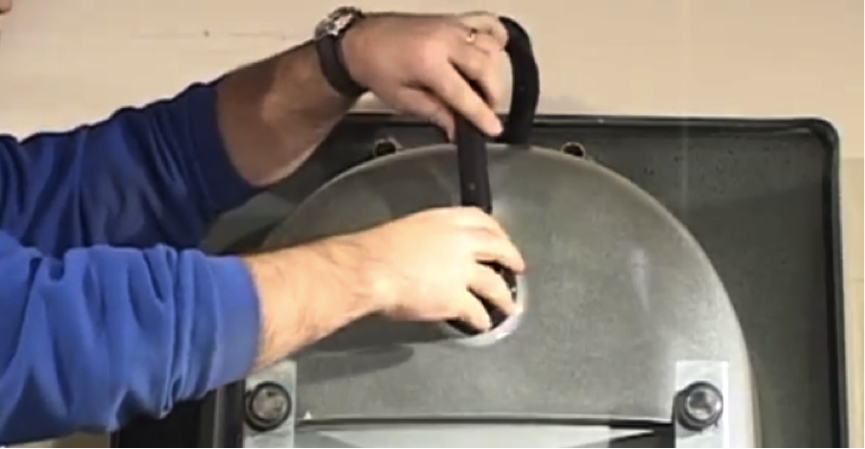
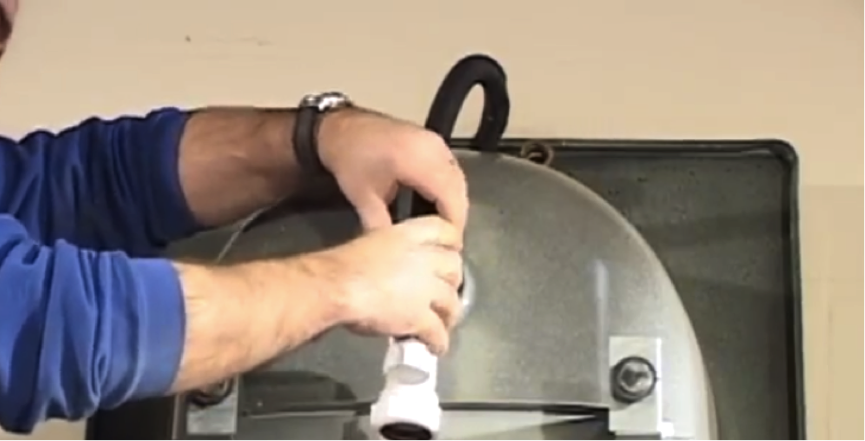
Step 4. Fit the wastage pipe
Ensure the washer is fitted correctly and the overflow pipe points to the back of the bath, towards the taps. Now carefully attach the plughole to the inside of the bath and screw into place. Once the plug is secure enough, let go of the washer and tighten with a screwdriver.
- Make sure the unit is centralised when tightening so that it doesn’t move
- Make sure not to over-tighten as the nut and bolt are made of plastic and can break
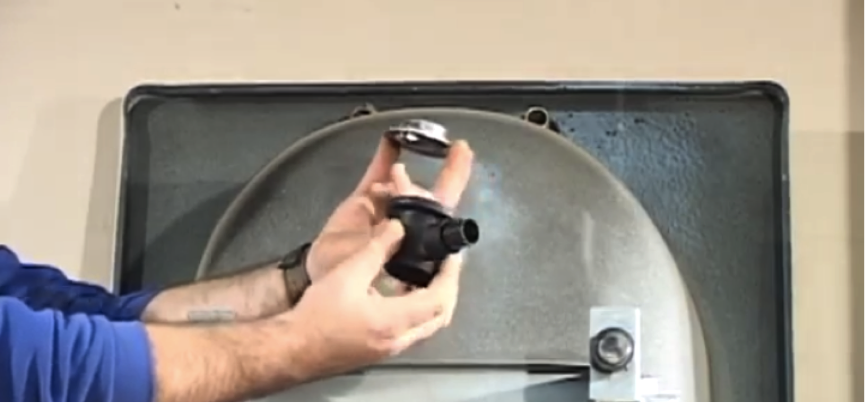
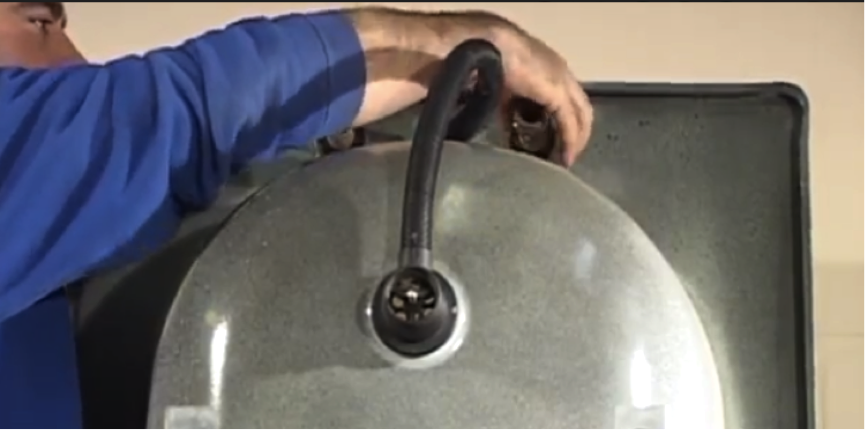
Step 5. Attach the overflow
The overflow comes in three parts. This plastic part goes on the outside and the metal part on the inside of the tub. Meet the two together and tighten by hand, finishing with a screwdriver. Then connect the flexi-pipe from the overflow to the wastage pipe at the bottom of the bath.
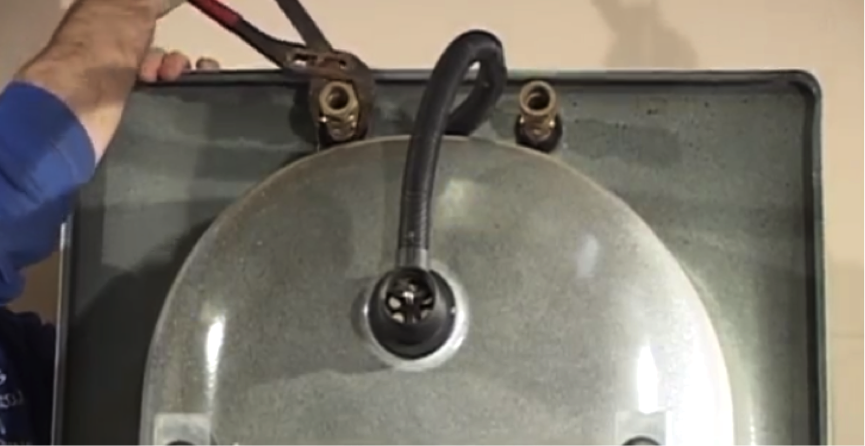
Step 6. Attach the tap connectors
While the bath is in this position, add the tap connectors. It’s much easier to do this at this stage.
Step 7. Tighten with a spanner
When the tap connectors are in position, make them nice and tight using an adjustable spanner.
Step 8. Fit the bath trap
Make sure the rubber washer is in position. Line it up with the trap and hand tighten, making sure the threads do not cross. If you do get a crossed thread, this can cause leaks.
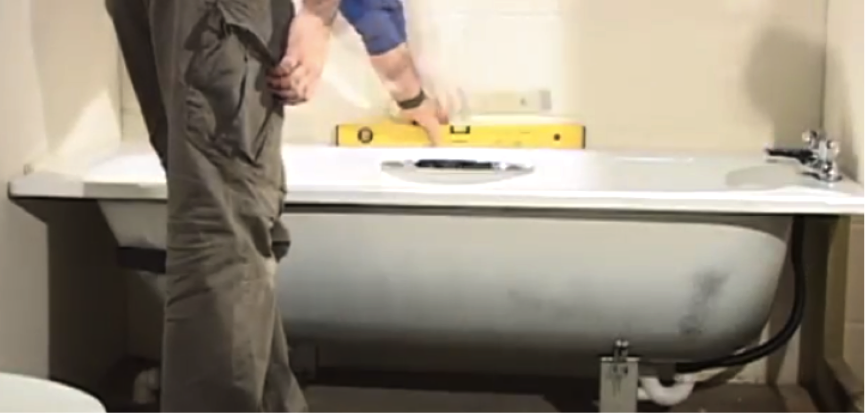
Step 9. Fit and level the bath
The bath is now ready to go in place. It must be level in both planes. To achieve this, pick one leg and use this as a dating point. Level this leg with its opposite, then level these two with the remaining legs. By tightening or loosening the threads on the bath’s feet you can make the necessary adjustments. Adjust until the bath is level.