TA thermostatic valve will let you control the temperature in your room by turning the radiators on and off at certain temperatures. They sit on top of the valve at the side of the radiator and monitor the ambient temperature of the room. When this hits a certain point, the thermostatic valve shuts off the radiator. Here’s our guide on how to fit these valves to your existing radiators.
Step 1. Buy valves
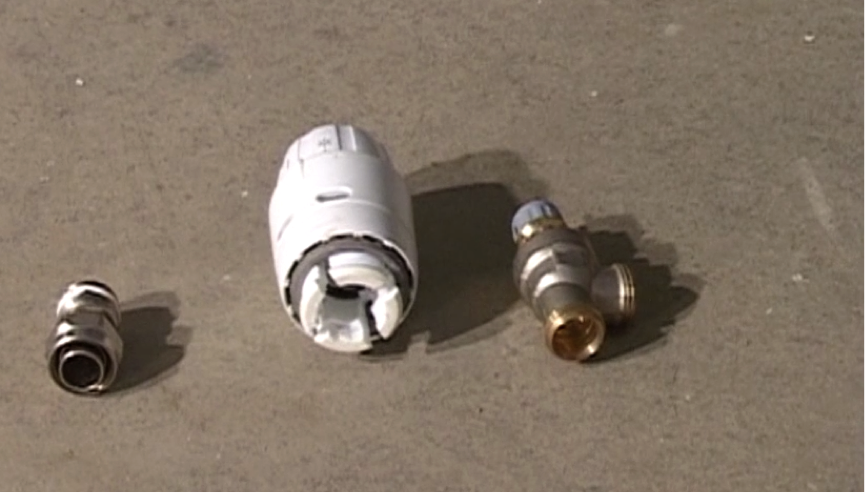
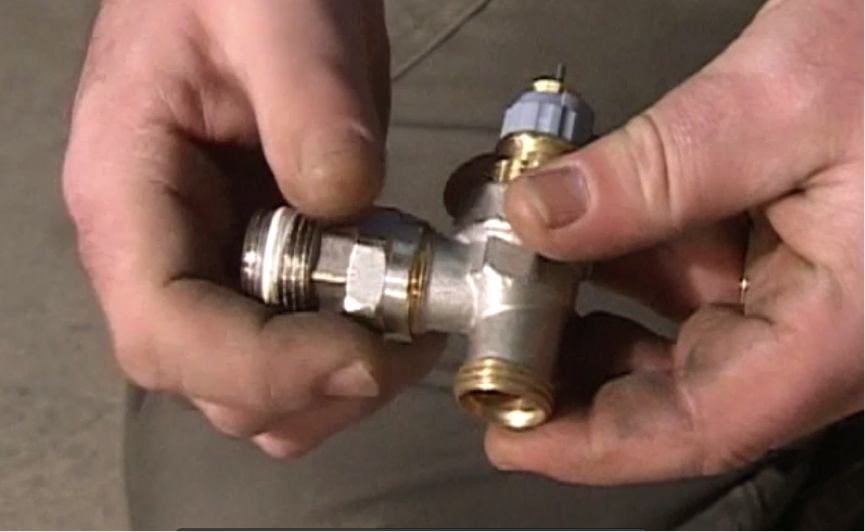
When you buy thermostatic radiator valves, they will come in different parts, as shown in the picture.
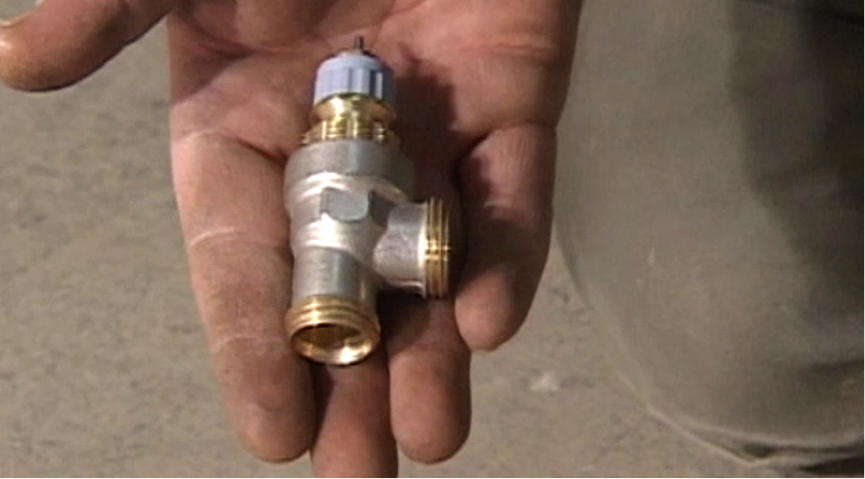
Step 2. Identify the main valve
Firstly, identify the main valve which has a plastic cap on it for protection. Leave this on until you are ready to fit the head.
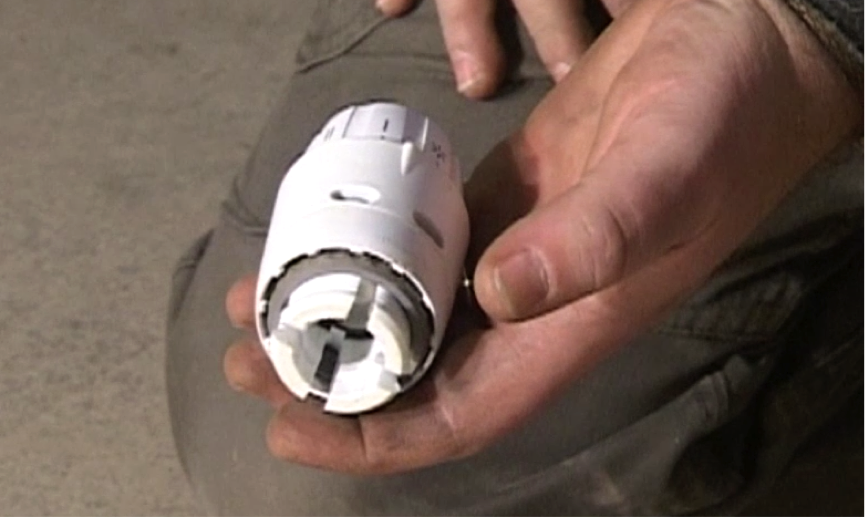
Step 3. The head
Take the large plastic head that comes with it. Inside there is expanding liquid or gas containing metal bellows. It is heat sensitive and designed to pick up the ambient temperature of the room. As the room reaches the right temperature, the bellows expand, push down on a piston, which closes the valve and turns off the radiator.
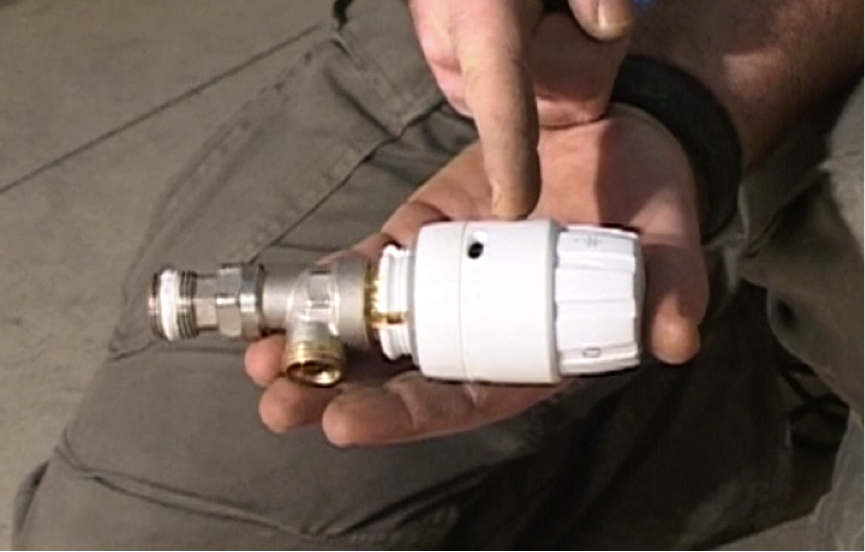
Step 4. Use the adaptor
When fitting a thermostatic head, you must use the adaptor that comes with it. This screws on to the radiator, then the valve screws on to the adaptor, and the head sits on top. Make sure you fit the head so that it can take the ambient temperature of the room and not the heat coming from the radiator.
- You can also buy valves that come with remote sensors that are fitted to the wall. These can be more aesthetically pleasing
Step 5. Fitting the head
Before you begin fitting, make sure the head is fully open. Line up the head over the valve and tighten the clamp. Don’t turn the valves fully off. If you don’t wish the radiator to be on, leave it in the frost position as this will allow a very small amount of water into the radiator - enough to keep the system above freezing so the pipes don’t burst.