Once you have made sure that your first coat is dry, by touching it with your fingers, you are now ready to apply your second. Work in the same orderly way, from left to right and top to bottom. This will ensure the plaster is evenly spread and has time to dry. Here’s our guide on what you need to know.
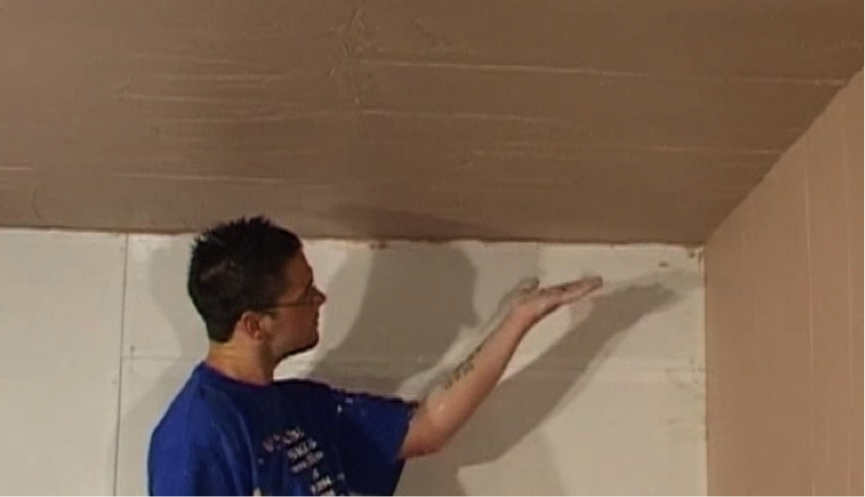
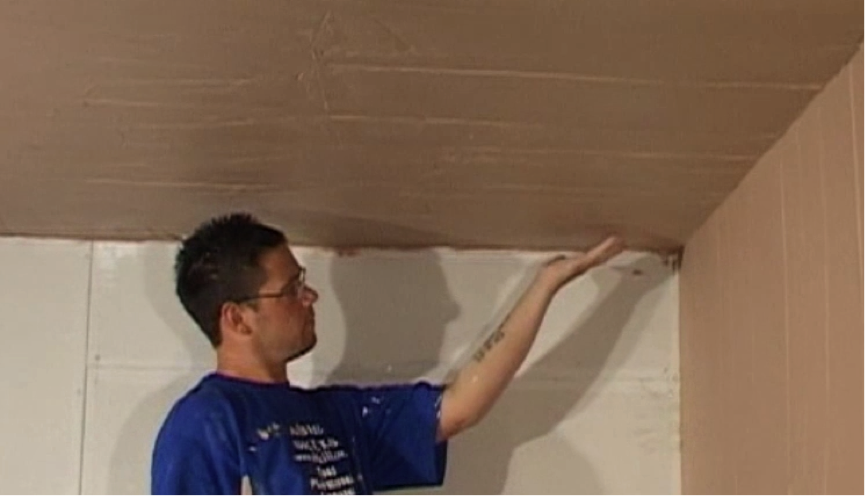
Step 1. Check the first coat
Press the area you first started your first coat and see how the plaster reacts. If the plaster starts popping out and leaving marks, it’s still too wet and you need to leave it longer to dry. If you apply a second coat while the first coat is still wet, you may end up removing the first coat on application of more plaster.
- If you leave a finger print but no other popping marks, the plaster is dry and you can go on to the second coat
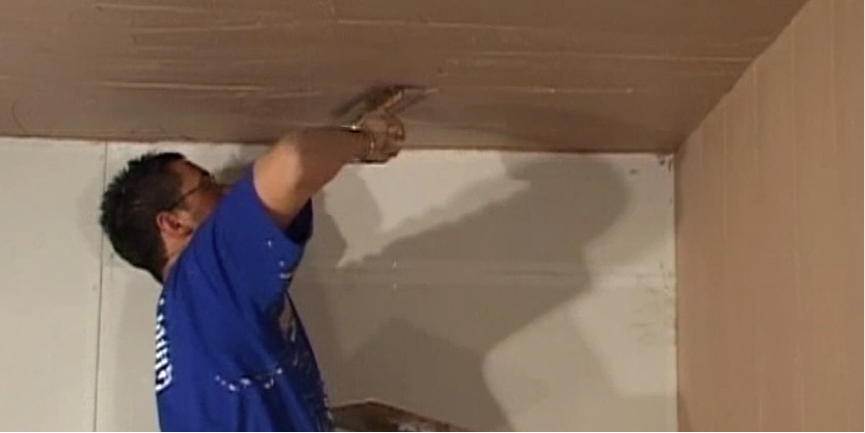
Step 2. Apply your second coat
During this second phase of plastering, apply the plaster in exactly the same way as you did on the first. Work from left to right, and from top to bottom. The only difference is that this time, you need to apply a slightly thinner coverage to the wall. Ideally you are looking for a thickness of two to two and half millimetres.

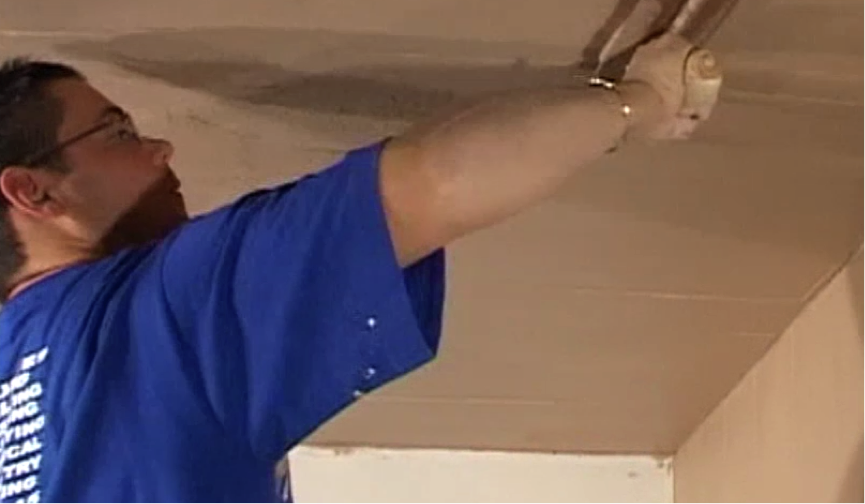
Step 3. Even coating
Apply a nice, even coat, working perpendicular to the wall. Straighten it all up in clean strokes. Keep your body horizontal to the wall while you work vertically, up and down across the ceiling. Try to move in a uniform manner so that you don’t miss any areas
Step 4. Stick to a single path of movement
What we mean by this is that you need to stick to a routine. The path you plastered for the first coat should be exactly the same for the second. This will allow the plaster the same amount of time to dry.
Step 5. Leave to dry
Leave the second coat to dry for approximately 25 to 30 minutes, depending on temperature.