Thermostatic valves are fitted to the valve on the side of the radiator. Here’s our handy guide on how to remove the radiator and fit the new thermo valve. This will give you more control over the temperature in your room. It’s fairly straightforward but there are a few tricky connections to negotiate and you’ll have to make sure your system is air tight before you start..
Step 1. Isolate the radiator
Isolate the valves on either side of the radiator. Crack the nuts, open the bleed valve and drain the water from the radiator.
Step 2. Isolate water supply to primary system
Isolate the water at the primary system and turn it off at the electricity supply. Then block the vent and feed on the expansion tank in the loft space. You can do this by putting a rubber bung in the 15 mm feed. The system is now airtight and under atmospheric pressure.

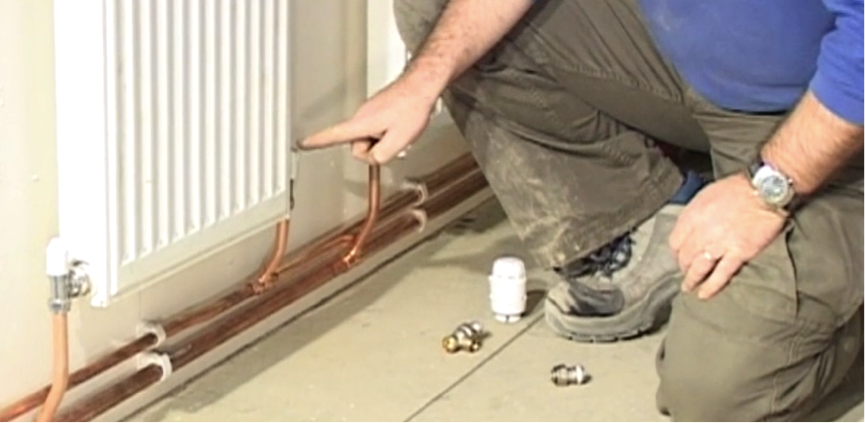
Step 3. Remove radiator from wall
Lift the radiator off its brackets. With both valves closed, no water can escape even though the rest of the system is still full of water. As the system is only open at one end, you can remove the valve of vertical pipes. A small amount of water will come out but the rest will remain in the pipe under atmospheric pressure. Only do this for pipes facing upwards.
- Put an old rag or bath towel underneath to soak up water when removing valve

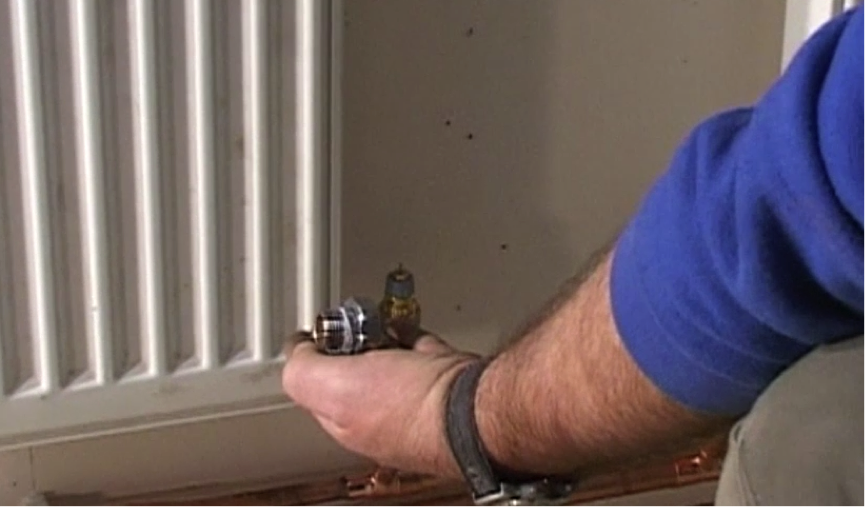
Step 4. Remove valve
Take the valve off slowly. If more water comes out, then air is getting into the system somewhere, so you will need to check your blocking or you may have a leak. Remove the valve using a radiator Allen key.
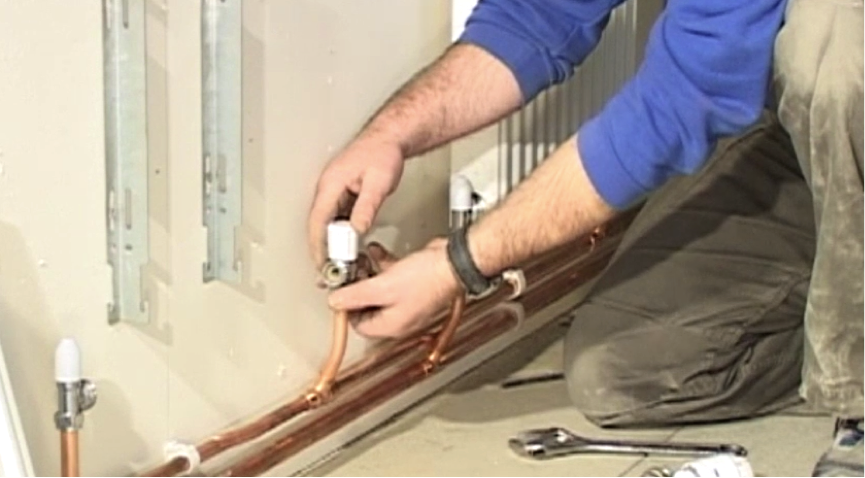
Step 5. Fit new valve
Add two to three loops of PTFE tape to new valves to make them water tight. Then hand tighten into position. You can’t use a radiator Allen key on the new valve as it is a 15mm pipe size. Use an adjustable spanner to tighten, keeping the valve straight.

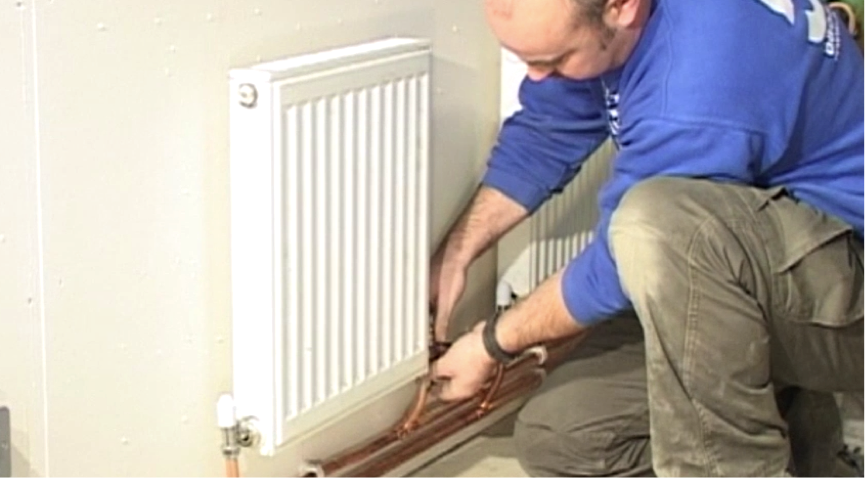
Step 6. Re-fit the radiator
As it’s a standard 15mm compression joint, you can use the olive and nut from the old valve. So you can simply fit the radiator back into place. Tighten up the compression nut and the valve on the other side, using a pair of adjustable spanners.
Step 7. Fit adaptor
Try to find an adaptor that is the same length as the current valve. If there is a difference, there will be some movement between the two pipe ends. Don’t force one side out, try to split the difference equally between the two. If you can’t do this, you must cut the vertical pipe as low down as possible and refit.
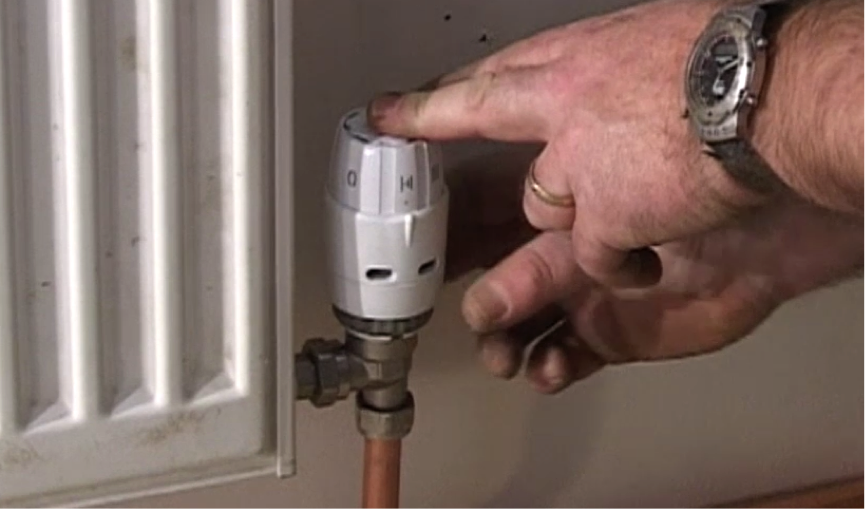
Step 8. Fit the head
Place the head on top of the valve, tighten the clamp and turn to set the temperature. Thermostatic valves can be fitted on any radiator, except the room where the main thermostat is located.