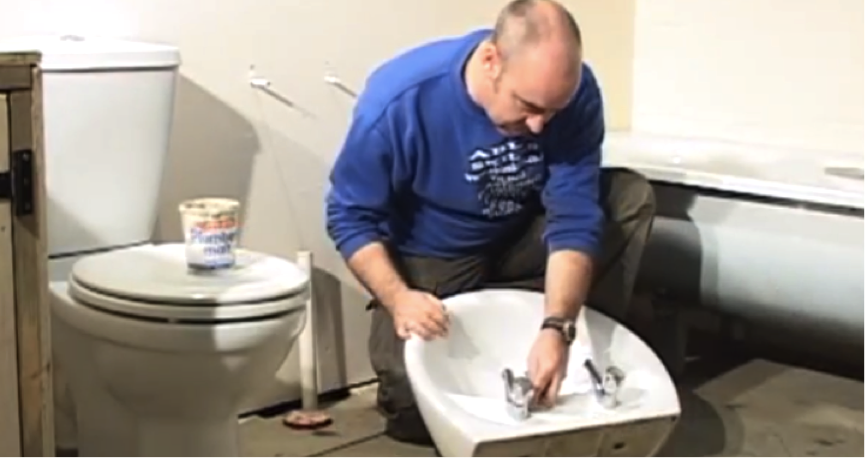
Fitting a bathroom sink doesn’t have to be a job for a plumber. By knowing which order to carry out the tasks, what tools you’ll need and how to secure the sink correctly, this is something you can realistically do yourself. Here’s our guide on how to do it properly.
Step 1. Prepare the taps
Get a small amount of plumber’s mate putty and roll it in your hands before applying it to the base of the taps to be fitted, as shown in the picture.
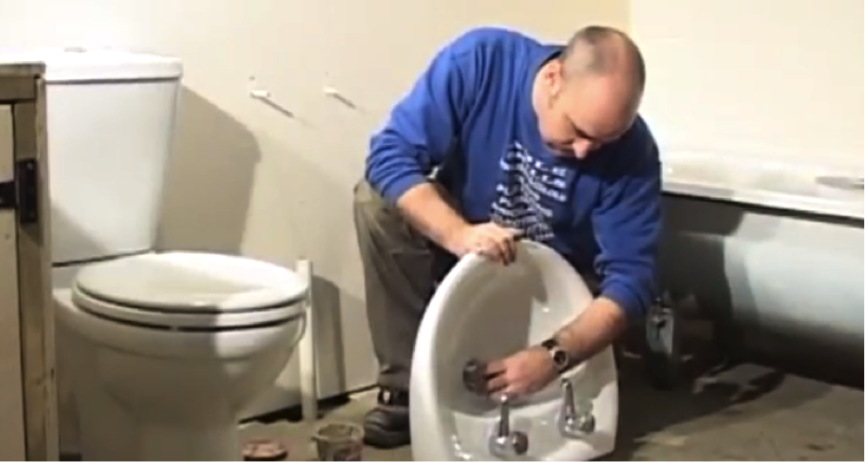
Step 2. Fit the taps
Squeeze the taps into the holes in the sink provided and fit the washers and back nuts on the under side of the sink. Tighten by hand, then ensure they are correctly fastened using a tap spanner or box spanner. Repeat with the other tap.
Step 3. Remove excess putty
Using a screwdriver or suitable tool, remove the excess putty that has been squeezed out around the taps. If you don’t do this it can leave the taps looking a little messy. Do this gently so as not to damage the tap or sink with your tools.
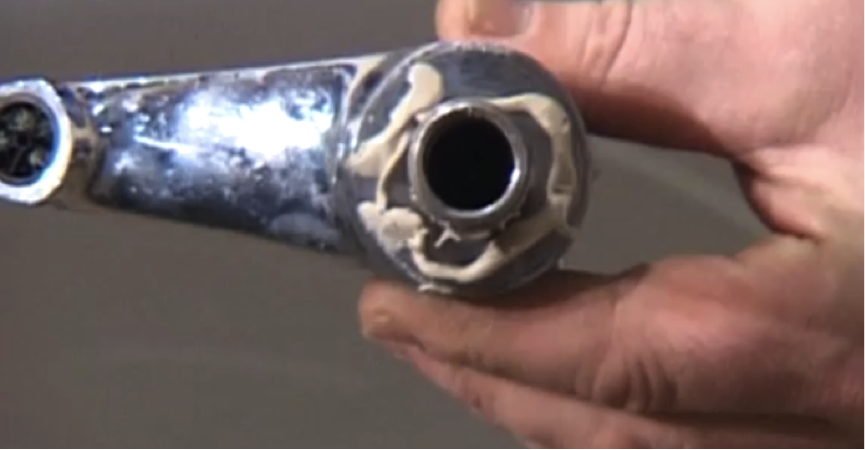
Step 4. Prepping the wastage drain
Repeat the process from step one, adding a roll of putty onto the wastage drain where it will come into contact with the sink.
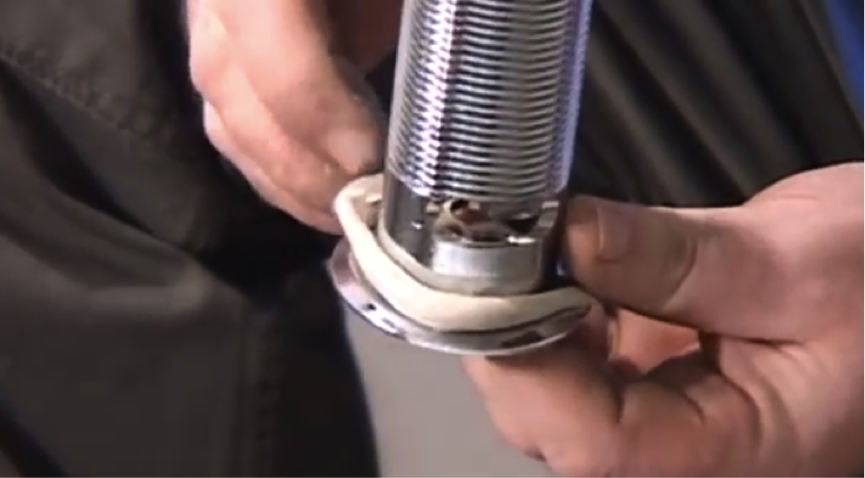
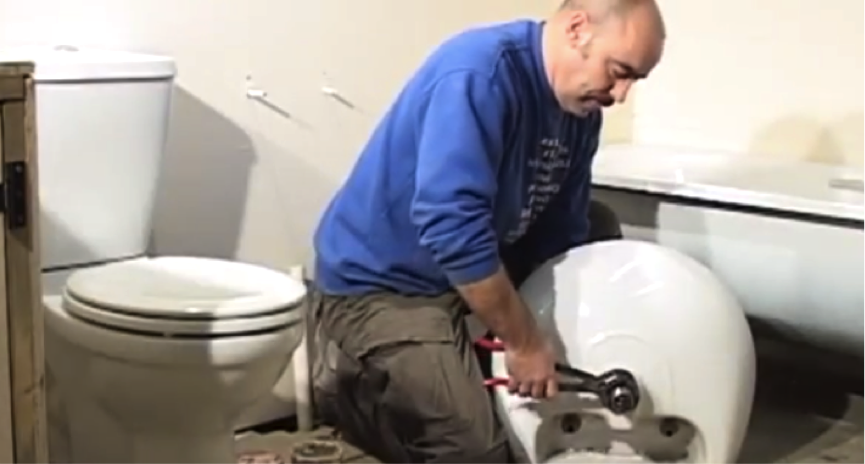
Step 5. Fit the wastage drain
Slot it into the sink, making sure the two wastage holes face back and front and not side to side. This means they will be in line with the overflow.
Step 6. Tightening the wastage pipe
Squeeze it in, add the washer on the other side, then the nut. Tighten by hand and complete the job with an adjustable spanner, ensuring the drain is tight. Remove any excess putty that has squeezed out with a screwdriver.
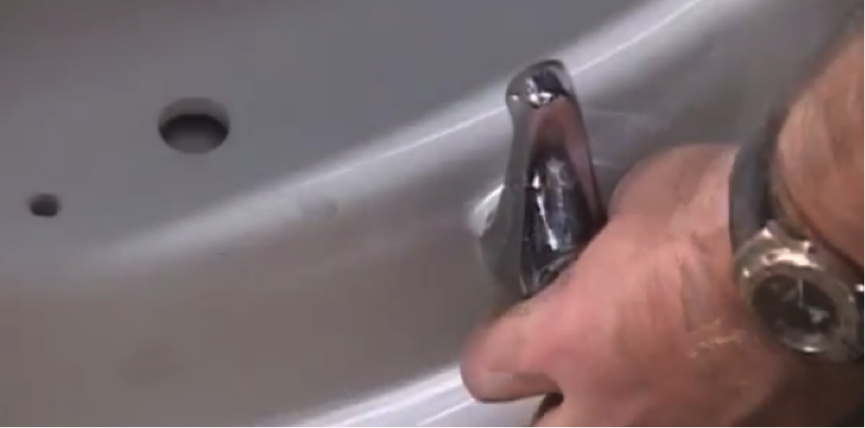
Step 7. Fitting the sink to the wall
The bolts should already be in position where you are going to hang the sink. Remember that there is another type of sink hanger that is like a cradle, but bolts are the most common. The sink is bolted to the wall and the pedestal supports the basin.
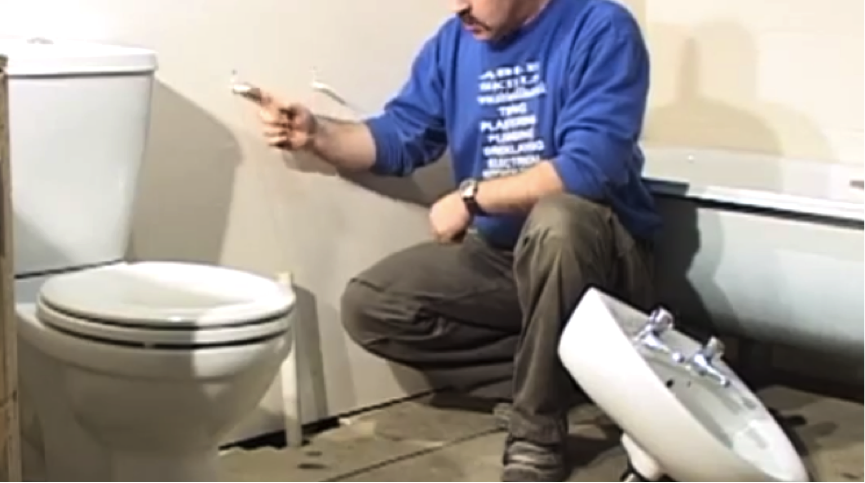
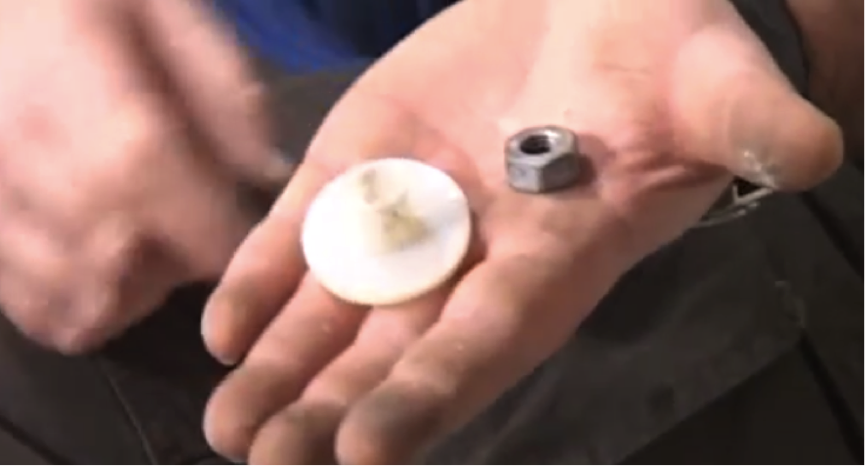
Step 8. Tightening
Take the mushroom washer and the nut (as pictured). The basin goes on the wall, the mushroom washer slips on and the nut fits in behind it. Once in position, use your smaller adjustable spanner to tighten the nut.
Step 9. Check it’s level
Use a spirit level to make sure the sink is level. If it is slightly out, you can loosen one nut, move the sink into position and level up. The holes in the back of the sink will allow for these small adjustments.
