When you buy new radiators, they will come with some parts already included. Other parts you will have to buy in order to fit and fix to the wall in working condition. Here’s a quick guide to help you understand radiators.
Step 1. Identify parts
When you buy a radiator, all the clips are already included. You will also get two brackets, bleed valve, stopper, rawl plugs and screws for fitting to the wall.
Step 2. Locate brackets
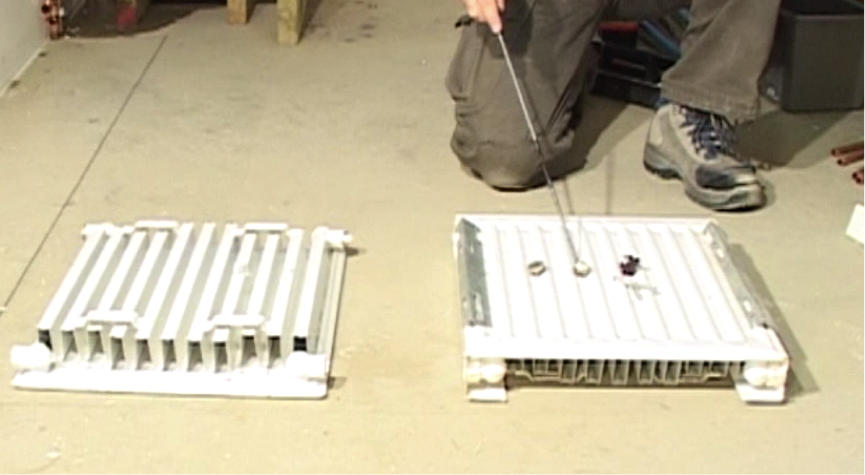
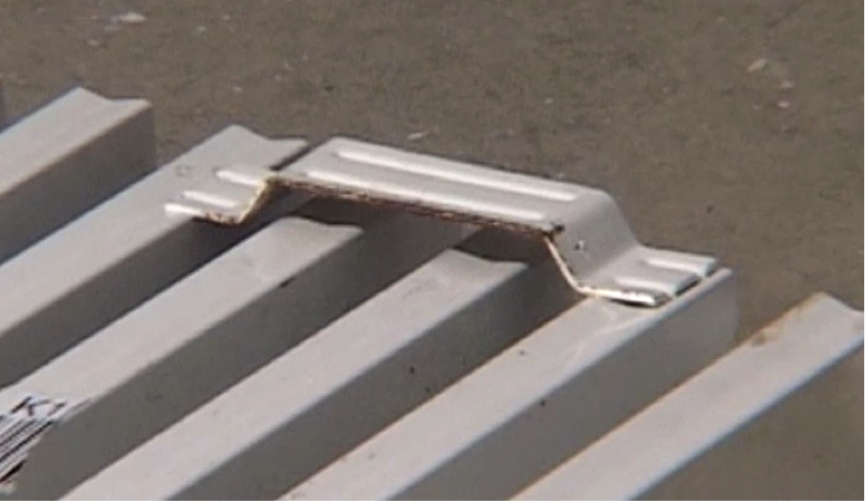
On the back of the radiator, there will be brackets already in place. These correspond to the silver coloured brackets for fixing to the wall. You will decide which side the bleed valve is to be fitted, depending on where you will have the easiest access.
Step 3. Buy valves
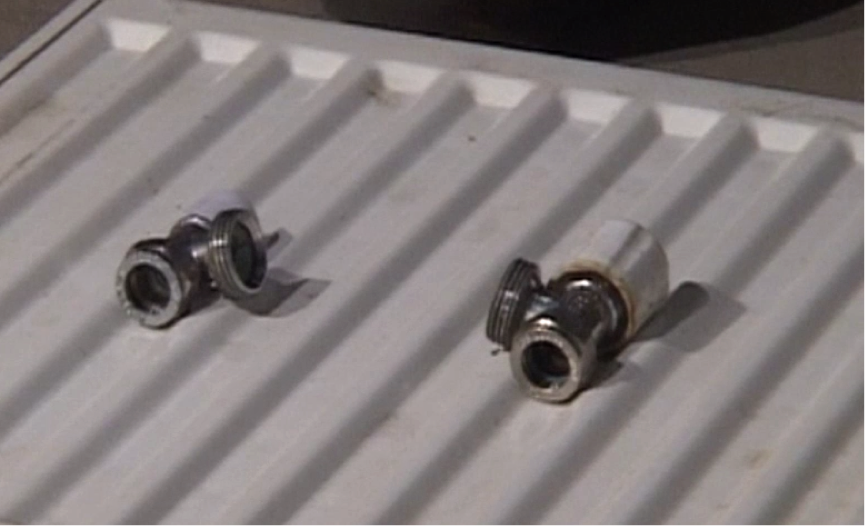
You will also need to buy two radiator valves. The valve with the main handle on will go on the flow side, with the winch handle. The other side has a plastic cap on it. This is the lock shield side, which is essentially the same apart from the plastic cap.
Step 4. Know how they work
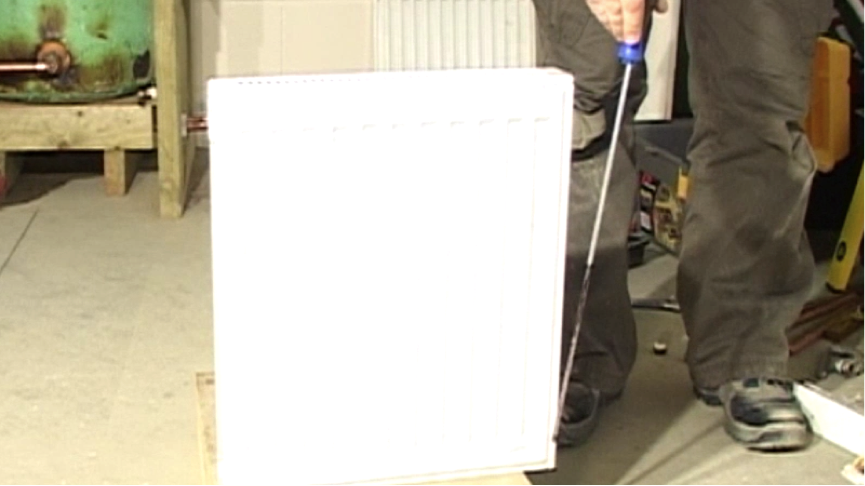
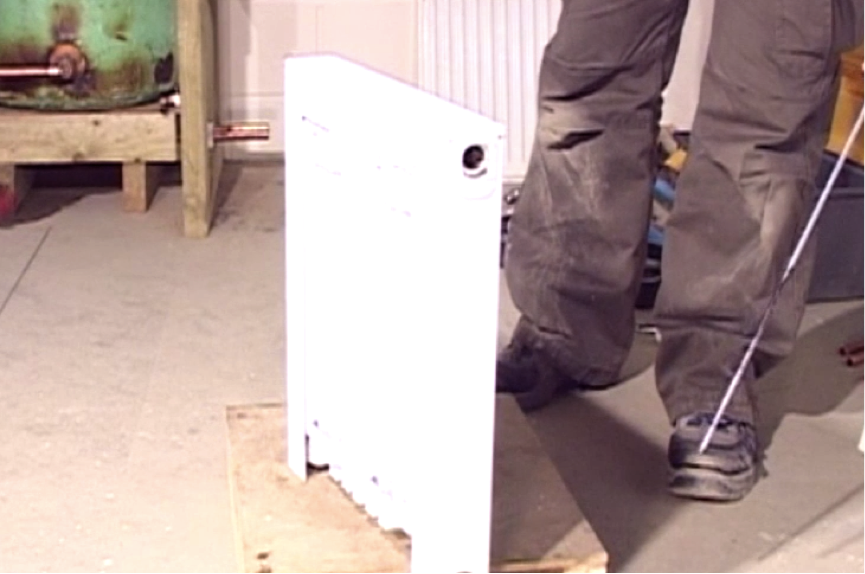
Although commonly known as radiators, they are actually heat convectors and work by the air in the room going through the space at the bottom of the radiator, flowing up the back of the unit, warming up and heating the room. That’s why you should never put washing over the radiators, as the convection flow will fill the room with damp air.
- Every radiator should have a minimum of 100mm between its bottom edge and the floor to allow convection
Step 5. Efficiency is key
The most efficient way to use a radiator is to feed hot water in through the top and out through the bottom at the other side. These kinds of radiators are used in pubs, clubs and other public places.