Good tiling is all about good planning and a great finish. Which is why we always recommend adding a baton to the wall to help you keep things straight. Here’s our guide on how and why.
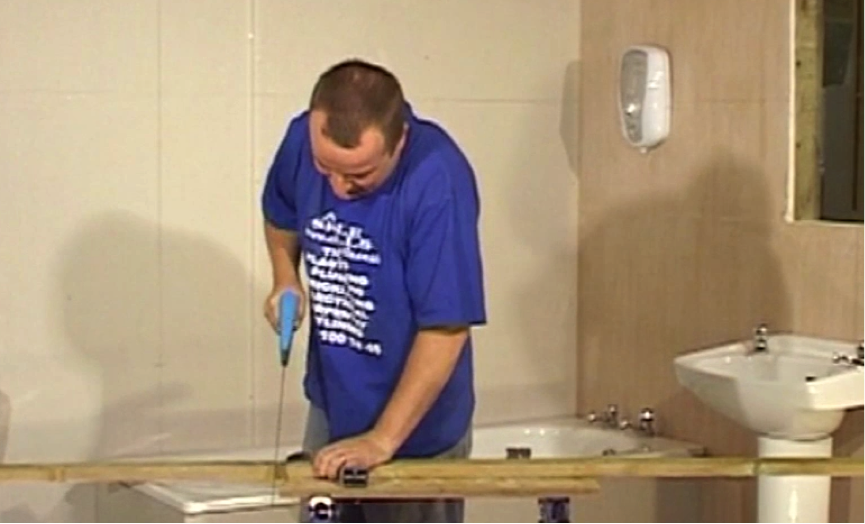
Step 1. What is a baton?
A baton is a length of wood that runs all the way along your length of the wall to be tiled. Measure out and cut to size before you start. The baton can be any thickness or width, the important thing is that it needs to be straight and not bowed.
Step 2. Where to fix it
Using your horizontal pencil guide on the wall (marked using the mid point of the height of any windows) measure out three tiles height down, allowing for 2mm space between the tiles for grout. Then mark the wall where the last tile ends in pencil.
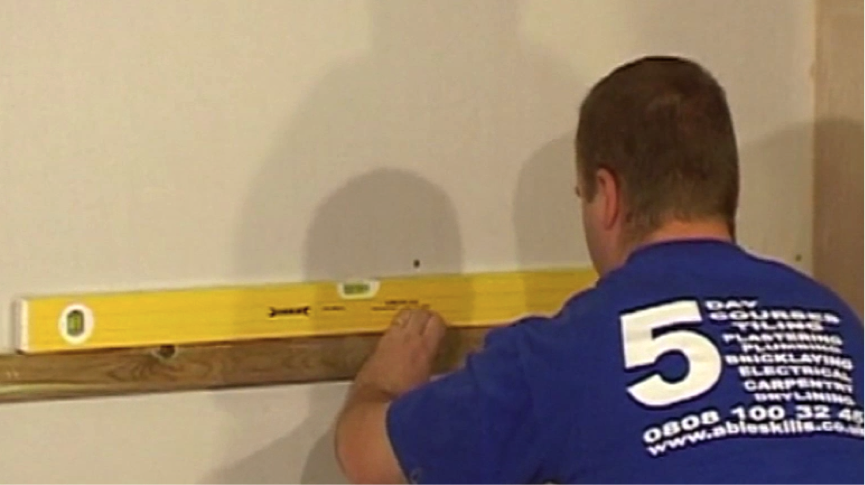
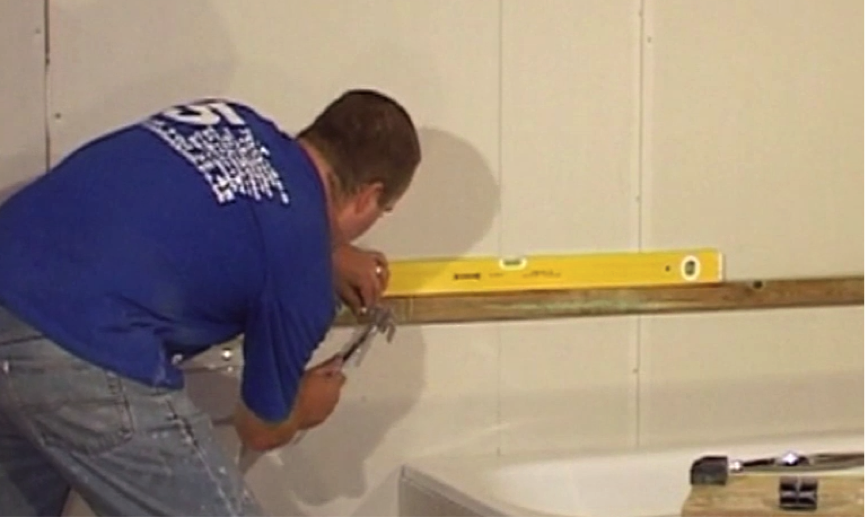
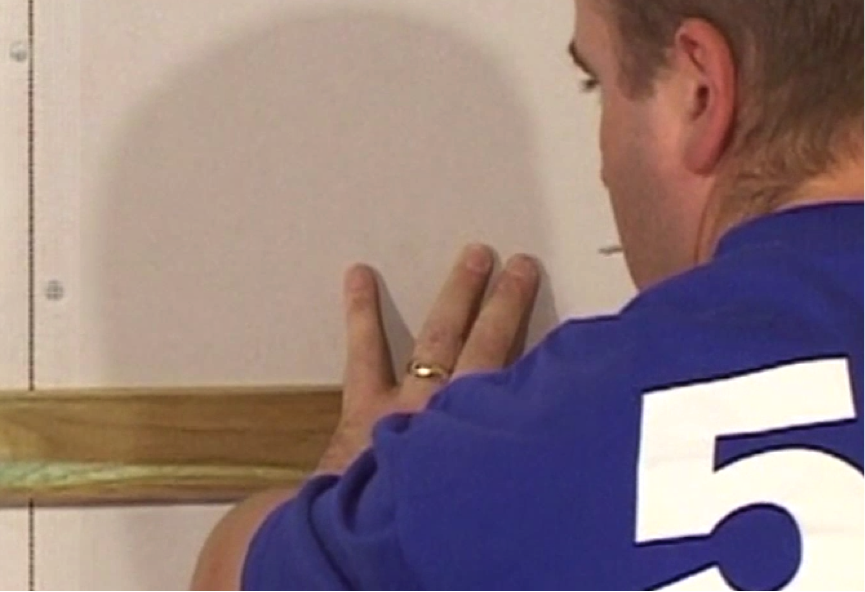
Step 3. Attach to wall
The baton is either screwed or nailed to the wall along a horizontal line already drawn with pencil. Use your spirit level to make sure it is straight and check that it is flush along the wall.
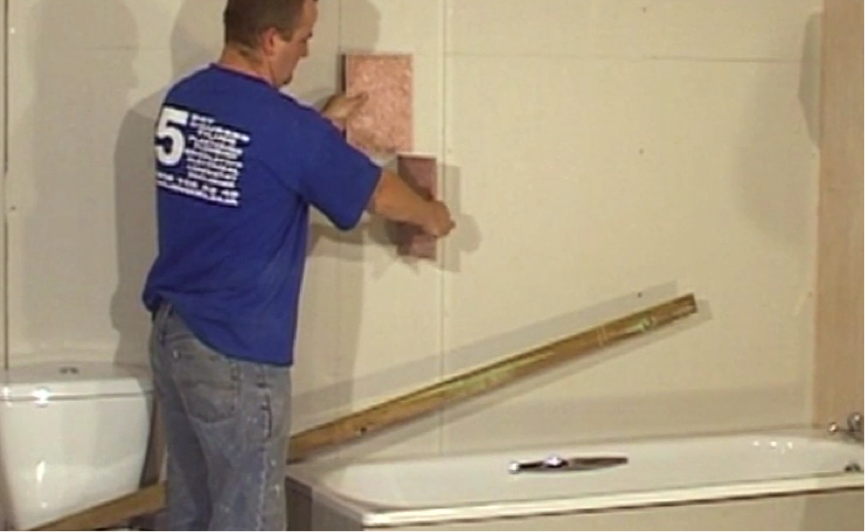
Step 4. Check it’s secure
The purpose of the baton is that the tiles will have something to rest on and will not slide down the wall when initially fixed with an adhesive.
Step 5. Leave the baton
Once the tiles are successfully laid above the baton, you should leave it attached to the wall for 24 hours so that they are supported while the adhesive dries. After this time, you may remove the baton and finish the tiling below.