Tile grout fills the gaps between the tiles, creating a smooth and watertight finish. It needs to be applied correctly for a full and even coverage. Float angle and working methods are important for achieving this. Here’s our quick guide how to grout correctly and what tools you’ll need to do the job.
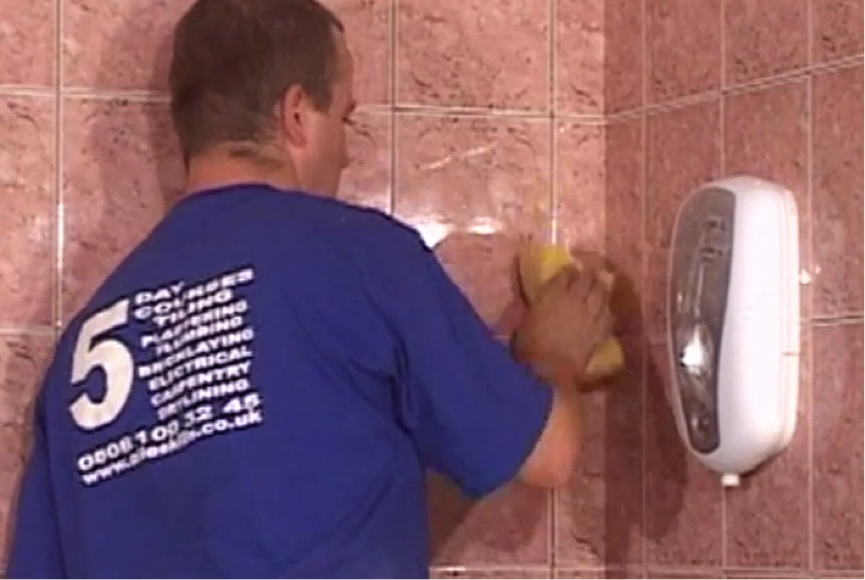
Step 1. Prepare the surface
Before grouting, you must make sure that the surfaces you are working on are completely clean, the spacers are all removed and that the tiles are completely dry. If not, it can affect the appearance of your finished grout.
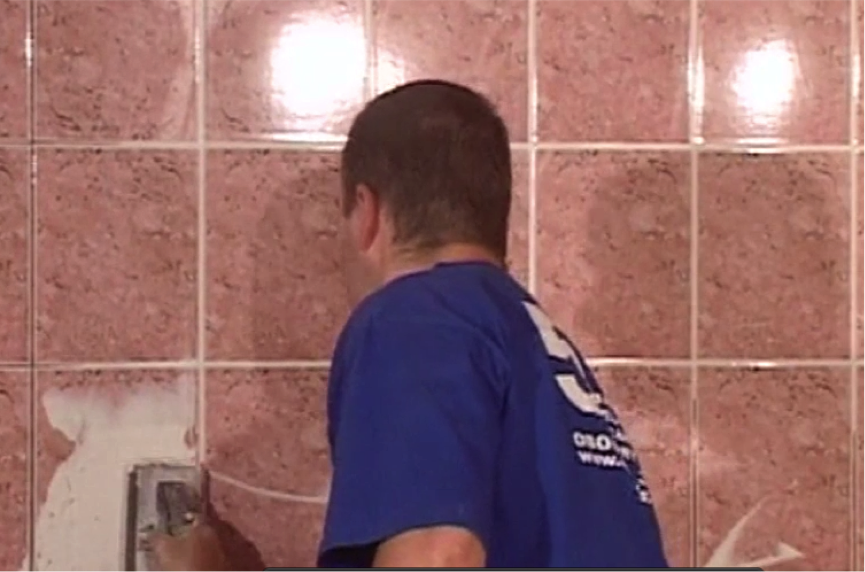
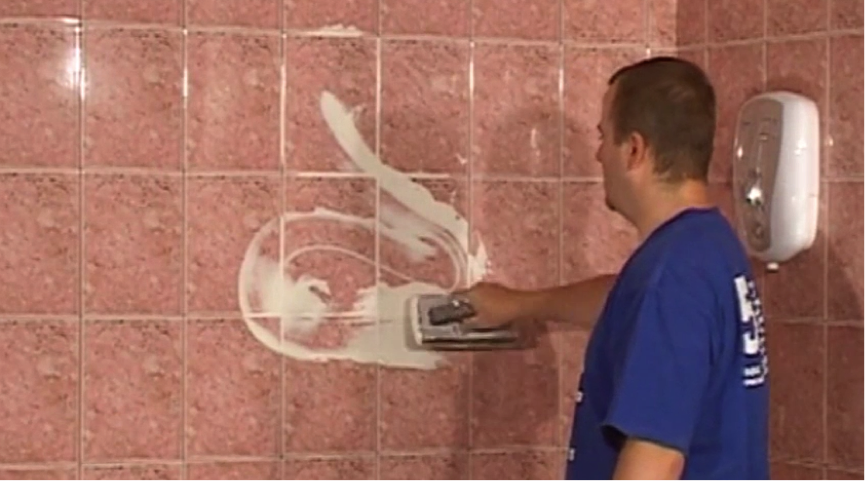
Step 2. Grouting your float
Apply plenty of grout to your float, and then in turn, apply all of this to the wall.
Step 3. Angle your float
When you put grout on walls using a float, you need to do this in the same way as you applied the adhesive. Your float should be angled between 35 and 45 degrees to the wall.
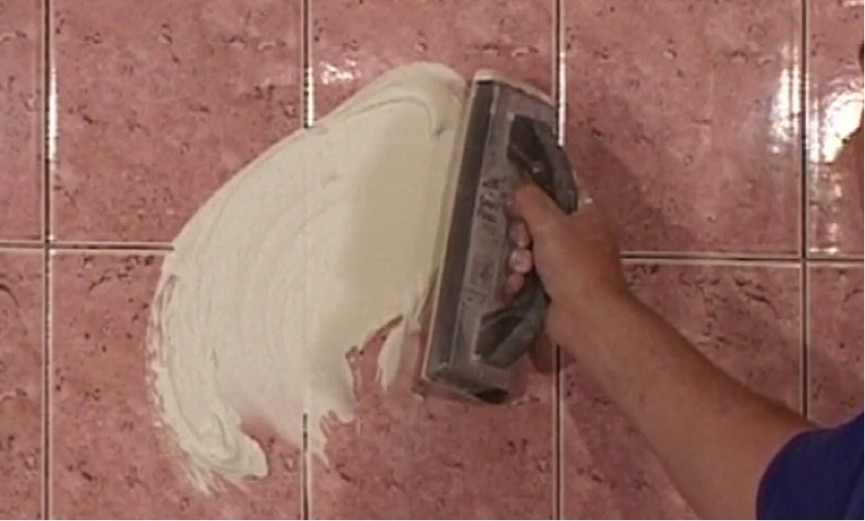
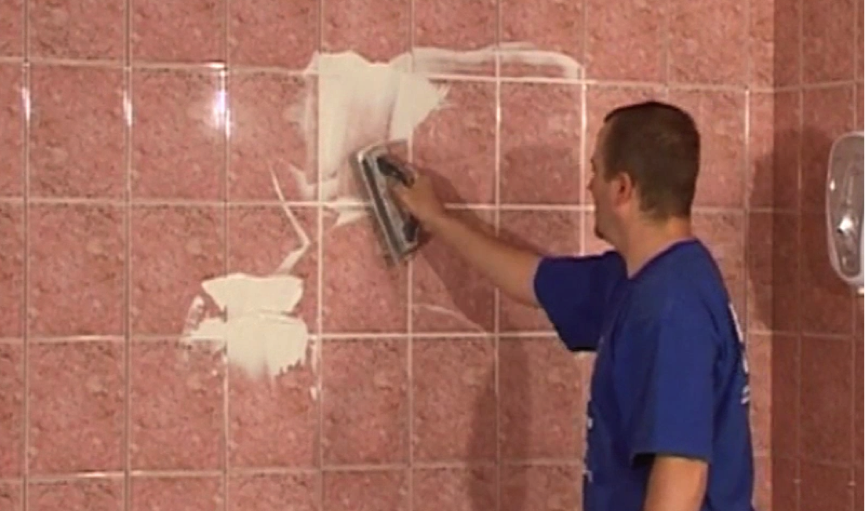
Step 4. Float technique
Float the grout all over the walls, ensuring that you cover all the holes and gaps. Be thorough now and it will produce a better finish.
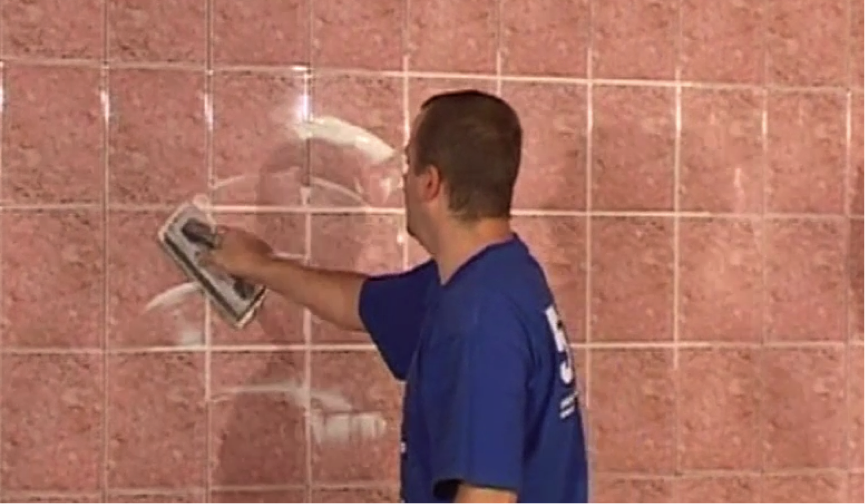
Step 5. Remove the excess grout
When you have completed a specific area, you need to remove the excess grout. Do this using your float at an open angle. Now transfer this grout onto a fresh work area. Deposit it there and repeat the process across the whole wall.
Step 6. Take precautions
When grouting, make sure you have protected other objects and parts of the room with protective sheeting. If grout gets onto the carpet, then it may be ruined or at least very difficult to remove.
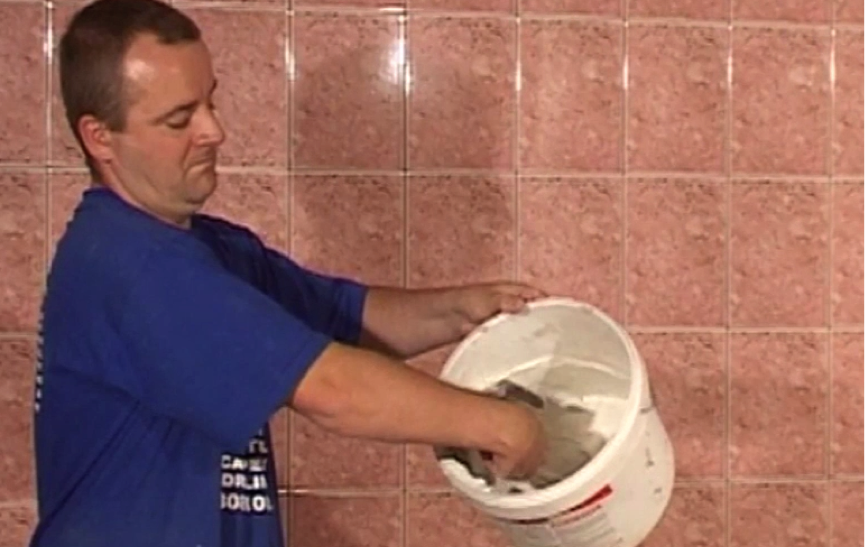
Step 7. Remove excess
Once the whole tiled surface is done, remove all the excess grout and put back into the bucket.