Once you’ve mixed up your bonding plaster correctly and cut the beads to size, it’s now time to fix them in place. Using a thick player of bonding plaster, you can secure and level up beading on external edges, providing a smooth edge and ideal surface for the top coat of finishing plaster. Here’s how to do it.
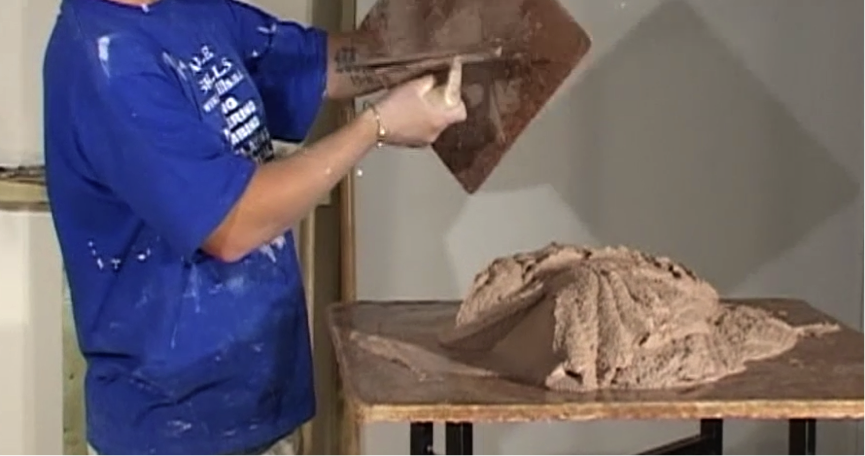
Step 1. Prepare your plaster
Prepare your bonding plaster in a bucket, making sure to mix thoroughly. Wet your spot board and tip the plaster onto it. You’ll notice that the bonding plaster is rougher than regular plaster. This allows it to spread on much thicker, up to an inch and a half at a time.

Step 2. Prepare your hawk
Pick up a little bit of bonding plaster with your trowel and rub it around your hawk. This is so when you come to apply your working plaster it stabilises and does not slide off.
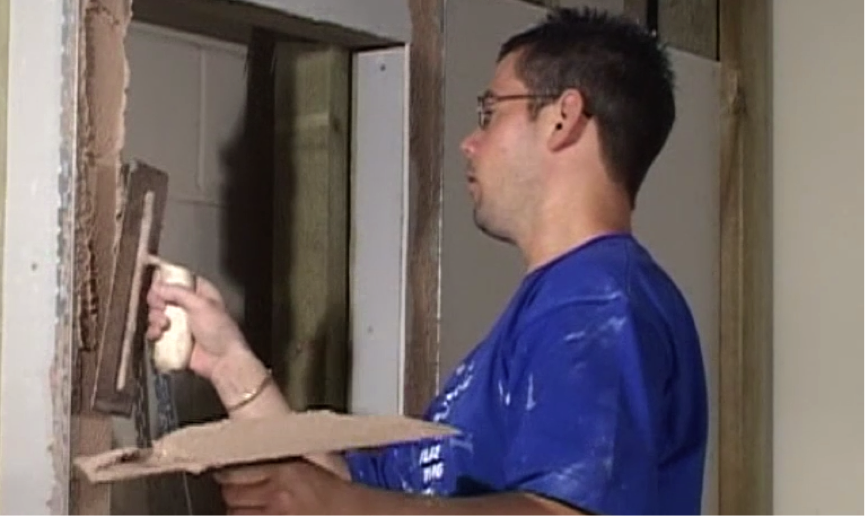
Step 3. Applying the bonding
Now apply the bonding to the external face of your work, with an even amount of plaster going from top to bottom. Apply roughly at an inch at a time.

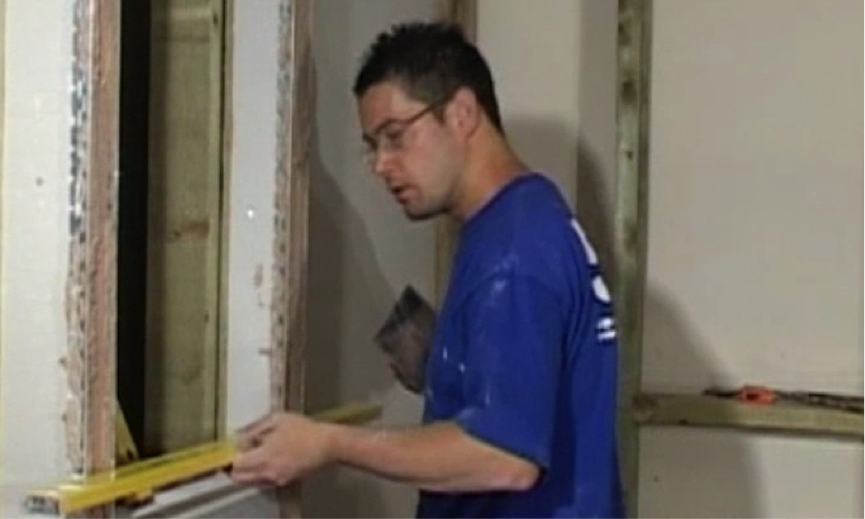
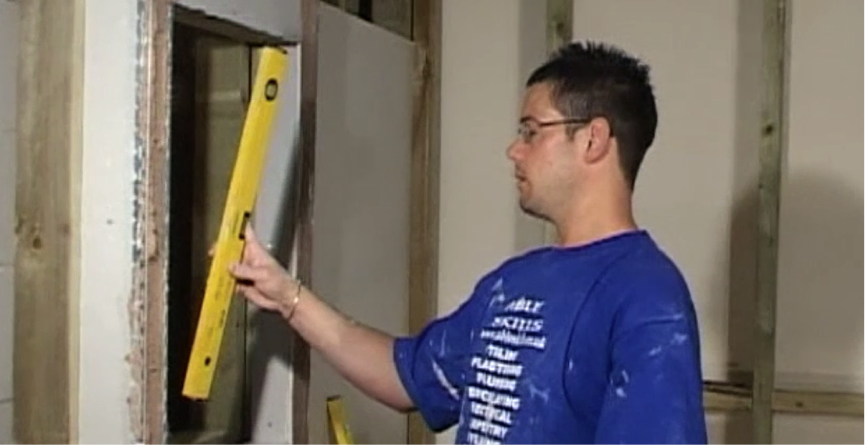
Step 4. Set the beading
Fit the beads to the external edge of the corner you are plastering, tapping it in until it is stable. Use the long level to make sure it is completely vertical. If it’s not level, adjust it by tapping it further with your trowel.
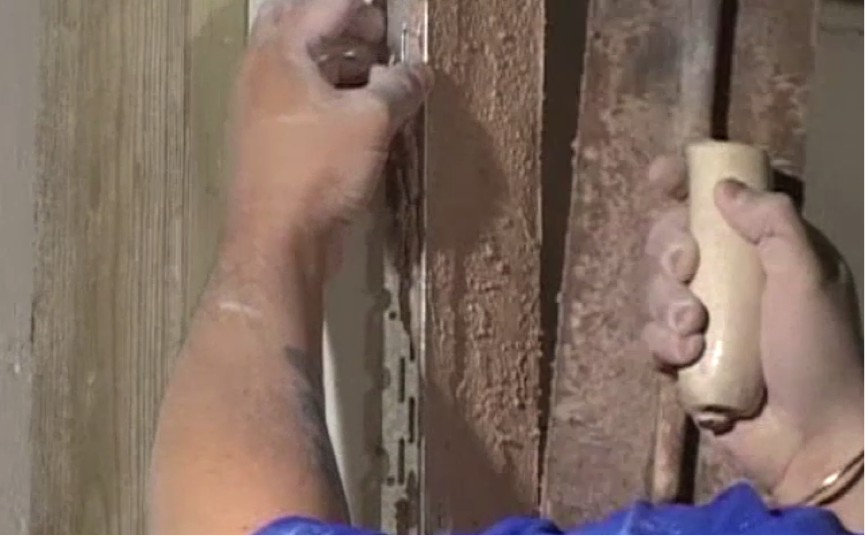
Step 5. Remove excess plaster
Take away any excess plaster from the bead using your trowel. Once you have finished, run your finger and thumb down the edge of the bead to keep it clean.
Step 6. Apply the remaining beads
Use the same method to apply all the other beads to the remaining external edges of the job. Remember to remove excess plaster and clean the bead at the end with your finger and thumb.

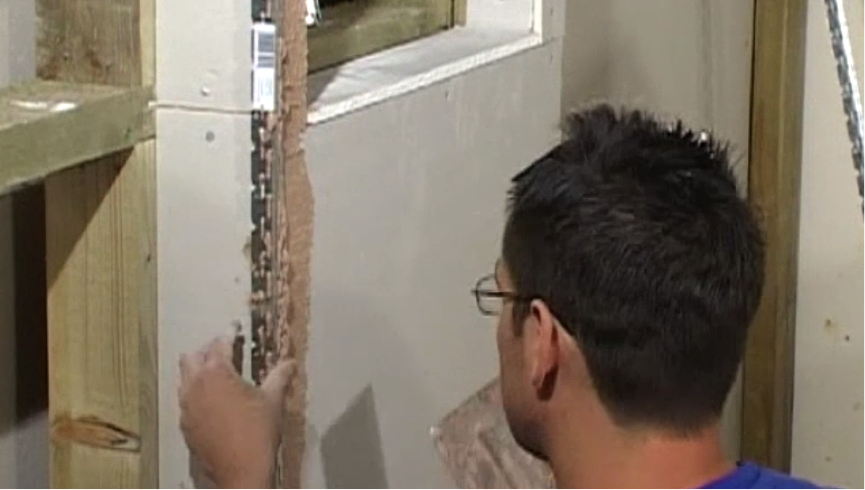
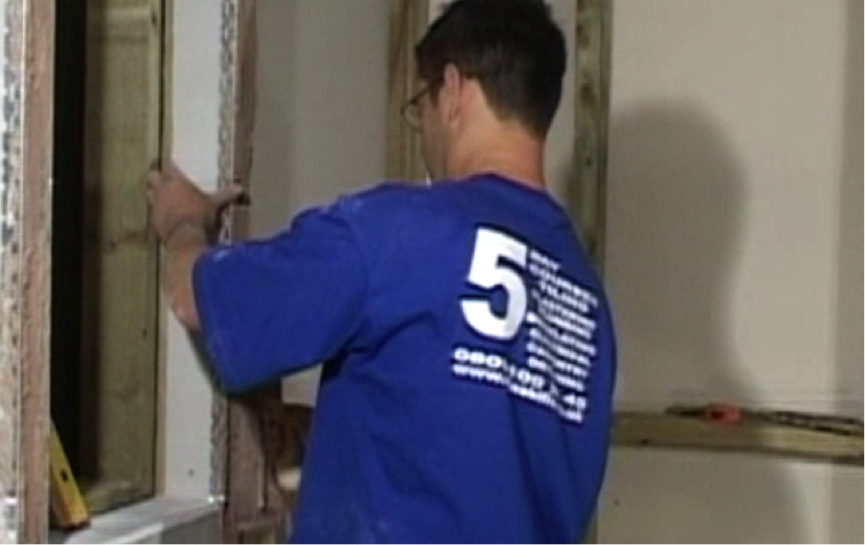
Step 7. Apply beading to inside window edges
These need to be flush to the two outside beads and are applied in the same way. Smear the plaster on the front surface going away from the edge. Now fit the bead (already having cut it to size) and fix in the same way as outlined in the above steps.
Step 8. Check your work
Once again, use the level to check the bead is vertical and tap with a trowel to make any adjustments needed. Once this is done, remove any excess plaster using the trowel. Then clean the bead with a wipe of the hand.
Step 9. Continue setting beads
Continue to apply further beads in the same way until all external edges are done. Apply plaster, set beads, remove plaster and clean.
Step 10. Level up
Once all the beads are done, take your long level and place horizontally across all the beads. This will ensure that all the beads are flush with each other. If not, adjust until all beads are in contact with the level.
- It’s a good idea to have both a small and large level, as this will allow you to check all parts of the job, including inside window frames