Before laying your tiles for real, with grout and adhesive, it’s a good idea to measure out your space and dry tile. This will let you see how the finished floor will look and allow you to adjust your markings to avoid too many thin cuts. This will result in a more pleasing finish. Here’s how you do it.
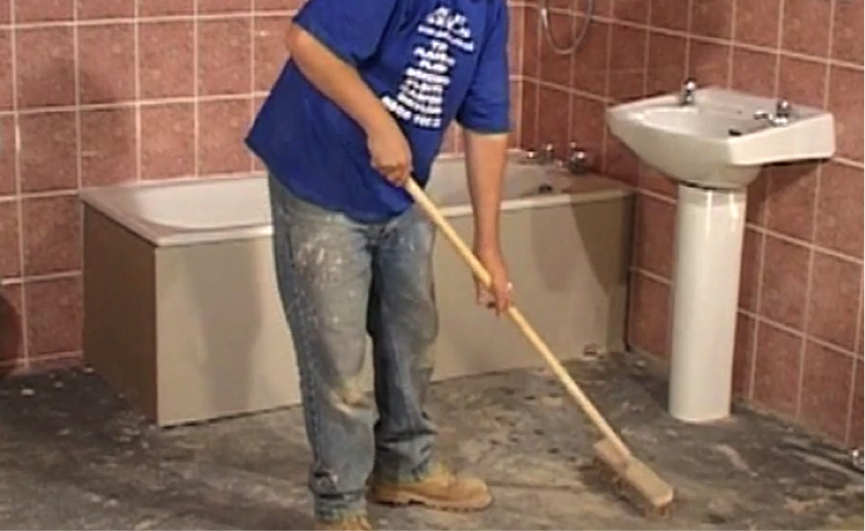
Step 1. Make sure floor is clean and dust free
If you are tiling on any floor, you need to make sure that it is clean and dust free. This is so the adhesive works better and the finish is not spoiled by dust at a later phase of the project.
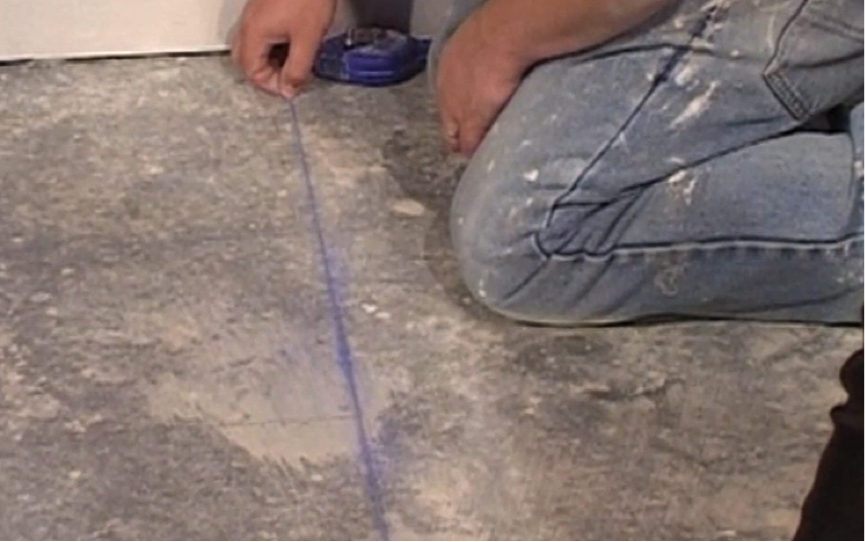
Step 2. Measure out your work area
Find the halfway point of the length of the room. For example, if the length of the room is 3m, you would mark it at 1.5m. Do this in two places so you have two markers to connect your chalk line. The same then goes for the width.

Step 3. Make your chalk line
You may need someone to help you get the line just right. Holding both ends tightly across your previously made marks, ping your chalk line so that it makes a straight line on the floor. Doing this for both length and width, the lines will cross and give you your centre point of the room.
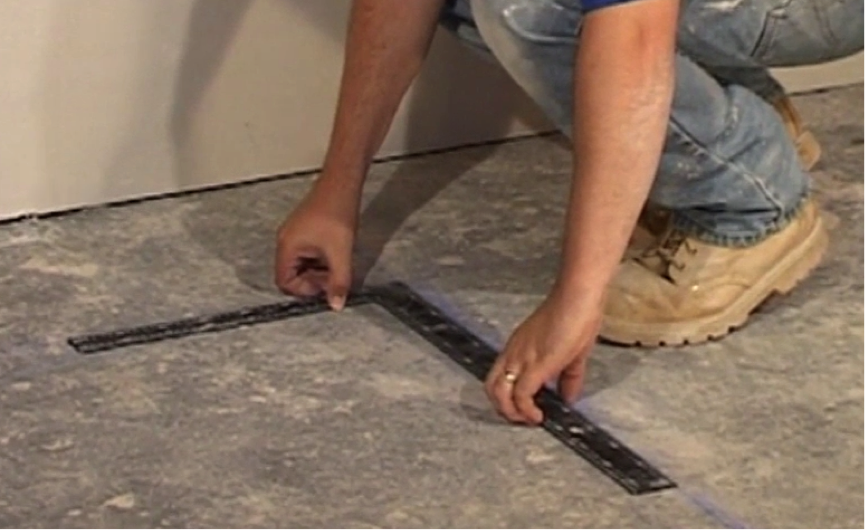
Step 4. Check it’s square
To double check your chalk lines are true, check them using a set square. If the lines don’t run flush in both directions, they are not accurate and you will need to remark them.
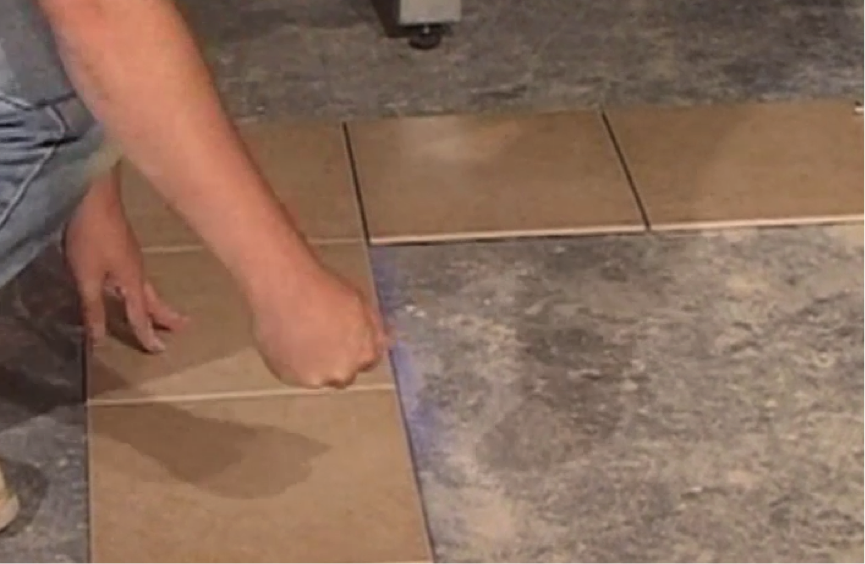
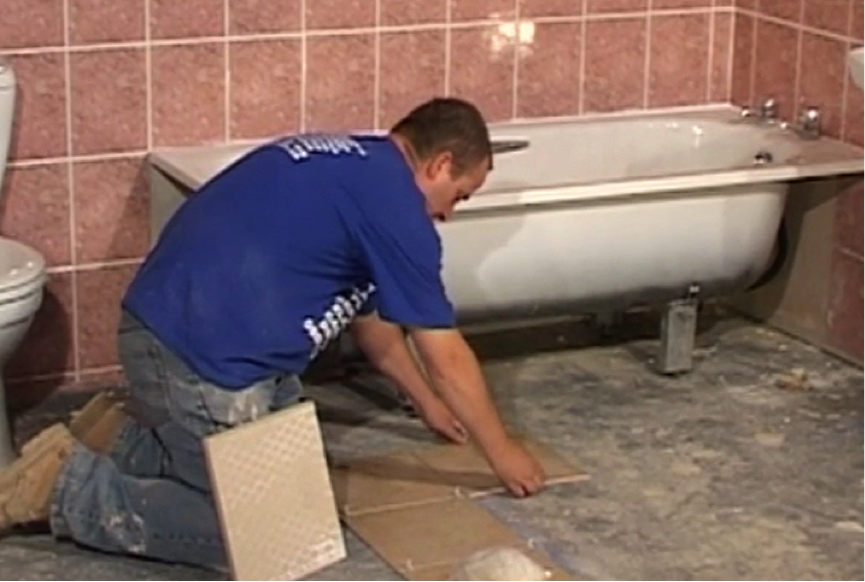
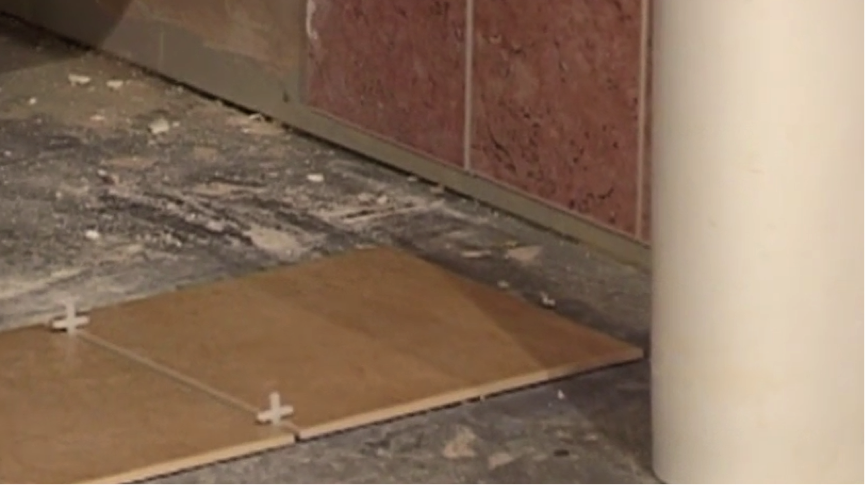
Step 5. Dry tile
At this point, put one row and one column of tiles down dry (i.e. with no adhesive). This will give you an indication of where your cuts will fall. Pretend you are tiling for real, use spacers and keep to guidelines to make sure you are being accurate.
Step 6. Check for thin cuts
If when laying out your dry tiles, you realise you are going to have to thin cut around obstacles, you may need to adjust your guideline. You can move these up or down, left and right as needed, making sure they are kept parallel with the original.
Step 7. Get ready for the real thing
Once you are happy that your tiles are going to fit neatly and without thin cuts, remove them and prepare to lay them for real.