Grouting will never be applied completely evenly, which you’ll notice as it dries. It will need to be pointed in order to get the perfect, smooth finish. You’ll need a special tool to do it and should never use your fingers. Here’s our handy guide on how it’s done correctly.
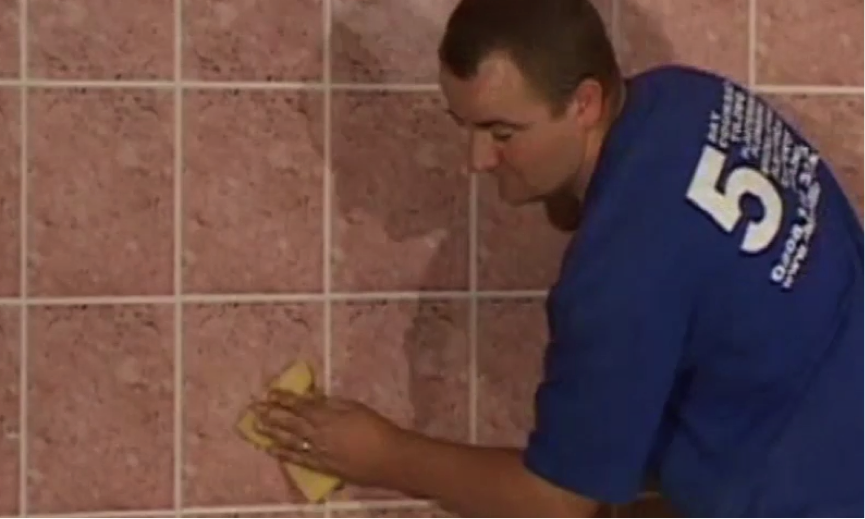
Step 1. Clean the walls
Clean the walls with a damp sponge to remove any excess grout and leave a smooth and clean finish. You are now ready to even out your grout.
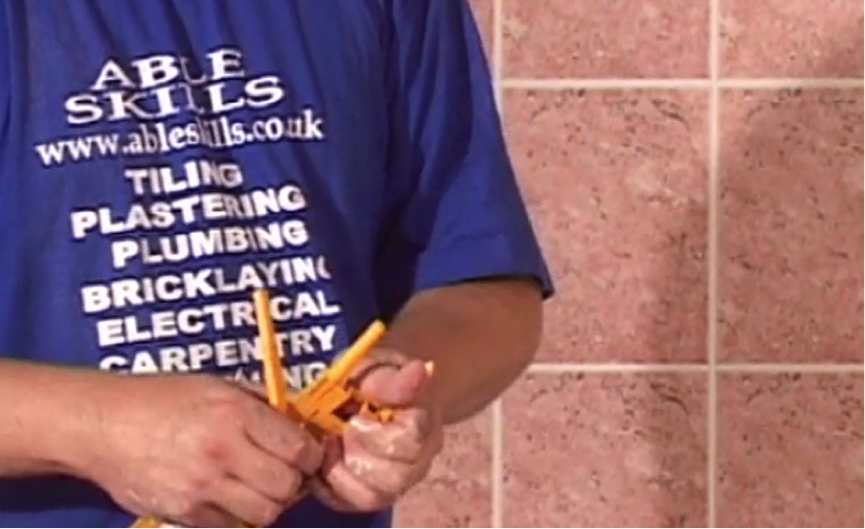
Step 2. Examine the grout
When finished washing, you may find there are areas on the wall where the grout varies in depth. To correct this, you will need to use a grout finisher.
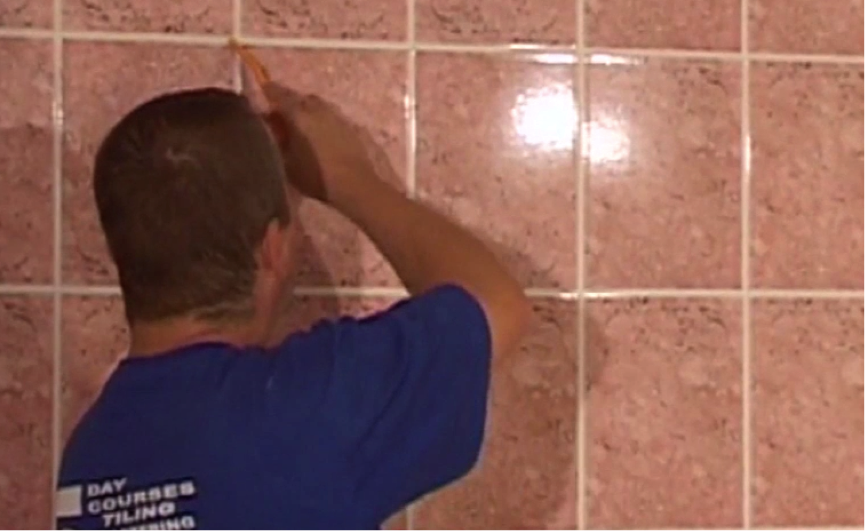
Step 3. Gauge thickness and point
Going by eye, gauge the thickness of the grout and simply run the grout finisher along any thick or uneven grout lines. This process is called pointing. You should never use your fingers to do this job as you may burn them or hurt yourself.
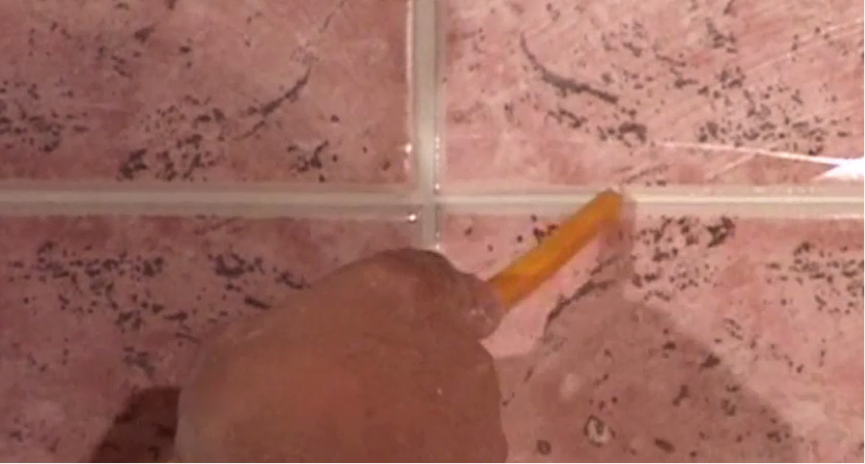
Step 4. Continue across wall
Continue the pointing process across your whole wall to ensure a nice and even finish to your grouting. It’s a relatively quick and straightforward job but produces good results.