Here’s our guide to using solder ring joints. These are connectors that already come with the solder in place. Although more expensive, these kinds of join are much easier to use, especially for beginners.
Step 1. Check you have the right fitting
With a solder ring fitting, you do not need to use any additional solder as it has already been applied for you. Check you have the right kind of fitting before you start.
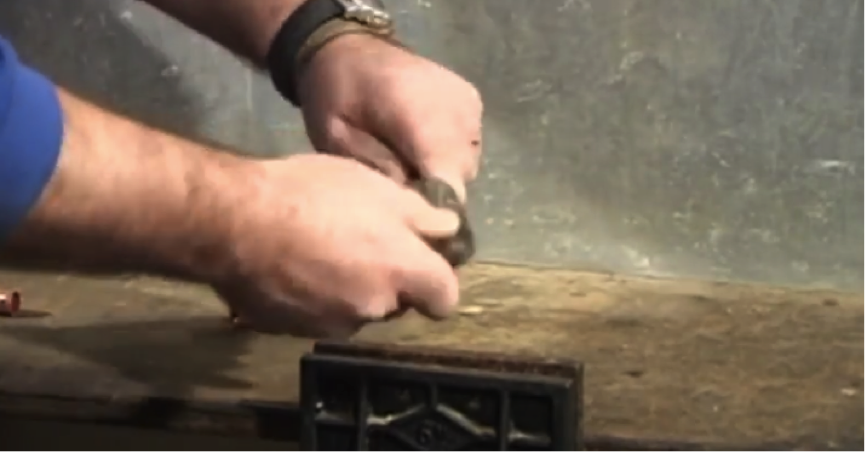
Step 2. Prepping the pipe
Make sure all the pipe ends are clean, using wire wool to remove any dirt, grease or excess material that could interfere with a good join. You can also get specialist pipe end cleaners if you are going to be repeating this task regularly.
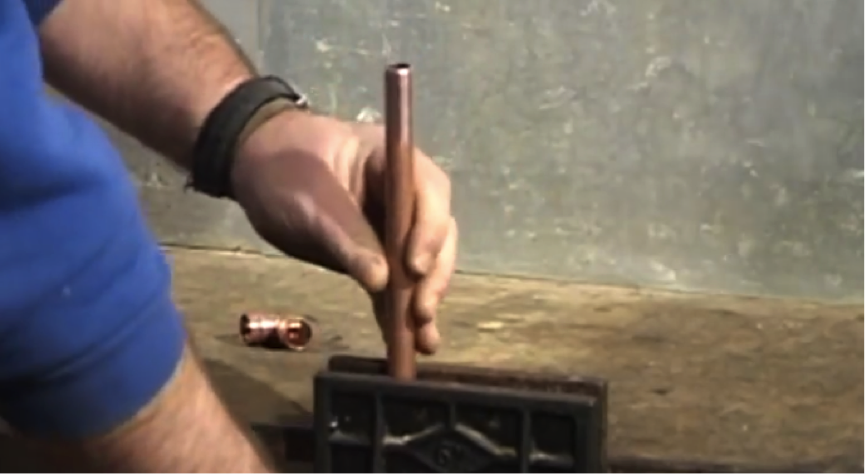
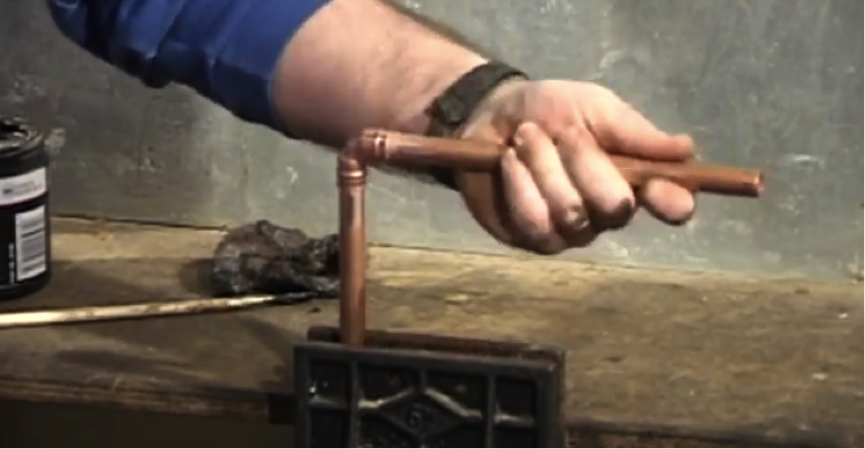
Step 3. Secure the pipe
Secure the pipe to be joined in a vice. If you don’t have a vice, make sure you are using a heatproof surface when you use the torch, for safety reasons.
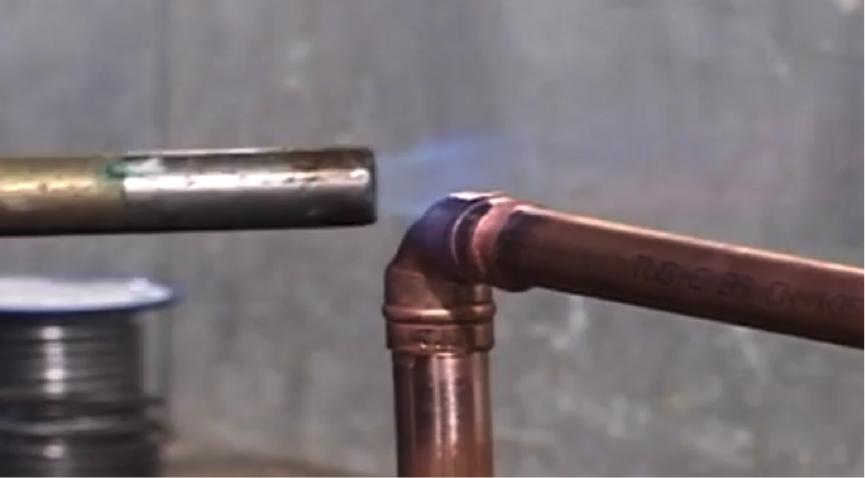
Step 4. Add flux
You must always remember to use flux to help the solder to run around the joint in a capillary action. This will ensure a tight, even and watertight pipe join. This will also prevent oxidisation.
Step 5. Assemble the join
Assemble the pipe join and pipes into the arrangement you require to complete the job. You will not need to add solder as these are pre-soldered joints being used (see step 1.)

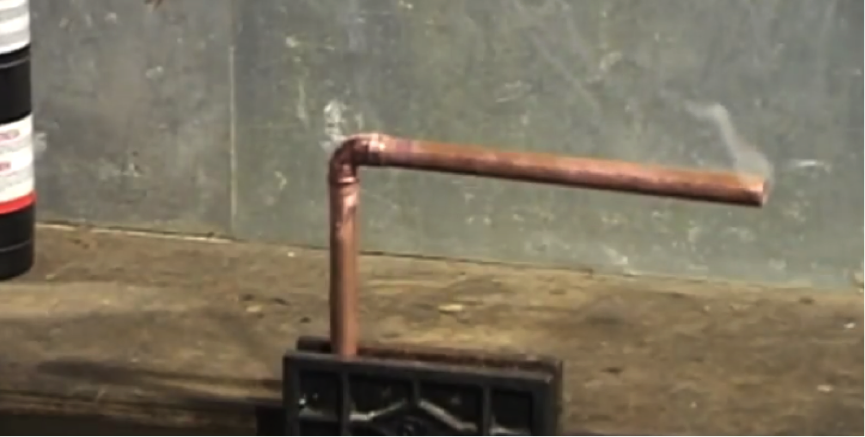
Step 6. Apply heat
Apply heat to the join using your heat torch and wait for a solder ring to appear at the join ends. These solder ring fittings are considerably more expensive than end feed pieces but for people with little experience, this is a much easier way of joining copper pipes together, providing a more solid seal.
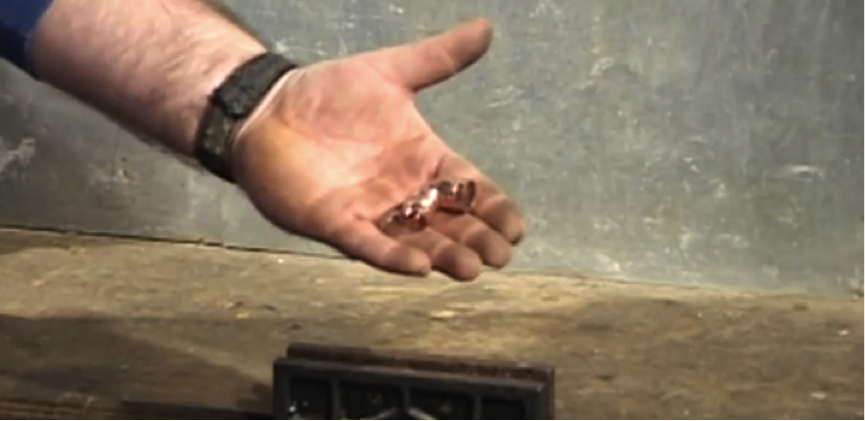
Step 7. Let it cool
It is very important to let the join cool sufficiently before handling it. Otherwise it can crack. If this happens, you must discard the join and start the process again.